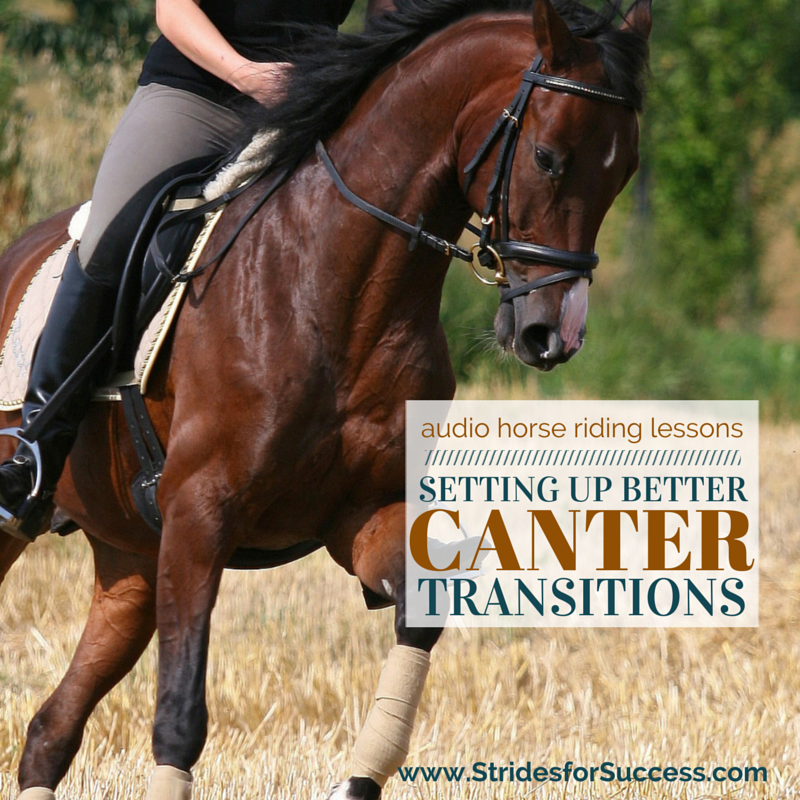
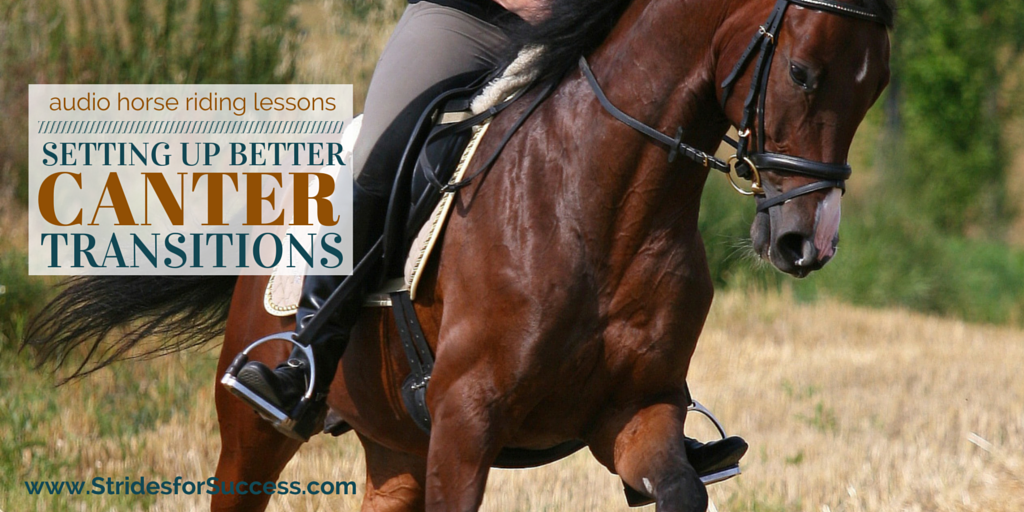
Who doesn’t love to canter? It may just be the most enjoyable gait to ride when in the saddle for many riders, however it is also the gait that might just have us working the hardest to actually successfully get there and then, returning back to trot or walk seems to also open a whole can of worms for many riders too!!
In fact, often the lack of competence felt by a rider with regards to riding smooth, balanced canter transitions is enough to make them avoid canter like the plague… It becomes something that is only performed when it is absolutely essential and necessary!
However, many of the aspects to riding a good canter transition can be put in place or improved before you actually go forward into canter at all. The preparation of both you and horse, mentally and physically, for the canter is vital to performing a successful canter transition, whether it be up or down.
1. Focus on the Quality of the Current Gait
One of the first things you can do to prepare for a successful transition is to work on the quality of the current gait you are riding in. Make sure your horse is moving forward in a rhythmic, balanced way and is responsive to your aids.
2. Become Clear on What You Are Doing in the Saddle
Begin working on your own position and becoming clear on what you are going to ask and when. Start in walk. Notice where your seat bones are in the saddle, how they are moving and how your weight is distributed over them.
When we ask for canter, we shift our seat slightly more to the inside seat bone and ‘scoop’ our horse into the canter with it. Use your walk to practice firstly, identifying your separate seat bones and how you can move them independently from each other and then secondly, begin experimenting how the ‘scooping’ motion feels when you apply that aid.
If you are struggling to isolate one seat-bone from the other, try moving your outside shoulder back slightly… You should feel your inside seat-bone ‘scoop’ forward a little.
That is the movement you are after, however it is important that you can perform this same movement without having to rely on moving your outside shoulder. Just use your outside shoulder to help identify the muscles involved.
3. Encourage Suppleness in You and Your Horse
Next, look at how supple you are through your hips and pelvic area. In order to ride a successful trot to canter transition, you must be able to move with your horse in sitting trot and, from there, follow him into the canter when he strikes.
Begin working in sitting trot and focus on relaxing your hips so they are following the motion of your horse.
Tension or stiffness will show up as bouncing up and down out of the saddle. It will also be reflected in your legs when they begin to ‘grip up’ and creep higher and higher in the saddle.
Keep your pelvis open, so your legs can hang long around your horse’s sides. This is vital in order to both ask for, and then ride, a good forward moving canter. If you are ‘pinching’ with your pelvis or upper legs and knees, your horse cannot lift his shoulders to begin cantering but also, the canter will be choppy and uncomfortable for all as you will bounce more!
4. Develop Straightness through Your Horse
As you are working in sitting trot, notice what your horses shoulders and hindquarters are doing, particularly through the corners. Your inside leg must be sufficiently on to keep your horse straight and avoid falling in. Your outside rein must also be working to regulate the bend and stop your horse falling out through the outside shoulder.
5. Question His Responsiveness to Your Aids
Once you have established a good quality gait, begin to investigate just how responsive your horse is to your aids and if his concentration is wandering, focus on bringing it back to you by being consistent with the aids you are applying. Your horse must be listening closely to your aids before you can ask for the canter transition, whether it be up or down.
When you feel that the quality of your sitting trot is high enough to continue to follow in the canter, you can begin thinking about the transition itself.
6. Prepare the Transition
Make sure that you are only thinking ‘prepare’ not actually ‘canter’. I see many riders in the arena, who once they are told that they should pick up canter in the next corner, automatically think canter! The horse speeds up and begins to run, they usually lean forward and have a look of terror on their face approaching the designated ‘canter departure point’… It should not and must not be this way.
When you are preparing to ask for a canter transition, you do so like you would any other movement in riding. Think about how you can get your horse to that point in the best possible way for the circumstances you are in.
Begin with your half halt and use this time to also re-evaluate your position. As you approach the point where you will ask, begin to shift your inside seat-bone slightly more forward and redistribute your weight a little more over the inside seat bone.
Keep your inside leg on, sit up through your upper body and ask for a slight flexion to the inside. Use your outside leg to keep your horse straight and then, when you are ready, to signal to your horse along with your inside leg, to move forward in to the canter. As you do this, use the ‘scoop’ motion with your inside seat-bone to lift your horse up into the canter.
Also, it is important to note that at in order to shift into canter, your horse must lighten or lift up his front end slightly which you achieve by riding your half halts to bring his hind quarters a little more underneath him. This enables him to strike the canter with the outside hind leg, which you indicate with your outside leg ‘swinging’ back. Your outside leg is merely like an indicator telling him ‘this side’, your inside leg will have the ‘driving aid’ to go forward into the canter.
7. Allow the Canter to Happen
Once he is cantering make sure you are allowing him to go forward with both your hands and your body. Continue to following the ‘rolling’ motion with your seat, making sure that your pelvis remains open and allowing the energy that your inside leg is creating to come forward, and connect through to the front end of the horse.
8. Notice the Quality of the Transition and the Canter
Common fault that many riders experience when asking their horse for canter is that the horse tends to run in to the canter rather than striking into the canter. If you find this is the case when you are trying to transition into canter from trot, bring him back to a balanced trot using your half halt and then prepare to ask again, but next time with a stronger ‘driving’ aid.
Horses ‘run’ into the canter for many reasons, however often it is due to the rider collapsing through their upper body, which will result in the horse being unable to ‘lift’ the front end which makes a clean transition very difficult. Make sure you are sitting up through your upper body and think of it as allowing this new surge of energy to come between your legs and up to your horses ears. You need to make room for this energy, which you will block if you are leaning forward or pinching your pelvis and legs.
It is important to keep in mind that your horse must canter; not you!!
Have a plan before you begin to canter and perhaps you decide to canter for 10 or 15 strides, begin then the preparation for the downward transition. Again half halt is the key to this preparation and your position in the saddle.
9. The Downward Transition Out of Canter
Just like the upward transition to canter, the downward, back to trot, needs you to carry yourself through the transition. It also needs you to then ride the trot, not just bounce around in it when you are there!
Use your seat to indicate to your horse that you are moving down from canter back to trot. Keep your leg on and as your horse prepares to make the transition, you must move your body into trot position; shift your seat bones so they are even, and hold with your core muscles, so you are no longer ‘rolling’ with him, rather resisting him.
It is important, as with all downward transitions, that you follow with your hands, particularly as he takes that first step into trot.
Relax through your pelvis and again, work on following the trot and moving with your horse rather than bouncing stiffly against him.
The canter transition is one that can initially seem daunting, however, as I said you can do so much in preparation for this movement before you actually perform it, that you chances of succeeding in a correct way get higher and higher the more effort you put in.
Have a super week and happy riding!
Lorna

2 Comments
Christine Meunier
July 22, 2015 11:41 am“chances of succeeding in a correct way get higher and higher the more effort you put in” – love this! Great advice.