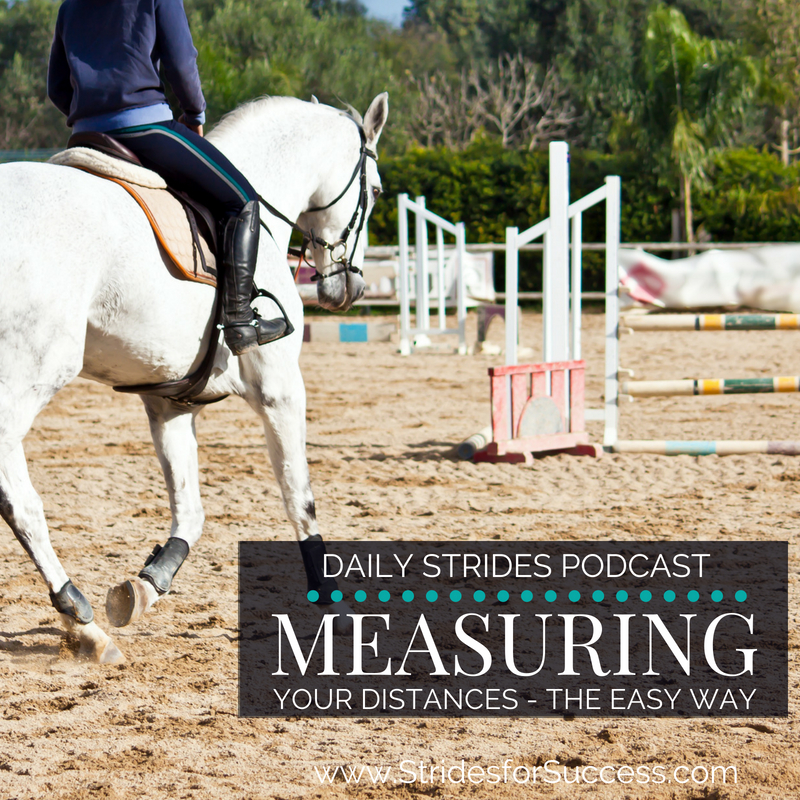
What this episode is all about & how it can help you:-
- Chose your measuring system – Imperial or Metric
- Practice stepping things out
- Use the ‘drawing a line’ method if you are nervous
- Learn how to ‘walk’ a basic 5 non-jumping canter stride distance
Do groundpoles or gridwork seem like a lot of hard work for you due to all the ‘distances’ involved? For many riders, the mere thoughts of having to measure out all those distances is enough to stop them in their tracks with their grid and pole work.
In this episode of the Daily Strides Podcast you will learn a way that, once you learn how you relate to a distance, you can then relate any distance to your horses stride.
Firstly, Why Measure a Distance?
As a trainer, I measure a fair amount of different distances every week in the arena. It could be trotting poles, or cantering poles. There may be related distances in jumping or combinations. It could just be a simple lengthening or shortening exercise.
A related distance is any measurement you decide on, between two or more poles, that you want your horse to take a specific action when working over.
So many riders look to different resources when it comes to keeping their schooling fresh; blog posts, magazine articles and books are common. Most exercises to do with poles and distances will have variables that the author suggests working within – between x and y – when laying out the grid.
It is those ‘variables’ that make riders feel uncomfortable! “How do I know where my horse is on this x or y scale?!”. And, rather than make a mistake, many riders will just simply stop right there and never actually implement the training.
If this sounds familiar – even the uncomfortable wondering feeling – want to help you make things a little easier. Take the guess-work out of your grid work, if you want…
Choosing Your Measuring System – Imperial or Metric
Most of the resources I mentioned about will give you the distance in both Imperial and Metric. Imperial is inches, feet and yards. Metric is centimeters and meters. A distance is a distance, so it really doesn’t matter which you choose – it is just important that you choose to ‘master’ at least one of them.
Once you have decided on which system you are going to master – I want you to begin learning how that system measures out for you and your body.
Practice Stepping Things Out
I suggest measuring out a meter, or yard, and practice stepping out that exact distance on your feet. One meter or one yard = one of your strides.
Get yourself some masking tape and on a flat piece of cement or similar, just put two lines where the distance starts and where it ends – then practice ‘stepping!
It is important to make sure your heel is ‘touching’ the back of the first piece of tape (as it would if it was a pole) and then, just step until you can feel what the measurement feels like for you to step out.
I would suggest focusing on what one meter is from heel to heel… It makes stepping longer distances a whole lot quicker and easier!
You can then go a ‘step’ further, by measuring out two, three, four, five meters and stepping it out. How it feels for you, how the stretch feels. How it changes a little the longer the distance.
“Drawing a Line” when Unsure or Lack Confidence
For many riders, the fear of getting the distance wrong and causing an accident is one that holds them back. Keep in mind that your horse is fairly adept at putting their feet where they want to put them.
However, if you are feeling a little less than confident about your ‘stepping’ abilities, there is a quick and easy way you can still measure your distance, but avoid any possible accidents caused by your horse stepping on an incorrectly measured pole.
Place your first pole, as normal, and then simple ‘mark’ where the second pole should go. You can draw a line in the sand of your arena with your foot. If you don’t have a sand arena, you can use two ‘markers’ that you must travel between instead of a real pole.
This way, you can still ride the distance and see if it works for your horse, without any risk.
If the distance is good, add your second pole. If it is not, ‘roll the line’ – either move it further away or bring it closer, depending on how your horse rode through the distance – and try again.
Adjust the Distance to Suit Your Horse – Not Vice Versa!
When you are starting out initially it is really important that you ‘roll the pole’ to suit your horse. He must not have to change his stride or way of going to suit your distance.
As you both become more confident and developed later, then yes, the distance can stay and your horse must make adjustments to ride it better. But this requires quite a bit of mental and physical development from both horse and rider.
If you need to play around with the distance, only move the pole few centimeters or inches each time. It really and truly is simply ‘rolling the pole’.
Many riders change the whole exercise by moving the poles a few feet or a meter at a time! Small little adjustments made to suit your horse is the best way to build confidence in your ‘stepping’ abilities. It also gives your horse confidence as the ‘variable distances’ that we spoke about at the beginning are correct distances and ones that your horse will work happily inside of.
Memorizing the Distance that Suits Your Horse
Once you have found a distance that both you and your horse are happy working through and with, I am going to suggest that you return to the arena after your ride and learn how it feels to walk that distance.
It is important to keep in mind that as you and your horse become more developed, the distance will change – but it won’t change overnight. Investing time learning what your horse is comfortable with right now will save you a lot of time (and worry) in the long run.
If you know each time where your horse is comfortable, it makes setting things up much easier and it allow you to remain more focused while working through the poles as well.
Stepping Out One Canter Stride
While it is true that all horses are different, there is simple enough way you can begin measuring out your horses non-jumping canter strides. For the most part, four of your ‘strides’ will equal one of your horses canter strides.
For every four ‘strides’ you take, your horse will take one non-jumping canter stride
Again, this will depend on the length of your ‘strides’ and the length of your horses strides, but it is a basic place to begin when learning to measure distances by stepping them out.
Stepping Out a Five Canter Strides Related Distance
I personally like this distance, as it is long enough to be forgiving for most mistakes riders make when stepping it out initially. Five strides can become four or six if necessary!
Start with your heel to the back of the first pole and step your first ‘canter’ stride. 1, 2, 3, 4. Then simply repeat until you have done this five times.
Later if you were to raise the poles and build one or two fences or jumps, the distance will have to be lengthened to accommodate the horse. This is because the horse will ‘jump in’ further and will need space for his knees as he jumps out of your related distance.
Generally speaking, once jumps are involved, you can simply add one of you strides for the ‘jumping in’ and one of your strides for the ‘jumping out’. So two extra of your strides.
Again, this will always depend on the horse and the heights and types of fences you build, but it is a pretty simple way of looking at it initially for you and your horse to get you started.
I hope this helps feel a little more confident going forward with your poles.
Happy Riding
Lorna
Links mentioned in the episode:-