Tag: balanced

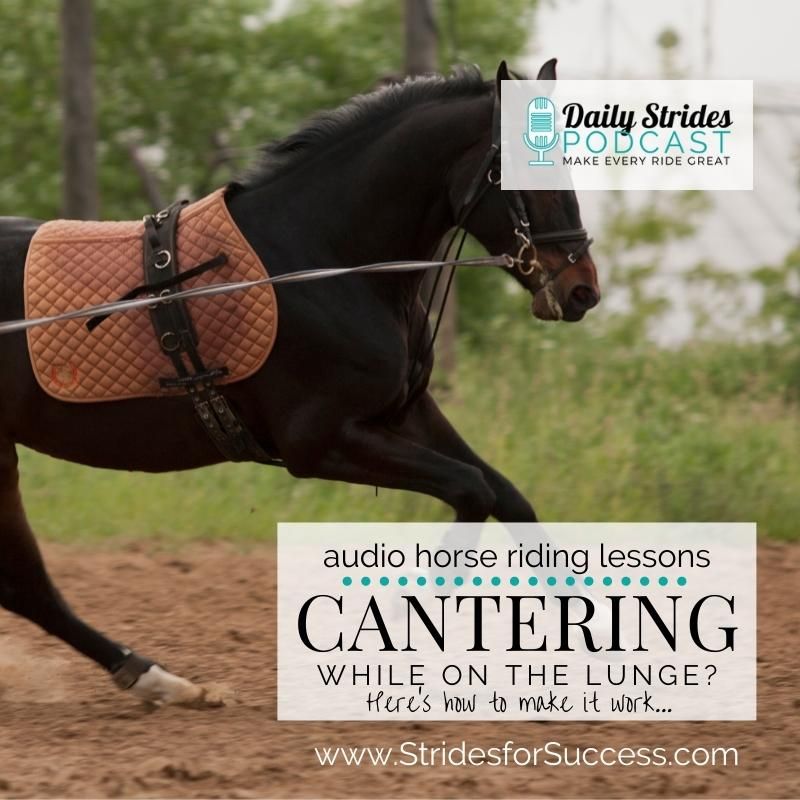
  • Cantering on the Lunge? Here’s How to Make it Work…

    Cantering on the Lunge? Here’s How to Make it Work…

    [fusebox_track_player url=”https://op3.dev/e/traffic.libsyn.com/dailystridespodcast/1237_Cantering_on_the_Lunge_How_To_Make_it_Work.mp3″ title=”Cantering on the Lunge Line? Here’s How To Make it Work…” social_linkedin=”true” social_pinterest=”true” social_email=”true” ]

    Here’s a confession; for years I used to think of cantering while on the lunge as just something I did to ‘finish the session’. It was like something that I could check off a list. There was no intention behind it (only to get it done),

    And with any cantering happening while on the lunge, there was definitely no thought put into using the time or gait to develop the horse.

    Which, now, seems so bizarre! Why would I have even bothered with it when there was no set focus or intention?! It really does seem like madness; except for one thing…

    Every week, I see so many riders making the same mistake. Cantering endless circles while on the lunge – without a single thought about why and what it might achieve or work towards…

    Transitioning Into the Canter

    Let’s start at the beginning with this one. I love thinking about the similarities between what happens when riding and what happens when lunging. Meaning, if you were to ride a ‘good’ transition from trot to canter, what would you consider before ‘asking’?

    The transition into canter will only be as good as the quality of the trot asking for it – and the quality of the preparations for the ‘ask’.

    Meaning that the trot must be moving forwards, not running. And the rider (the lunger) must invest a little time, energy, and focus in preparation for the transition itself.

    Become comfortable with your half-halt while on the lunge – yes it is a thing – and spend time on coordinating and balancing your aids to ask for the transition.

    Starting to Canter

    When your horse does transition into the canter – resist the urge to panic! If you are not used to lunging on a consistent basis, the canter can seem very, well, fast! It is almost like a rider who is learning to canter for the first time. It can seem like things are, literally, flying by! They’re probably not!

    And if your horse is ‘running’ in the canter, check out this episode HERE to help you with that.

    Watching your horse canter while on the lunge often requires you to feel a little mentally uncomfortable for a time. This is due to a perceived ‘lack of control’.

    Keep in mind that you have the same level of influence you had while in the trot, it is just that you may need to say things a little louder (using all of your aids) in order to be initially heard. This is a training process.

    Your job will be to refine the aids and increase responsiveness so that you can be heard by your horse while in canter on the lunge.

    Improving the Canter

    From here, you can begin to actually work on the canter. See your aids, both natural and artificial, as being a channel for energy. Use your outside boundary to help you channel things a little more.

    Become aware of the rhythm of the canter itself. Is there a distinctive 1,2,3..1,2,3.?
    How can you, using your aids, help define this further?

    From here, think about straightness. Are you using the lunge line to ‘slow your horse down’? Or are you using it to keep your horse while on the circle? In both cases, this will cause the energy to fall out. And, any leaks in energy will result in a canter that is far less than what it could be.

    Just like when you ride, your lunge line should be used to create contact. Not steer the horse (keep it on the circle) or slow the horse down (pulling on it like an anchor).

    Assess your aids, and be honest with yourself. Are you using all of the aids at your disposal in order to positively encourage a better canter from your horse, or are you just relying on the, unfortunately, obvious lunge line to ease your mental discomfort and make you feel more in control?

    Be Consistent with Your Actions

    Just like when you began cantering in the saddle, cantering on the lunge is probably not going to look pretty the first few times you try. It might consist of rushing and funning in wild circles. It could turn into a situation where any sort of request for a more balanced canter is met with a transition back to trot!

    The key to developing your influence in the canter is to keep trying. Notice what works. And change what doesn’t.

    Over time, if you can consistent with your approach, you will begin to see moments of ‘good’ canter on the lunge. Build on these. Give yourself a challenge of trying to prolong those moments just a little. And watch your efforts begin to produce real and lasting results.

    Happy Lunging
    Lorna

    More on this Topic:-

  • Developing a Light, Balanced Downward Transition Every Time

    Developing a Light, Balanced Downward Transition Every Time

    [fusebox_track_player url=”https://op3.dev/e/traffic.libsyn.com/secure/dailystridespodcast/1218_Riding_Consistent_Balanced_Smooth_Downward_Transitions.mp3″ title=”Riding Balanced, Smooth, & Light Downward Transitions” social_linkedin=”true” social_pinterest=”true” social_email=”true” tweet_text=”Here’s how to ride smoother, lighter downward transitions – starting today :)” hashtag=”horselovers #equestrian” twitter_username=”strides_success” ]

    What goes up, must come down.  For every upward transition you ride with your horse, you will follow it, at some point, with a downward transition.  For many riders, these can prove a little more complex to balance.

    Having to prepare and then guide both yourself and your horse ‘downwards’, while continuing to maintain forwardness, tension, and energy… It can feel more like falling into, rather than stepping into, the new gait!

    However, as with all things riding-related, there are things you can do to really begin improving each downward transition that you ride.  Implementing these changes can begin today, with the very next downward transition you ride with your horse.

    What is a Downward Transition?

    One of the easiest ways to think of this transition is moving from a higher gear to a lower gear while on your horse.  It can be as simple as the walk to a halt.  Or your downward transition could be something more complex such as a canter to walk.

    There are also downward transitions that happen within the gait itself, where you transition from covering more ground each stride to covering less.  

    There are lots of different ways to make this sort of transition happen and, therefore, there is a whole wide range of possible outcomes to each transition that you ride.  The key is to begin working on creating a good quality transition, rather than simply hauling your horse back each time you ride one.

    Light, Smooth & Balanced

    So, rather than your horse ‘falling’ into the new gait, we want the opposite to happen.  We want him to literally, maintain composure and balance, to step into it.  If the transition was from the walk into the halt, the good quality transition would result in your horse arriving at the halt in a way that allows the energy to be maintained in his body.  This is so that he can simply step out of it again.  If we use the canter to walk, it is often helpful to think can-ter, can-ter, can-ter, can-walk, w.a.l.k.   The canter is literally a stepping stone into the walk.

    The horse can only achieve a light transition if he is engaged and carrying himself throughout his body.  This is where self-carriage comes into the conversation.  

    In order for your horse to ‘step’ into the downward transition with confidence and grace, he must believe that he can carry himself while maintaining forwardness.  This takes training, development, consistency, and time to achieve.

    Often, the horse’s abilities to remain balanced through the downward transition are actually hampered by the rider. 

    This is where a lack of composure, balance, and self-carriage in the rider can have an obvious negative influence on the horse’s performance.

    Preparing a Downward Transition

    Just like the upward transition, the amount of preparation you put into the movement before you ride it will become clear as you ride the movement. I think one of the first, key things to think about is what you want to ask for, and where you want it to happen.  Once you are clear on this, you can begin thinking about how to most effectively communicate this to your horse in order to get the outcome you want.

    Your half halt will be a key factor to riding a good quality movement.  You will initially use it to bring your horse’s attention and focus back to you. From there, you can use it to balance and prepare both of you. 

    Each half halt, I recommend riding quite a few, will help you to begin ‘gathering’ the energy that is coming through from your horse’s hindquarters.  The half halt is also a great way to really connect with your horse’s hindquarters.

    It allows you to begin ‘syncing’ your seat bones with your horse’s corresponding hind feet. This will help you to know when to actually ask for the transition; your all-important timing. 

    The Rider’s Self Carriage

    When you feel that you are both ready to actually make the transition happen, focus on yourself for a moment.  What you do next can influence everything else going forward.  Think about how you want your horse to use his body throughout the transition, and work on modeling it first.

    Your job is to ‘ask’ your horse to perform the transition.  It is not to ‘make’ your horse transition. 

    As you work on developing your skills, pay attention to responsiveness.  The more responsive your horse is to your aids, the more smooth and clean any transitions will become over time. However, this is only assuming that you are carrying yourself!  So many riders throw their body about in the saddle in some misguided attempt to ‘ride’ the downward transition. 

    Remember, once you’ve asked for it, you must simply be in the best position to allow the transition to happen. 

    Resisting Forwards; Not Pulling Backwards

    A great way to think of how to really remain balanced and best placed to allow for a successful transition is to think of a tug of war…  If your body feels in any way like you’re in one with your horse – you’re pulling!  This can range from pushing your heels down, pulling with your hands, or leaning backwards.

    You rather want to simply stop moving forward with your horse.  It can help to think of yourself as being ‘still’. Not moving ‘against’ your horse (maybe pulling?), but also not moving ‘with’ him (resisting). 

    Things to look out for is your lower leg swinging back.  Standing up (or feeling like you are going to stand up) in your stirrups is another indicator that you’re pulling.  And any movement in your hands is also a no-no. Finally, leaning will look (and feel) like your shoulders coming behind your hips.

    I am a firm believer that whatever you want to achieve from your horse, the key is to align with that first throughout your body. 

    Meaning that if you are trotting and want to walk, think and then act ‘walk’.  And if you are cantering, rather than allowing your seat to ‘rock’ with your horse, think of the more ‘equal all over’ feeling of trot.   This leads me to the next important thing you need to work on to improve every downward transition; your rein aids.

    Your Rein Aids

    Okay, so I have mentioned not to pull… And yet, that is the very first thing most riders are thought when they get on a horse and begin to ride!  “Pull the reins to stop”.

    Let’s be honest here; at the end of the day you do not want to get into a tug of war with another ‘being’ who is equally as opinionated as yourself… Particularly when that ‘being’ outweighs you by about 10 to 1… 

    I use the word ‘being’ in the above few sentences to hammer home the fact that your horse has a mind of his own.  Whatever you believe about the abilites of your skills as a rider; it is absolutly essential that you take into account your horses presence in every single downward transition.

    A steady ‘this is it’ goes a lot further than a furious ‘reining in’ or ‘hauling out the back teeth’.  And yet, if your horse only knows ‘reining it in’, I strongly suggest beginning his retraining in a fairly confined area…!

    All horses have been thought different things when it comes to contact and rein aids. One of your biggest responsibilities as a rider and trainer for your horse is to be consistent, true, and kind with yours.

    Riding the Downward Transition

    So, once you have your horse’s attention, and gathered the energy, you can begin thinking about the transition itself.  Understanding that each transition is different is important.  This will allow you to use the all-important ‘feel’ in your riding.

    Feel is when you almost intutivly know what is needed in order to communicate your desires with your horse

    Choose the place and then begin to ‘ask’ for the downward transition.  Remember to keep your legs on.  Downward, even if it’s all the way back to halt, should still have you both thinking and working forward.  Your legs will help to maintain the creation of energy throughout the transition.

    As you feel your horse taking that very first step inot the new gait, it is important to release for just a moment. This will allow the tension to smooth out, producing a better result in the new gait. 

    Once your horse has transitioned, the focus will be on establishing a good quality movement within that gait.  This may take time.  However, the better the quality of the downward transition that was ridden, the easier this will be.

    The lightness will develop over time as your horse develops.  Being able to carry himself requires training.  And, as mentioned, a rider who is doing the same thing!  I will link to more episodes below in the resources section on specific transitions that you can work on with your horse.

    Happy Riding
    Lorna

    Additional Resources:-

  • 3 Steps to Better Canter Transitions

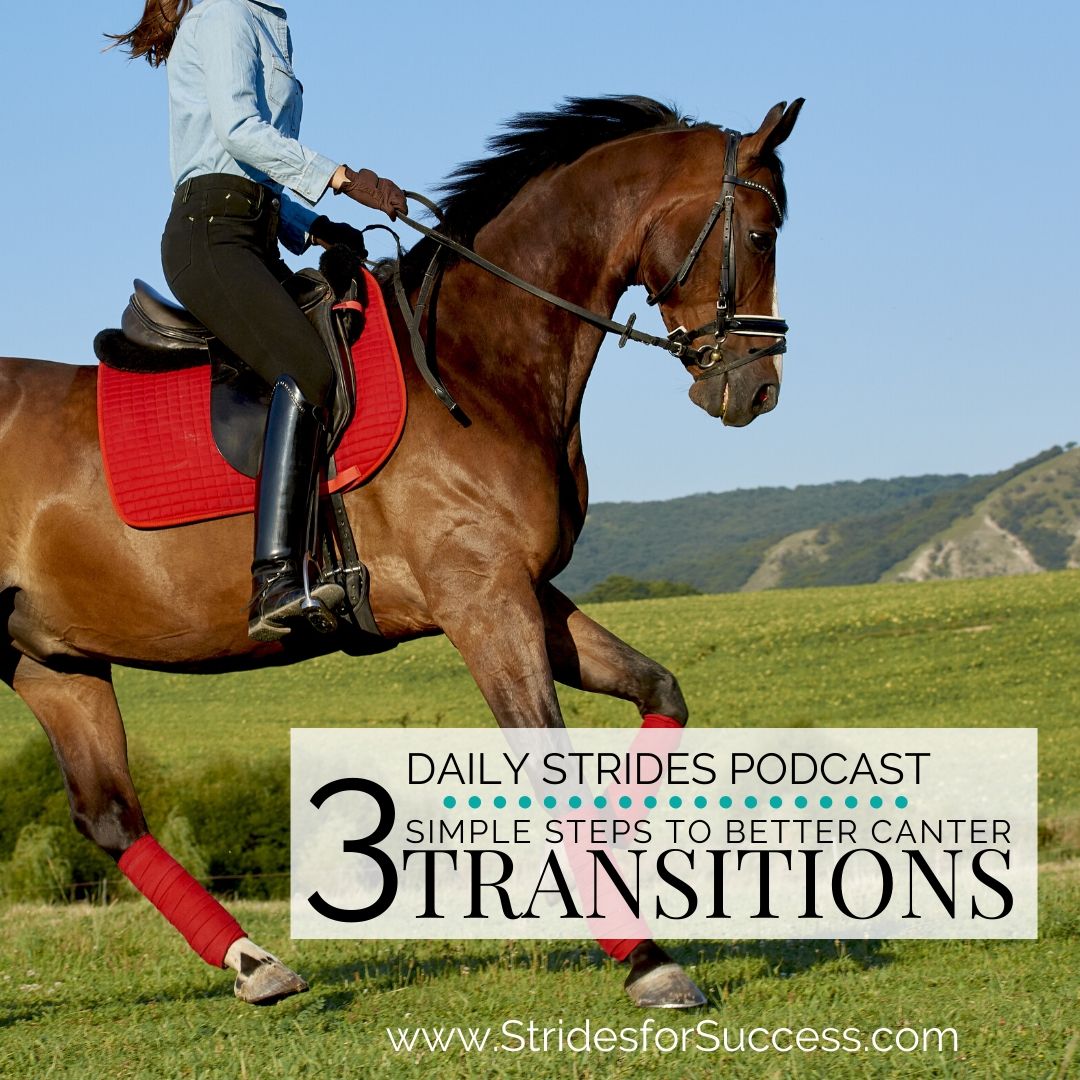
    3 Steps to Better Canter Transitions

    3 Steps to Better Canter Transitions
    Have you ever felt that feeling?  The feeling you get when you’re trotting and you ask for the canter.  Rather than your horse simply striking cleanly from the trot to the canter, you experience this extremely uncomfortable and unbalanced trot.  A trot that gets faster and faster until finally you almost fall into a canter. Not a great feeling, eh?!
    Or perhaps, your experience of getting into canter is a little different.  Maybe you feel like you are getting thrown forward every time your horse transitions to canter?  Different, but equally as unpleasant!
    [smart_track_player url=”http://traffic.libsyn.com/dailystridespodcast/1135-3-Steps-to-Better-Canter-Transitions.mp3″ title=”3 Steps to Better Canter Transitions” social_linkedin=”true” social_pinterest=”true” social_email=”true” tweet_text=”Yep; better canter transitions are just 3 simple steps away for you and your horse ” hashtag=”equestrian #podcast” twitter_username=”strides_success” ]
    In this episode of the Daily Strides Podcast, I want to cover a topic that I feel so many riders struggle with.  Successful canter transitions.  I’m going to give you 3 simple yet effective actions that you can implement today, which I guarantee you will improve your canter transitions.
    And, the good news is that, I believe that you can improve this very quickly; you just need to know what to do…

    1 . Plan, Plan, and Plan again!

    Planning is so important. Now I know you may be thinking “Really, Lorna? I knew that”.  If so, great.  Are you implementing it every time you ride?  When we are talking about all things canter transitions related, planning is important for both horse and rider.  It allows you to set your horse up for the upcoming transition.  It also gives you time to get clear on sorting your body out and making sure your body is where it needs to be.
    Remember, one of your jobs, as team captain, is to set things up as well as you possibly can.  Then simply allow your horse to the job you have asked him to do.
    Start by choosing an exact place where you begin to sort yourself out, both physically and mentally.  You then need to make sure you have your horse’s attention using your half-halt.  Your half-halt basically serves to tell your horse: “Excuse me, something is going to happen soon and I need you to pay attention to me.”
    It’s also important to make sure that you have established a good quality trot.  An easy way to assess this is to ask the question, ‘could I jump a jump from this current trot?’.  If the answer is yes, you’re golden!  If not, you have a little work to do before you can ask for the canter transition.

    2 . Get Out of the Way

    The next part is simply to get out of your horse’s way.  Remember, your job is to set it up and ask your horse to canter.  That’s it!  Your horse must actually transition into the canter, not you.  I have seen so many riders who set it all up and then when it comes time to canter, they look like they are physically trying to canter for their horse!  Often they end up leaning forward, lying on the horse’s neck or leaning over the inside shoulder, or all of the above.
    Changing this starts with your basic position.  Your shoulders should be above your hips.  Maintaining that as you move into and through the transition is often enough to get out of your horses way. 
    Keeping your shoulders above your hips and not throw yourself forward or leaning to one side will make a huge difference to your canter transitions.  In fact, if you can maintain a correct position, you’re already halfway to creating better canter transitions.  However, I also know that often this is one of those ‘easier said than done’ things!
    A simple way to keeping this fresh in your mind when you ride is to imagine a large egg.  The egg is sitting on the pommel of the saddle.  It is large enough that it comes all the way up to your chest.  Your goal, as you prepare to and then transition into canter is not to break that egg.  This will help you to maintain your position throughout your canter transitions.
    1. Allow Your Horse to Canter

    The third step to better canter transitions is to actually allow your horse to canter.  If you are leaning forward or to one side, you aren’t really allowing your horse.  You’re hindering them as they make the transition from the trot into the canter and beyond.
    Your horse’s shoulders have to go somewhere when you are asking for a canter.  If you’re sitting on their shoulder, you’re actually shutting down the shoulder.  What I see happening with so many riders is that they plan, they set it all up and then they ask for the canter.
    Unfortunately, when the horse begins to canter, it looks like they suddenly change their minds!   
    This can be pulling on the reins.  Often the rider becomes heavy in the saddle; they hunker down.  In fact, sometimes it seems that the rider is doing everything physically possible to stop that horse going forward into canter!  It’s almost as if they’re thinking: “Whoa, this isn’t what I asked for!”, Even though it was.
    Now believe that, most times, this is caused by something the rider is thinking or feeling, playing out physically in the transition.  Whatever the cause, can you imagine how confusing it is for their horse?  He has obliged his rider by doing what was asked of him and is now frantically receiving signals to stop.  Would you blame the horse if over time, he decides simply not to canter at all when his rider asks?
    Allowing your horse to do what it is you have asked him to do is vitally important to his training and development.  It is also important for your nerves!

    Imagining Successful Canter Transitions

    I want you to imagine this now.  You’re trotting down the long side of the arena, and you’re going to ask for a canter in the corner.  You know that the first thing you need to think about is planning.  So you begin half halting. This allows you to also consider whether or not it’s a good quality trot.
    The half-halt is also a great place to make sure that you are in the best position to ask and then allow your horse to canter.  Take the opportunity to straighten your body, through your shoulders and back.  Also, straighten vertically by checking that your shoulders over your hips.
    Now, choose the exact place that you want our horse to canter, and quickly think about what you need to do to communicate this to your horse.   
    Maybe change in sitting trot.  Definitely ask for a little bit of flexion to the inside.  Use your inside leg and imagine that you are filling up the outside rein.  All while your inside hand is asking for that little flexion.  Then move your attention to your outside leg. Imagine using it to ‘tag’ your horses outside back leg, indicating to him to ‘strike’ with that leg.

    Moving with the Canter Transitions

    As your horse begins to actually perform the transition, your job now becomes maintaining your own body and moving with him into the canter.  Are your shoulders above your hips? What about your imaginary egg?  Is it safe in front of you and are you keeping out of its space?! Consider are you carrying yourself?   And carrying your hands?
    Finally, as your horse takes that first, balanced step into the canter, imagine how it feels when you allow with your seat and follow him into it.  Doesn’t that feel great?! Your horse is finally able to canter!
    These 3 things that we’ve spoken about today are things you can continue to refine and refine.  They will require you to revisit them regularly in your riding.  Plan, get out of the way, and actually let the horse canter!  The three steps to better canter transitions.
    Happy Riding,
    Lorna

    Other Resources to Help with This Topic:-