Tag: lunge line

  • Handling Your Lunge Line to Avoid Tangles & Enhance Contact

    Handling Your Lunge Line to Avoid Tangles & Enhance Contact

    [fusebox_track_player url=”https://op3.dev/e/traffic.libsyn.com/dailystridespodcast/1170_Learning_to_Handle_Your_Lunge_Line_without_getting_Tangled.mp3″ title=”Learning How to Handle Your Lunge Line without getting Tangled” social_linkedin=”true” social_pinterest=”true” social_email=”true” tweet_text=”Constantly getting tangled in your lunge line? Try this…” hashtag=”equestrianpodcast” twitter_username=”strides_success” ]

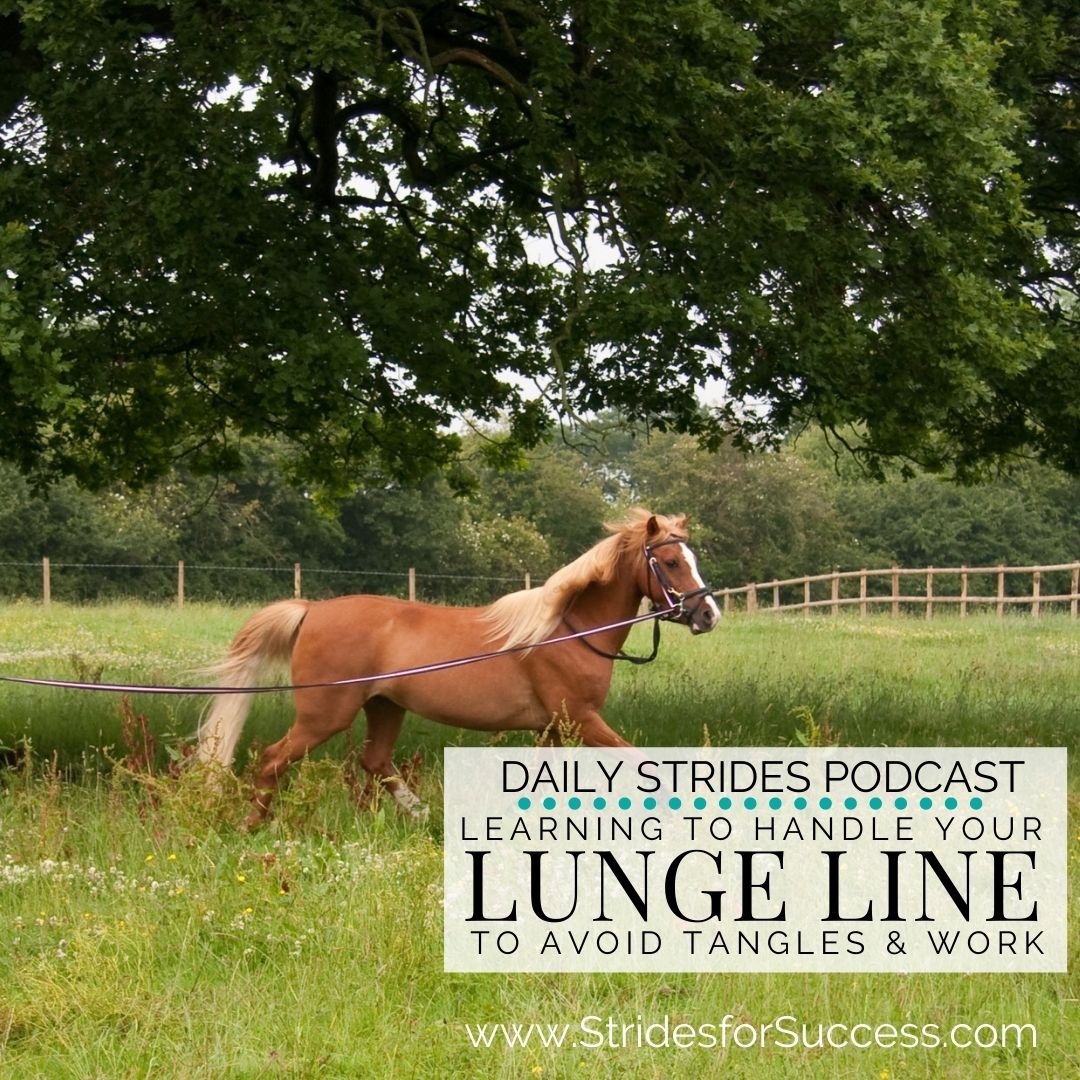
    How many times have you been working with your horse on the lunge, only to have your line end up a tangled mess? Or perhaps your horse did something unexpected. Maybe he turned in or went from 0 to 60 in .5 of a second, and you couldn’t respond quickly enough because of a loopy, knotted, or twisted lunge line?

    Your lunge line is an important artificial aid that you can use to actively encourage contact and connection with your horse.  However, that is pretty much impossible if it is a tangled up mess!  The good news is that with a little practice, you can begin making your lunge line work for you and your horse, rather than against you in your lunging.

    The Type of Lunge Line

    Not all lunge lines are made equal. Before we even begin here, I want you to consider the quality of your current lunge line. Ideally, you want one that has a little weight to it, rather than a flimsy, flappy about one.

    That being said, you also don’t want one that is so heavy, gravity is having a greater influence than you in the conversation! There is a happy medium, play with what you like and what works best.

    Practicing at Home

    Once you have your ideal lunge line, bring it home from the stables with you. Yes, you read that right. You see, I think that learning to work with your line is better done without your horse. Of course, you can then practice and refine your skill every day you are with your horse. But, a lot can be done from the comfort of your home.

    I used a chair. I simply tied the end of my lunge line that would have been attached to my horse to the back of the chair. Then I began ‘playing’.

    Creating Equal Sized Loops

    Most lunge lines have a ‘loop’ at the opposite end to the clip. The loop end is ‘your end’. Begin by pretending that your horse (the chair) will be traveling on the left rein. This means that your lunge line will be in your left hand. It is important to recognize that you must not put your hand through the little loop sewn into the actual line. Simply use it as a reference to ‘start’ your other loops.

    Throw your lunge line on the floor so that you are now positioned between your chair and your lunge line on the floor. This is what you would do to safely sort out your line if your horse was actually attached to the end of it.

    From here, simply use your right hand to help create equal-sized loops. I suggest about 12″ to 18” (30 to 45cm) long. However, this will depend on your height and the line.

    Preparing the Line to ‘Fall Out’ of Your Hand

    Once you have all your loops together, in your left hand, we need to set things up in a way that will minimize the chances of getting tangled when you actually begin lunging.

    To start, transfer all the loops into your right hand.  Find the loop at the end of your line and take it back over to your left hand. Turn your wrist so that the palm of your hand is on top and facing up. Lie the loop flat on your hand with the rest of the lunge line hanging over the little finger side of your palm. It will fall closer to you.

    Then follow the fall of the line down and back up to your right hand. Using your left hand, simply take the top of the loop that is next from your right hand and lie it on top of the original ‘end loop’ already in your left hand.

    Lying it on top is the important part… This will allow your horse to simply take it out of your hand when you are actually lunging.

    Repeat as above, all the way until the full lunge line is lying loop on loop in your left hand. This is when you can begin lunging.

    Practice Letting the Line ‘Fall Out’ of your Hand

    From here, you can practice letting the line out by walking backward away from your chair. Obviously, when you are lunging, you won’t walk backward; your horse will walk away from you out onto the circle. But assuming your chair won’t do the same thing, walking backward will mimic what will happen regarding the distance between you and your horse while lunging.

    As the distance increases, notice the tension on the line. Your goal is to begin maintaining a consistent tension (or contact) with your horse through the lunge line. This is regardless of the distance between you.

    Gathering Your Line Up Again

    Once you have played out your line, you can then practice gathering it back up again. When you lunge, this is useful if your horse ‘falls in’ on your circle. Simply put, he makes the circle smaller and comes closer to you.

    Less distance between the two of you means that less line is necessary. Failing to gather your line up in this situation will result in a ‘loopy line’ or a ‘slack’ line and can also be dangerous if your horse steps on the line. To gather up your line, you will again use your right hand as well.

    This will involve reaching towards the lunge line with your right hand and then placing the line back in your left hand. Practice maintaining the average size of your loops. And placing the line back in your hand so that it can easily fall out again.

    Simply step backward away from your chair to let it out. Then step back closer to your chair to gather up. In and out… Over and over and over again, so that you can literally do it without thinking.

    Once you have this on autopilot, begin practicing again but this time carrying a whip. I’m going to suggest a short jumping crop or a schooling stick if you are indoors. A lunging whip can get a little messy when working indoors in your house!

    Changing Rein

    The example above is for when you are lunging on the left rein. However, we cannot just go left forever! Changing rein is important and you need to learn how to do so in a simple, easy way.

    Assuming you have gathered all of the line back up into fairly regular-sized loops again and it is all in your left hand, you can begin changing over. The safest, easiest way is to simply find the initial small ’sewn in’ loop at the end of your lunge line under all the other bigger ‘created’ loops.

    Use the fingers of your right hand to dig it out and then place it in on your upward facing palm of your right hand. Let it fall over the side of your palm closest to you (or your little finger). From there, again follow the line to the next ‘loop’ in your left hand and just transfer it across to your right hand.

    Go loop, by loop, by loop until all of the loops are in your right hand. Then you are good to go without becoming tangled. This something to practice over and over again using your trusty chair so that it becomes second nature when your actual horse is on the other end of your lunge line.

    Practicing on the Lunge

    Once you feel confident about playing with your line and changing rein, begin practicing with your horse.

    Notice the tension levels. And how you can make adjustments using your shoulder, your elbows, and the height of your hand from the ground.

    These adjustments will be essential when you begin initially as you learn to balance all of your lunging aids together. If you would like more help with this, here is your invitation to join me inside of Connection, my online membership for equestrians.

    Then it is simply a matter of practice, practice, practice… The more confident you become at working with your lunge line, the more enjoyable lunging becomes.

    Happy Riding
    Lorna

    Additional Resources for Equestrians:-

  • Developing Contact on the Lunge Using Your Lunge Line

    Developing Contact on the Lunge Using Your Lunge Line

    [fusebox_track_player url=”https://op3.dev/e/traffic.libsyn.com/dailystridespodcast/1168-Correctly_Using_a_Lunge_Line_A_Boundary_will_Help.mp3″ title=”Developing Your Contact on the Lunge using Your Lunge Line” social_linkedin=”true” social_pinterest=”true” social_email=”true” tweet_text=”Your lunge line is not there to keep your horse on the circle…” hashtag=”equestrianpodcast” twitter_username=”strides_success” ]

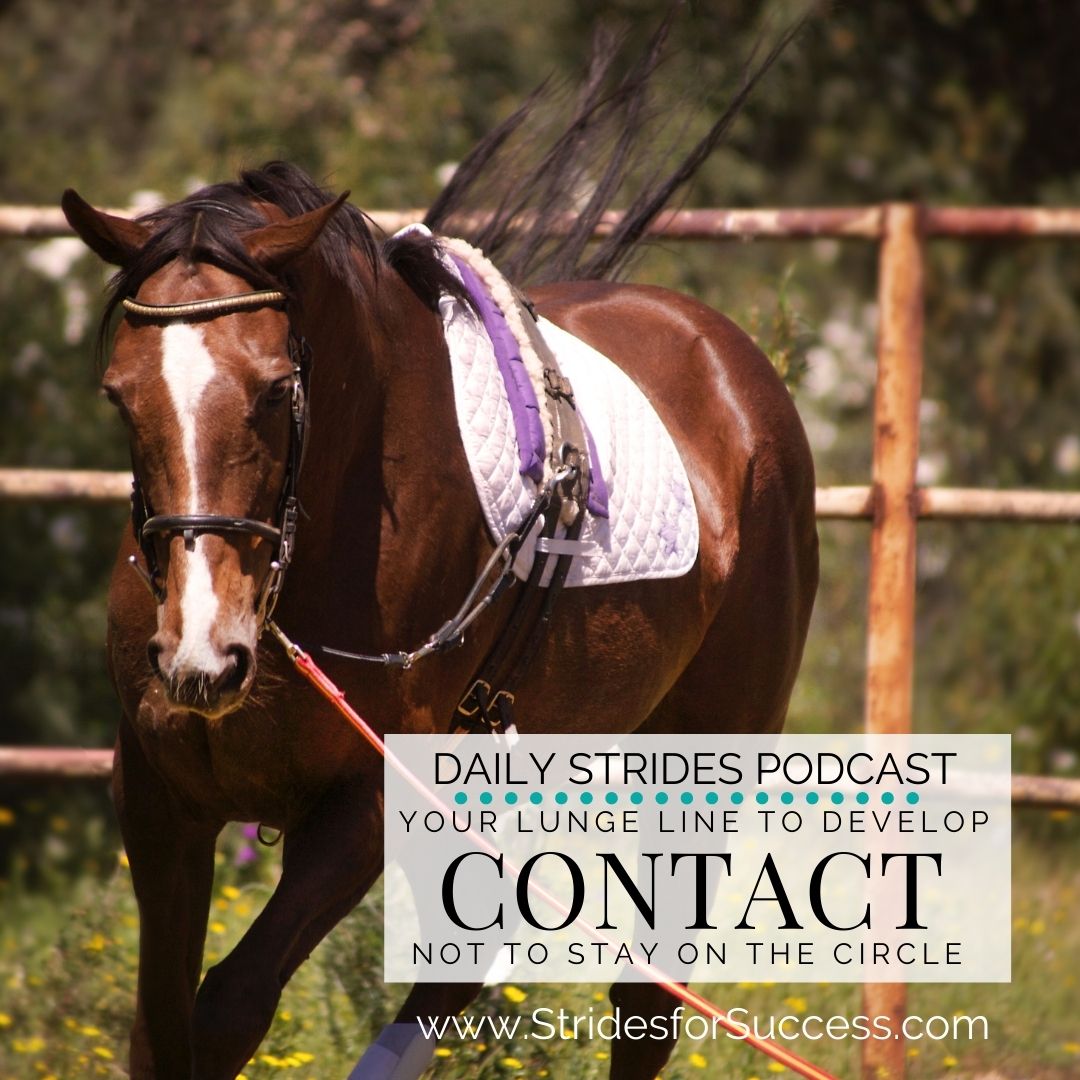
    Alert… Big statement ahead! Your lunge line is not there to keep your horse on the circle while lunging. I would love for you to take a moment just to consider this statement. Is it at all possible that you have been using your lunge line, in some shape way or form to do this for you?  If lunging is not enjoyable, a tug of war, or just too darn difficult, this could be why.

    Have you been using your lunge line to keep your horse on the circle, rather than to develop contact and connection with your horse?

    Here is my step by step system to turn that around for you in your lunging…

    Embrace Artificial Aids

    Your lunge line is an artificial aid. And artificial aids are fantastic if used correctly. The keyword is “correctly”. Many riders have allowed themselves to be led down a path where the use of artificial aids, such as lunge lines, lunge whips, or lunging arenas, is frowned upon.

    Artificial aids are there to back up or support your natural aids.

    And, you can always refine your natural aids, over time, to the point where artificial aids are no longer needed or used all the time. In fact, this is one of your responsibilities as a rider. Doing the work to refine your aids.

    Setting up a Boundary

    An arena boundary is an artificial aid. Setting one up will take about 30 minutes of your time and the effect will be dramatic in your lunging. Simply mark out a 20m by 20m space using pegs, tape, jumping uprights, jumping poles, or whatever you have to hand. Make sure it is safe, obviously! And that is it visible.

    The boundary fence allows you to put pressure on your horse in order to more clearly communicate what you want him to do.

    In order to help establish the boundary, I first suggest using a helper. Have the helper lead your horse while on the lunge. The helper will position themselves on the outside of the horse and the circle. Not between you and your horse. Once the helper has led the horse around on the lunge once or twice, they can ‘vanish’ and you are good to go with your lunging.

    Applying Pressure with Your Aids

    Once your horse knows the boundary is there, you can use it to begin applying pressure. The pressure is like a squeeze. It is also usually done by applying a combination of aids. Rarely is just one aid used when communicating with your horse.

    You can use a combination of your position, your body language, your lunge whip, and your voice, coupled with the boundary fence to apply the pressure.

    Just like when riding, it is important that you give the horse somewhere to go when you ask a question or apply pressure. Like a funnel or a chute. When riding, you would allow using your seat. When lunging, your body language, position, and voice will allow your horse to move forwards.

    The result of the pressure, and then allowing your horse to respond to the pressure is more energy, and this is where you can begin developing contact.

    Encouraging Contact Using Your Lunge Line

    When the horse is actively moving forward and creating more energy, you can then begin using your lunge line to help gather this energy. The gathering is how the contact is created. And from here, you can really begin developing your horse’s natural abilities to the fullest of his potential.

    Contact is like an agreement. It is when the horse agrees to also begin taking responsibility for his actions and his part in the overall performance.

    Over time you will reach a point where the boundary is no longer needed. Your horse will understand what is expected of him and that the lunge line is for contact, not for ‘holding him in place’. Just like in riding.

    When you ride, your reins are not for holding your horse. They are for developing contact and connection.

    Developing Contact on the Lunge Line

    I would love to help you work on developing this with your horse. We can do this together inside of Connection, my online membership for equestrians. In there we work together using a system that sees you revising the 5 essentials you need to successfully, and happily, work with your horse. Groundwork is one of those essentials.

    Happy Riding
    Lorna

    Additional Resources for Equestrians:-