Tag: podcast

  • Lightening Up on Your Inside Rein

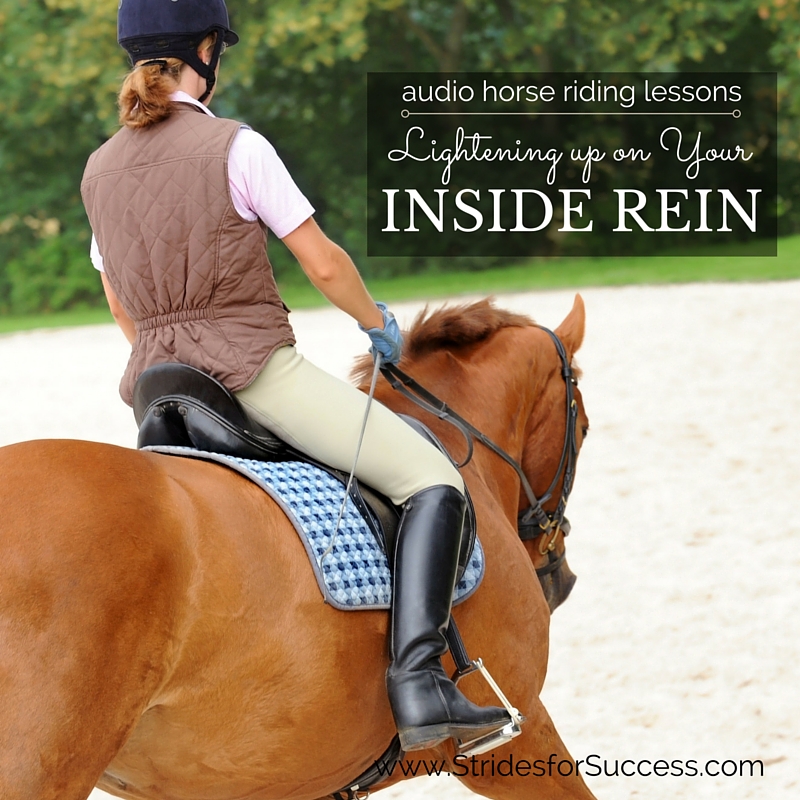
    Lightening Up on Your Inside Rein

    [fusebox_track_player url=”https://op3.dev/e/traffic.libsyn.com/dailystridespodcast/SFA461-Lightening-Up-on-Your-Inside-Rein.mp3″ title=”Lightening Up on Your Inside Rein” social_linkedin=”true” social_pinterest=”true” social_email=”true” ]

    When we first learn to ride, turning is often explained to us as merely a ‘tug’ or pull on one rein or the other to turn our horse’s head. There’s a general consensus being that where his head turns, his body will go…

    However, anyone who has ridden a determined pony or horse will know that this is very often not the case… You can point the head where you ‘want’ to go. But, very often, your horse will crab along sideways, almost following his hindquarters. This is usually in the opposite direction; which 90% of the time is the same direction as the stable!

    Later as we become more accomplished in the saddle, what started out as a simple instruction in our first lesson, has become an ingrained habit.

    Something that we often feel nervous or anxious about giving up control over!

    Early Riding Lessons

    So why are we thought to turn this way if it is indeed incorrect? And why, later when we get into the nitty-gritty details of riding, are we constantly hearing about softening or lightening our inside rein?

    Lightening Up on the Inside Rein

    I think the reason that we are thought this initially is threefold…

    Firstly, we get a quick win under our belts which then leaves us wanting more (translate into booking more riding lessons!).  Secondly, even the best-coordinated person struggles when they first get into the saddle to use their different limbs and body parts in different ways all at the same time to produce the desired result!  And lastly, it’s a control thing and one that we need to learn to let go of!

    The Importance of the Inside Rein

    However, the inside rein is a vitally important part of riding, for flexion, support and balance.   Today I want you to begin thinking of your inside rein as having more of a supporting role rather than being the lead character in your riding performance

    Often we have become so set in our ways of depending completely on our inside rein, that the only way to get out of this habit is to go cold turkey before we can then begin thinking about and practicing lightening up on it.

    So, let’s think about being on a 20m circle to the right in the walk.  If you were to drop your inside rein, what would happen?  You will notice I said ‘drop’ here…  Yes, cold turkey means that – nothing; letting go; surviving and riding on without it!  You would probably think, well my horse will just begin walking large around the arena again… Or, he may even begin to track left!

    And initially, you may be correct, he might just do that.

    The key to getting over your dependency on the inside rein is to start thinking of all the other aids you have at your disposal to help communicate with your horse that you want him to continue tracking right on the 20m circle.

    A Balance of Your Aids

    Firstly, there is your seat and weight aids.  Think of sliding your inside seat bone forward and, in doing so, the inside seat bone becoming a little more weighted.

    Then, shift your attention to what your inside leg is doing…  This is particularly important and often the key to keeping your horse going in the direction you are looking for.  If you are only now holding your outside rein (which in this case is your left rein) your inside leg or right leg is the aid that will balance that strong or leading outside rein.  We can often see this better in action if you were to drop your inside rein while traveling down the long side of the school.

    Without the inside leg, your horse would completely bend to the outside, however your inside leg regulates the ‘pull’ of the outside rein.

    Then we have your outside leg.  This is probably the most forgotten aid of all in your toolbox.  Use your outside leg to indicate to your horse to move around your inside leg.  Again, using our 20m circle to the right, your outside leg being your left leg, it will literally pick up the slack from your inside rein and keep ‘indicating’ to your horse to continue on around the circle, or more to the point, around your inside leg.

    You may initially find that your horse is just wandering around the school or arena, but I really encourage you to keep continuing to try ride the circle without any use of your inside rein.  

    Your Mind is an Aid Too…

    I also advise having a quick ‘check-up’ with what is going on in your head and translating it to your body…  Are you feeling nervous about the ‘lack of control’?  It could be that you’re feeling a little stiff, wondering what will happen?  Or maybe you are trying to influence your horse with your upper body by leaning or shoving – please don’t!

    Or has your outside rein gone on vacation, across the withers, to the ‘other side’ in an unconscious attempt to neck rein your horse to the right?!

    Keep focusing on just asking correctly with your aids; seat, inside leg, outside leg and outside rein, and slowly you will begin to see that your horse begins to pay attention to what you are asking…  He may even begin to walk on a ‘circle’ (of sorts!).

    Remember to keep verbally rewarding your horse when he makes a move in the correct direction.

     Keep in mind that you have trained him to follow your inside rein and retraining him to rather look for other indicators and signals will take time, consistency and patience from your part as a rider.

    Work in Both Directions

    Once you have begun making progress on the right rein, begin working on the left rein.  Swap your inside for your outside and vice versa and then, letting go of your new inside rein (left rein), ask your horse to now pick up a 20m circle to the left.

    Continue to practice this on both reins until you have begun to believe that you can indeed influence your horse to turn without pulling on your inside rein.  I think believing you can do it, is a big part of overcoming your dependency on it!

    You can also, once you have mastered your circles in walk and if it is safe to do so depending on your level of experience and your particular situation, pick up trot and even canter on the circle.  You may notice that initially things may go a little haywire. They can when you factor more speed and movement into the equation!  But, again, stick with it until you can communicate to both yourself and your horse that the inside rein is not what is turning your horse!!

    Re-Introducing Your Inside Rein

    So, we mentioned at the beginning that your inside rein is a vitally important part of your riding.  Now it is time to invite your inside rein back on stage.  But keep in mind all the time that it merely has a supporting role in your whole performance.

    In riding, just like acting, timing is everything and knowing when and how to use your inside rein to influence and support your horse is vitally important.  A badly timed squeeze or softening of the rein can be the difference between your horse staying balanced and your horse falling onto his forehand. 

    This is due to the fact that the inside rein, when used, will affect the inside hind leg and your horse’s inside hind leg is where most of his forward propulsion and balance stems from.

    I would first suggest beginning to practice ‘timing’ this with a very loose inside rein where you really don’t have any contact.  Practice ‘allowing’ with your arm, more notably your elbow, and then taking it back or resisting.

    However with your inside hand, rather than thinking of resisting, think of ‘indicating’.  It is merely a suggestion rather than a hard and fast order.

    Influencing the Inside Hind Foot

    Your aim is to communicate what needs to be said when your horse’s inside hind foot is on the ground.  When he is lifting his inside back foot off the ground and bringing it forward, any pulling or resisting on your inside rein will result in the hind leg not coming as far forward as you would like. This will result in a loss of balance or impulsion for your horse.

    Said differently, your aim is to be soft or light with your inside rein as your horse’s inside hind leg is in the air and moving forward

    Your horse must be schooled, obedient and responsive to then follow through with that suggestion himself in order for your inside hand to truly be effective.  Again, this comes back to consistency on your part. And, also, saying goodbye to the dependency you may have built up on your inside rein.

    Creating Contact with Your Inside Rein

    Once you feel comfortable with giving and taking the loose inside rein, begin to develop a contact by shortening your inside rein.  Make sure you do this slowly, in gradual little increments, so as to not grab it and undo all the work you have just put in.

    Test your effectiveness while riding up the center line.  Can you flex your horse’s poll one way or the other using your inside rein, without losing any forward momentum or your horse stepping to the inside, which will happen if he feels unbalanced?

    You can also go back to your circle and using your other aids to maintain the circle, just use your inside rein to ask for flexion through the poll to the inside.  You should find that your horse will have a more active gait on the circle, have more balance and just be a happier horse overall!

    Remember your inside rein is only the supporting character and without your other aids, the whole performance is pretty much guaranteed to be a flop!

    If, over time, you feel that you are beginning to pull or depend a little too much on your inside rein again, take it back to riding without it for a few minutes in the arena to reassert your other aids again.

    Happy Riding
    Lorna

    Additional Resources for Equestrians

    Lightening Up on Your inside Rein

  • Refining Your Walk to Canter Transition

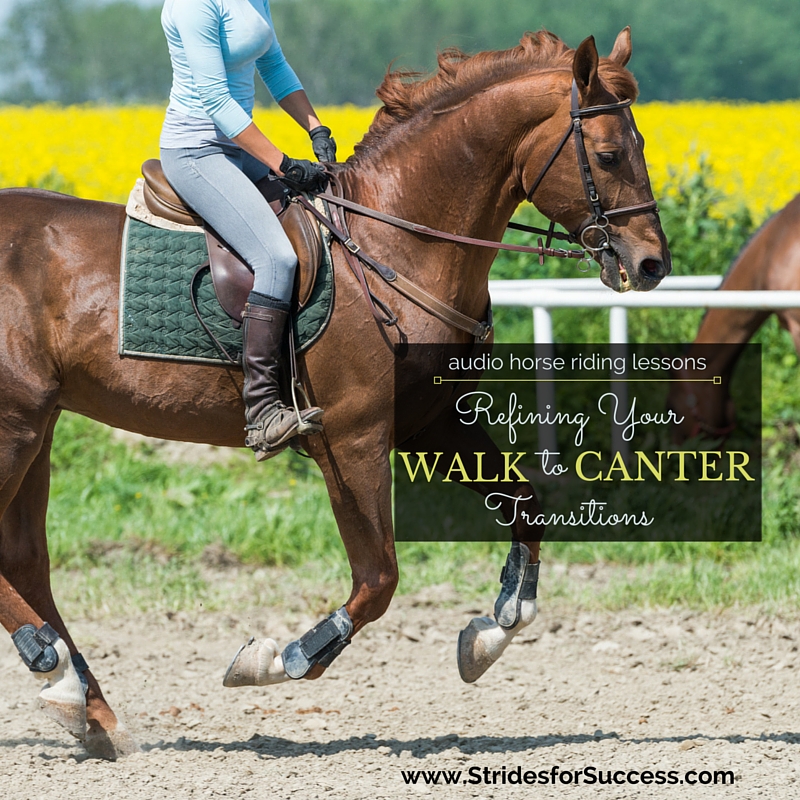
    Refining Your Walk to Canter Transition

    [smart_track_player url=”https://op3.dev/e/traffic.libsyn.com/dailystridespodcast/SFA456-Refining-Your-Walk-to-Canter-Transition.mp3″ title=”A Better Walk to Canter Transition” social_linkedin=”true” social_pinterest=”true” social_email=”true” tweet_text=”Using walk to canter to improve all canter transitions” hashtag=”canter #equestrian” twitter_username=”strides_success” ]

    Do you find that when asking your horse for canter, you tend to ‘over do’ some aspects of your aids?  Perhaps you throw your reins at your horse, or you try to ‘push’ too much with your seat or upper body…  You are shoving and bumping about in the saddle!

    And when your horse eventually ‘strikes’ the canter, you are so far from where you want to be position-wise, that it takes the first 5 to 10 strides just to get your limbs back listening to you. This is before you can even begin to turn your mind to the quality of the canter happening underneath you.

    Why Introduce the Walk to Canter

    Assuming you have a fairly independent seat. And that your horse is schooled and developed enough to understand the aids to canter and then carry himself in the canter… I suggest beginning to improve your canter by introducing walk to canter into your schooling routine.

    Refining your walk to canter is a fantastic exercise for both horse and rider.  It will help you improve the actual canter itself. This is due to the fact that you arrive at the transition more prepared, more organized, and less hurried.

    It helps your horse by strengthening him and helping him to understand more subtle aids, due to you being more organized with giving them!

    Your Horse’s Canter

    Before you begin it is important you understand the canter itself and the aids to ask your horse to canter…  You probably know that your horse ‘leads’ with one of his front legs when he canters.

    Depending on which front leg you want him to lead with, you will ask him to strike off with the opposite back leg.  

    Canter has a three-time beat, so using the left back leg as his ‘striking leg’ he will then move his inside back leg (right back leg) together with his outside front leg (left front leg), meaning the diagonal pair move together.  The third beat comes from the leading front leg (in this case the right front leg). Then there is a short moment of suspension before the outside hind leg touches down again and the sequence begins over.

    Collection in the Walk

    Preparation is everything, so establishing a good quality walk is essential.  Ideally, you want to have a little collection in your walk, which you can achieve by applying lots of half halts throughout the ride.   Think of creating energy with your legs and then containing it or storing it, until needed, with your hands.

    The walk must not lose its forward momentum and your horse must not become ‘sticky’ in the walk, which often happens when riders are trying to collect things up.  Keep in mind that the half halt is only held for a split second; then released.  Rather up the quantity of the half halts, than increasing the length you hold them for.

    Timing Your Aids

    Regarding your aids and applying them… I recommend you begin by becoming aware of what leg is stepping down, onto the ground, at any given time underneath you.

    The reason this is important is that you need to apply your aids to ask for the canter either just before or when the outside hind leg is busy moving forward, coming under the horse, and before he ‘steps down’ onto it.

    When I am teaching in the arena, I ask my riders from very early in their riding journeys to begin identifying the different legs underneath. We do this them by saying ‘Now…’ ‘Now…’ ‘Now…’ ‘Now…’  when a particular leg is ‘touching down’.

    It allows them to become familiar with the rhythm and sequence of the footfalls, so that they can then, while they are still repeating’ Now’, begin noticing how it ‘feels’ when that hind leg is beginning to lift up to moving forward and underneath.

    Next time you are in the saddle, do this exercise.  Feel how, when his inside back leg is moving forward, and this is nice and easy to feel in walk, your corresponding seatbone is ‘down’.  This is due to your horse having to swing his barrel slightly to the other side in order to make room for that leg to come underneath him.

    Your Seat Bones

    So, when the left back leg is coming forwards, your left seatbone will be slightly lower and also moving forwards.  While this is happening your right seat bone will be slightly raised and will feel as though it is ‘sliding’ back.  

    Once your horse puts his right back hoof on the ground, you will feel your right seat bone raise up. It will begin to feel like it is sliding backward, as your horse moves over the right back hoof.  While this is happening, your left seatbone will be lowered slightly. And sliding forwards, as your horse’s left back leg moves underneath him, preparing to bear the weight again.

    You will feel that as your inside seatbone is at its most forward point, your outside seatbone will be ‘back’ slightly and higher that the inside. Then, as the inside hind leg touches the ground, and your horse begins to lift his outside hind leg forward to put down underneath him, your outside seat bone will ‘drop’ and begin to move forward. This is, again, due to the shift in your horse’s barrel to make way for the leg coming underneath him.

    Asking for the Canter

    Now, I personally think the exact time to ask for the transition depends a lot on your horse and how responsive he is to your aids

    If he is a little ‘laid back’, you may have to ask just before your inside seatbone is at its most forward position. So before it begins to move back ‘up’ and back. However, if your horse is a little sensitive, or quite responsive, it may work better for you to ask just as your outside seatbone begins to ‘dip’ and move forward again.

    Knowing exactly when to ask comes down to ‘feel’. And, luckily, this can be learned through time and consistent practice in the saddle. There is a blog post and audio lesson on ‘Improving Your Feel in the Saddle’ HERE >>

    Often, we ask too late. Or at the incorrect time! And the result is either our horse trots, because he cannot get his legs into the sequence for canter. Or he begins to canter with his front legs first, not striking off with the outside hind.  This is not correct, and you will almost feel that your horse skips.  If this happens, bring him back to walk and try again.

    Be Clear About What You Want

    When setting up your first walk to canter transition, have a clear idea in your mind on how you are going to ask for canter.  Focus your attention on establishing a good, active walk with lots of energy.  Become clear on how you are going to apply your aids, and when.

    Your seat is vitally important in asking for the canter.  Often you hear of using your seat to ‘scoop’ your horse up into the canter.  This cannot happen unless you are truly carrying your upper body. And you ask for the transition at the correct time.

    Your inside leg will remain on the girth, your outside leg will ‘swing’ back. This is to indicate to your horse to strike with the outside hind leg and your hands will follow the movement when it happens.

    Using a Circle to Help

    Start riding a 20 meter circle, which will help you initially as your horse will already be positioned with a bend to the inside. This will increase your chance of a clean strike on the correct lead.  You will be working with your horse rather than against it.

    Resist the temptation to lean or push.  The canter is asked for with your seat first and foremost. Your legs and hands must also do their job in both indicating and allowing your  horse to canter

    The transition should be clean.  If your horse begins to rush in the walk, trots or jogs a little when asked, immediately bring him back to walk. From there, work on preparing a good transition all over again. Begin with the walk and half halts.

    Quality of Walk to Canter

    Keep in mind that the quality of the transition can only be as good as the gait leading up to it. So set your intention on an achieving an active, forward walk

    Once you have performed the walk to canter transition, remember to reward your horse with a kind word and a softening of the inside rein.  Let him know that he has indeed carried out what you asked.  If you are late to reward, he may not know for future reference what you are looking for.

    Continue with the canter for 15 to 20 strides. Pay attention to how quickly it takes you to establish a rhythm this time.  Have you managed to keep your upper body light in the saddle?  Is your lower leg where it should be?  Are you following your horse with your pelvis and hands?

    Continue to practice this on both reins and notice if one lead is easier to achieve than the other.  Also, keep your attention on how long it takes you to feel ‘in control’ of the canter.  And, if it happens somewhat sooner than if you canter through trot.

    Happy Riding
    Lorna

    And, finally, if you would like to go further with your riding I highly suggest you give my free training series a go…Find the Gaps in Your Horses Training using this free audio series available for you to listen to in a private podcast feed – so just as easy as listening to the Daily STrides Podcast :) You can sign up for free HERE or visit https://stridesforsuccess.com/free

    Additional Posts on this Topic

        • Setting Up Better Canter Transitions HERE >>
        • Keeping Canter Work Interesting HERE >>
        • 4 Steps to a More Comfortable Canter HERE >>

    Get Support & Guidance in Your Riding

    Riding a Smooth & Timely Walk to Canter Transition

    Some exercises can have a ripple effect all through our riding when we dedicate some time and energy to making them better.  I believe that the walk to canter is one of those exercises and I am excited to help you master the transition this month with your horse.

    This group of episodes is available for you to begin working with today, inside of Connection. They are suitable for all horses and riders who are able to canter. They will help you both become clearer on the aids, and more focused on timing and its importance.  And more balanced and responsive as well.

    Refining Your Walk to Canter Transitions