Author: Lorna Leeson

  • Getting Back in the Saddle After a Fall

    Getting Back in the Saddle After a Fall

    [fusebox_track_player url=”https://op3.dev/e/traffic.libsyn.com/dailystridespodcast/1301_Getting_Back_in_the_Saddle_after_a_Fall.mp3″ title=”Getting Back in the Saddle After a FAll” social_linkedin=”true” social_pinterest=”true” social_email=”true” ]

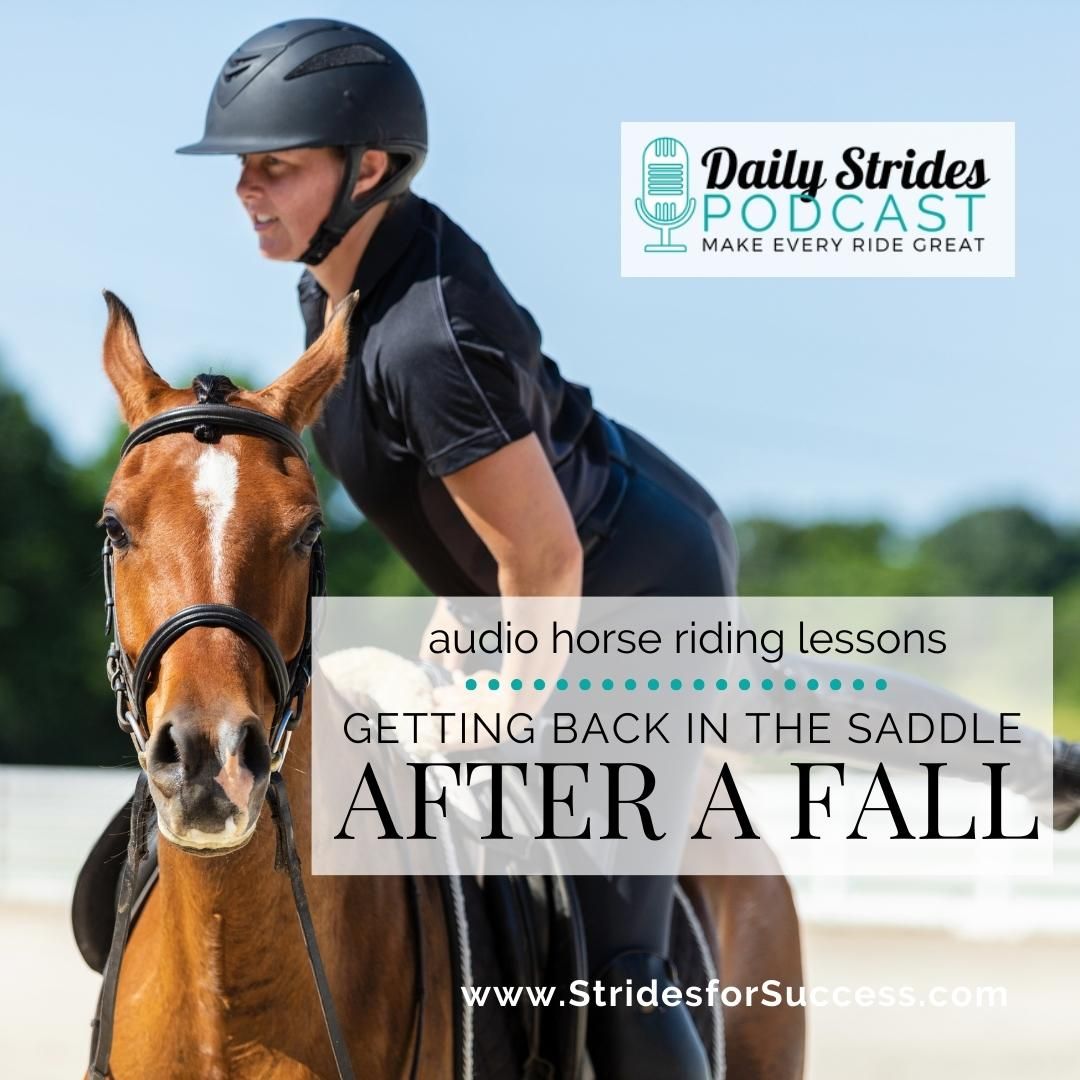
    As riders, we all know that falls are part and parcel of the whole riding experience. However, getting back in the saddle after a fall can be a sticking point for many riders. This can be due to fear, a lack of understanding, or just the realization that falls can and will happen!

    In this episode of the Daily Strides Podcast, I will lay out short actionable steps you can take to get you back in the saddle after a fall from your horse.

    Why Did You Fall?

    Understanding why you fell in the first place is usually pretty important. And it can also be a moment of truth for many riders. Especially those who want to lay the blame squarely at their horse’s hooves! Now, let’s be honest, sometimes it can be something that the horse did that caused the fall, such as tripping or losing balance.  However, even then, there are usually ways that you can improve your chances of staying on.

    Identifying the reasons for the fall, both internal and external, will allow you to begin to make changes so that the chances of you coming off again are less.

    If the reason was more external, such as a bag blowing in the wind and spooking your horse, you can begin to make changes to lessen the chances of this happening again.  Not riding on a windy day.  Cleaning up around the arena or riding space.  Riding a different route, etc.

    And you can work on increasing your own balance, posture, position, suppleness, independent aids, and response when in the saddle as well. All of these will help increase your chances of staying on next time.

    Groundwork is Your Friend

    Before getting back in the saddle after a fall it can be helpful to spend time working with your horse on the ground. Especially if you are experiencing anxiety about mounting up again.  Groom, lead, and engage in groundwork exercises to rebuild trust and establish a strong connection with your horse.

    Following a groundwork plan will allow you to increase your confidence in your own abilities and in your horse as well.

    And, if done correctly, will set the two of you up for better communication and aids when you do eventually mount up again.  Make sure you check out my Groundwork for Riding Program where we go deep into all of this. From here, when you are ready to get back in the saddle again, there are a few key considerations and steps.

    Select the Right Horse

    Choose a calm, well-trained, and reliable horse for your first few rides back. A horse with a willing and gentle temperament; and a history of being safe for riders! This can play such an important role in boosting your confidence.  Now, I get that you might be limited here by location, however, if necessary, maybe research a riding school that can really give you this type of horse for your first time back in the saddle.

    I also think having a ‘helper’ on the ground can lower your stress levels all around in this situation.  When you have someone who is considerate, knowledgeable, and trustworthy, it can boost your confidence a little more.

    This helper doesn’t necessarily have to be a ‘horsey person’.  Just someone who is willing to be there for you, keep the conversation flowing and borrow you a little of their more relaxed feelings when you need them.

    Short & Sweet

    For your first time back in the saddle, keep it short and sweet.  3 to 5 minutes is perfect.  Enough time for you to get on, feel the discomfort, and then also feel it dissipate a little.  This is important when we think of changing your current ‘go to’ feeling of anxiety or fear.

    From there, begin making each ride a little longer until you have built up to 15 or 20 minutes riding time.  This is long enough to begin ‘working’, but not so long that you end up exhausted (mentally or physically). 

    I also think that it is really important to be consistent with your riding.  The more of a rhythm you can create with how often you are getting back into the saddle, the more positive momentum you will create.  Even if it’s just a couple of minutes at a time.

    Get Back to Basics

    Once you can begin to actually mount up without feeling paralyzed by anxiety, I would strongly suggest getting back to the basics of your riding. Focus on really developing and correcting your seat, position, and posture.  From here, your aids and timing your aids will be important to creating better communication with your horse.

    A big part of building confidence as a rider is to believe in your own abilities when it comes to your riding.  How well you can effectively communicate with your horse is a big part of this.

    By getting all of your basics working for you (so being correct) and then putting them onto autopilot, you will begin to feel more and more at ease in the saddle.  And soon, getting back on after a fall will no longer be a worry for you. Because, I think this is important to keep in mind, you will most likely fall again in the future.  It really is just part and parcel of riding horses.

    Returning to Riding

    Remember that rebuilding confidence after a fall takes time and patience. And every rider’s journey is unique.  It’s important to listen to your body and emotions.  Don’t simply disregard your fears as being ‘stupid or silly’.  You feel that way for a reason.

    Understanding why you feel that way will have a far longer-lasting effect on your overall success with getting back into the saddle.  

    And, if at any point you feel overwhelmed or unsafe, it’s okay to take a step back.  Find the place you feel comfortable and begin again from there.  I realize that telling you to get ‘professional help’ in the form of a trainer or instructor is also correct.  However, I also know that so many riders simply cannot do this due to location or time challenges.

    You can get back in the saddle after a fall.  It is definitely do-able.  The question is, are you willing to invest the time and feel all of the uncomfortable feelings to make it a reality for you?  I hope so! 

    If you would like some step-by-step help and training with this, make sure you check out Returning to Riding.

    Happy Riding

    Lorna

    Back in the Saddle After a Fall

  • Question:- Should I Train My Horse in the Wind?

    Question:- Should I Train My Horse in the Wind?

    [fusebox_track_player url=”https://op3.dev/e/traffic.libsyn.com/dailystridespodcast/1300_Question_Should_I_Work_With_My_Horse_in_the_Wind.mp3″ title=”Should I Train My Horse in the Wind?” social_linkedin=”true” social_pinterest=”true” social_email=”true” ]
    This is a big question for many riders, especially at certain times of the year when the wind can play a bigger role in your riding and training.  In this episode of the Daily Strides Podcast I answer the question; Should I Train My Horse in the Wind?

    Should I Train My Horse in the Wind?

    This is a great question and one that many riders ask themselves.  In this episode of The Daily Strides Podcast, I give you my take on what you can factor into your decision when determining if you should indeed work your horse in the wind; or not!
    If you have any comments or suggestions for this particular question, please let us know HERE inside our Daily Strides Podcast Online Community. You are also more than welcome to submit any riding or training-related questions you have inside of the group as well.
    I look forward to connecting with you there🙂
    Happy Riding
    Lorna

    Resources to Help with This Topic

  • Using Artificial Aids when Training Your Horse

    Using Artificial Aids when Training Your Horse

    [fusebox_track_player url=”https://op3.dev/e/traffic.libsyn.com/dailystridespodcast/1299_Using_Artificial_Aids_For_Good_in_Your_Riding.mp3″ title=”Using Artificial Aids when Training Your Horse” social_linkedin=”true” social_pinterest=”true” social_email=”true” ]
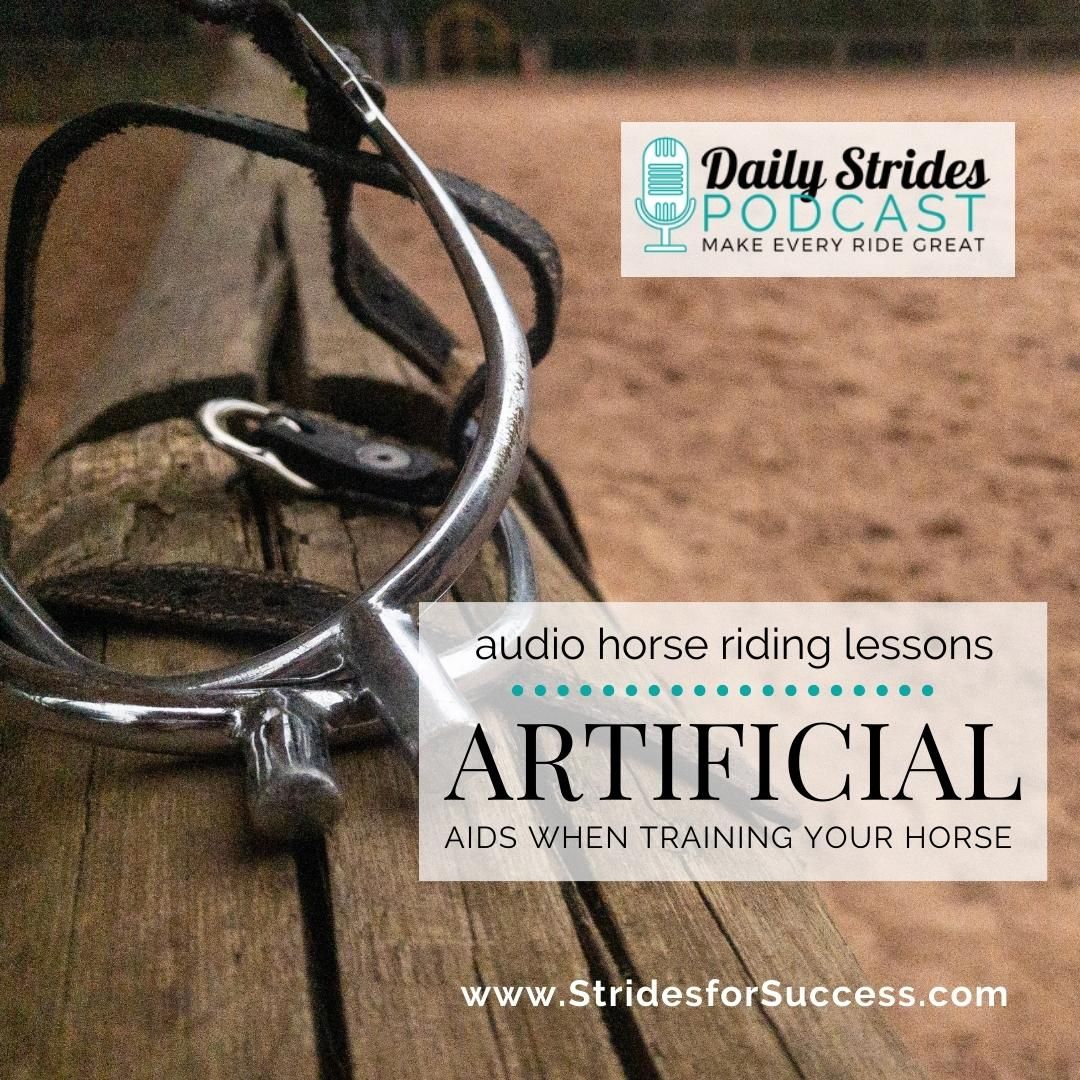
    I think it’s safe to say that all equestrians use artificial aids when working with and communicating with their horses at some point.  And yet, for some reason, many riders see many of these things as being ‘bad’.  However, for the most part, this is simply not true; especially if they are used correctly.
    If you use a saddle, a bridle, a head collar, a leadrope, a stable, an arena, a round pen, etc. etc. etc. when working with or training your horse, you are using artificial aids.
    And when they are used correctly, they can really be a help when explaining things to your horse and also helping your horse to develop strength through his body.  However, the keyword in that sentence is ‘correctly’…

    What is an Artificial

    The easiest way to think about artificial aids is anything that is not attached to you.  It’s not part of your body or who you are! If it’s part of you, it’s a natural aid. So artificial aids are equipment, fences, etc.
    And artificial aids, when used correctly, clarify, strengthen, or ‘back up’ your natural aids.
    They help your horse to understand what you’re saying and what you expect from him when you say it.  And this is a key part of the conversation… In order for your aids to be effective, your horse must understand your aids.
    It is when we are being a little ‘lazy’ without natural aids and depend too much on our artificial aids that we run into trouble.  This is where your artificial aids can start to become too ‘strong’ or downright incorrect when it comes to training your horse.

    Lead with Your Natural Aids

    One of the key factors when using artificial aids is to ensure that you are always leading or offering your natural aids first.  It is only when they are ignored, responded to incorrectly, too weak, or misunderstood, that you can then, maybe, introduce the artificial aid.
    In fact, the goal as a rider should be to develop your natural aids, and your horse’s understanding so that you no longer need the artificial aids to assist. 
    And yes, while many riders will never reach this point in their conversation with their horses, it does help to keep the ‘why’ you are using artificial aids in perspective when you are training and riding.
    Artificial aids are simply a tool to help you become more effective when using your natural aids.

    Using Artificial Aids

    There are many aids that are not natural and all can be used in different ways in order to clarify, back up, or strengthen your natural aids.  A few of the most common and basic examples are:-
    • Whip (crop, pointer!)
    • Spurs
    • Bit
    • Groundpoles
    • Lunge Line
    • Lunge Whip
    • Boundary of Arena
    There are so many more, but these are the ones that the riders I work with most commonly use. And, again, when used correctly, there is nothing wrong with these aids.
    When the rider is thoughtful, responsible, and compassionate each one of these aids can make a huge difference in how well the horse understands what is being asked.
    Make sure you listen to this episode of the Daily Strides Podcast where I go further into how you can begin using these sorts of aids in your riding that will help develop your natural aids.
    Happy Riding
    Lorna

    List of Resources on This Topic:-

    Join Our Online Community of Equestrians

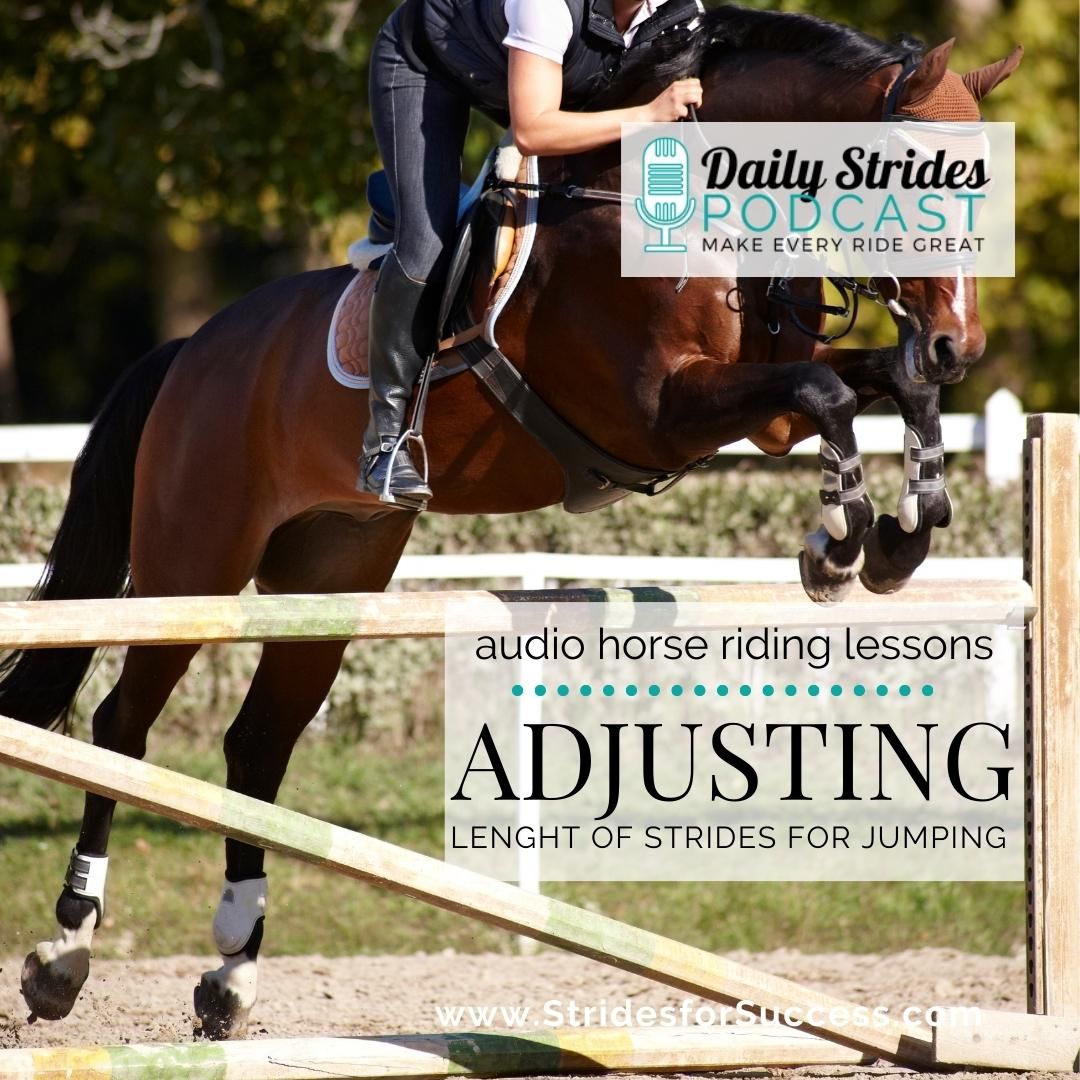
  • Adjusting the Length of Your Horse’s Stride for Jumping

    Adjusting the Length of Your Horse’s Stride for Jumping

    If you enjoy jumping with your horse, riding that clear round is all important. Luckily there are a few key areas you can work on in your training that will help you to begin seeing more of them.  Adjusting the length of your horse’s strides is just one of those. And it’s also a pretty useful exercise for all horses and riders, jumping or not.
    If you can begin to intentionally help your horse to have either a shorter or a longer stride, it gives you both flexibility and adjustability in your riding
    In this episode of the Daily Strides Podcast, I want to help you to begin to understand just how versatile this exercise is to have in your toolkit when it comes to riding your horse.

    Predicting Your Horses ‘Arrival’ Point

    Like anything, if you can more accurately predict the outcome of something, you can begin to make changes or preparations for how it will be.  Jumping is no different.  When you can begin to ‘see’ the point your horse will actually take off from the fence, from a distance away, you can make decisions based on that.
    In fact, being able to see a ‘point’ for something to happen further on down the line is useful regardless of what you’re doing with your horse.
    And when jumping, remember, that all horses are different.  So when we think about jumping tracks the distances, however well planned, won’t suit all horses.  However, if you can accurately predict where your horse will be 5 or 6 strides from now, and then make adjustments to those 5 or 6 strides; well it won’t really matter, will it?

    Before Adjusting the Length of Your Horse’s Strides

    Like most things, there are a couple of prerequisites that riders and horses will have to develop before they begin adding this to their training program. The first of these, I feel, is the ability to see and then ride a line.  This is often one of those ‘easier said than done’ things.
    And while many riders might be able to ‘see’ the line; riding it is a whole other story!
    Another important element to both understand and effectively ride is the half halt.  Having control over your aids to clearly communicate this to your horse is key to it working for you.  Whether that is to balance, rebalance, correct, or just focus attention and energy.
    Adjusting the length of your horse’s strides is not pulling their mouth or kicking on; it is harnessing the energy to make changes to your horse’s way of going.

    Understanding Impulsion

    Whether you’re shortening or lengthening, maintaining the desired level of impulsion is key to effectively jumping the actual jump!  Pulling too much and slowing things down in a misguided attempt to shorten will not work.  Sure, you might fit more strides in between here and there.  But when you do get ‘there’ your horse won’t be ready to actually jump the jump.  Which, is the whole point of the process.
    Similarly, kicking on and chasing your horse to lengthen will result in your horse flattening and becoming heavy on the forehand; again not a great way to meet a jump!
    Impulsion needs you to really have the correct level of tension present inside of the container that makes up you and your horse.  This tension (relaxation) combined with the actual energy needed (forwardness) and a good and consistent rhythm will help maintain impulsion.  And, when working correctly, impulsion leads to straightness. Another key element when jumping those clear rounds.

    Seeing a Stride

    This is a skill that, as a rider, needs to be developed in order to really get the benefits of adjusting the length of your horse’s strides. After all, it makes little sense adjusting them if you’ve no idea where you really want to be at take-off!
    Seeing a stride simply means that you can accurately predict where your horse will be in a specific number of strides time. 
    It’s being able to say, “in 5 strides from now, all being equal to what we’re doing now, we will be ‘there’.”  And based on where ‘there’ is, you can then decide if adjustments need to be made to the actual length of the strides.  Changing the length of the stride will prevent chipping in or standing off the jump. Neither of these are ideal for clear rounds!
    If ‘there’ is too close or too far away from the ideal take-off point of the jump, you have now 5 strides available to adjust that point.  And this is often the difference between a pole staying up or coming down.

    Counting Yourself Down

    Start learning how to see your stride by playing a game with yourself over a single pole on the ground.  Canter back and forth over the pole and see if you can accurately and correctly predict the point where you will have 3 strides left to go before ‘jumping’ the pole.
    Accountability is key here; say out loud 3, 2, 1, jump. If you get 3, 2, jump or 3, 2, 1, 1, 1, jump – clearly there’s an issue!
    Once you have eventually mastered this skill, you can begin to make it a little more difficult.  Begin predicting where 5 strides between you and the pole will be.  Again, count yourself down.  Counting yourself ‘up’ (1,2,3,4,5) won’t work as you can just keep counting!  I also find that riders who initially count in their heads also struggle!  Their brain wants them to be right, so they can tend to tell themselves porkies!
    When you can accurately predict the point where your horse will fit 5 or even 7 strides in between you and the pole, this is where you can start to see where adjustments should be made. And, this is where you can begin working on making those small adjustments over every stride to result in a big difference.

    Shortening Your Strides

    If you can take 2 inches off each of your 5 strides, it means you can change the ‘take-off point’ by 10 inches.  That is nearly a foot or 30 centimeters.  And that is just shortening by the smallest of margins, 2 inches or 5 centimeters.
    Imagine when you and your horse develop this skill; you can shorten strides by 10 inches per stride (or more).  This will truly give you the flexibility you need to meet each jump at the right place each time.  So that your horse has the best possible chance of clearing the jump.
    Shortening is not slowing your horse down.  It is not pulling his mouth or throwing an ‘anchor’ behind you in the sand! 
    True shortening will allow you to maintain the energy, rhythm, suppleness, impulsion, contact, and straightness in order to reach the jump in the best possible place to clear it from. Sometimes, when we shorten, your horse might not initially have enough strength in his body to maintain the above; this is where your aids will act like boundaries to help your horse.
    Shortening the strides also requires that you maintain a lightness in both how you are riding and your horse’s way of going.  Light and bouncy; not heavy and ‘stuck in the mud’.

    Lengthening the Strides

    So many riders think lengthening and speed are related.  I have honestly watched people and said silent prayers in my head that they get from A to B in one piece!  It can be nerve-wracking watching a rider who has confused rushing or chasing with lengthening.
    To effectively lengthen the stride, you must maintain the energy, the tension, the contact, the forwardness, and – maybe most importantly – the impulsion.
    Chasing your horse on to the point where all of the energy falls out the front door is not lengthening.  In fact, it is just downright dangerous as your horse will find it very difficult to find the ‘lift off’ gear and get his shoulders over the jump!
    As you ask for your horse to lengthen, make sure you’re not getting ahead of or in front of the movement.  If you are leaning your weight in any way on your horse’s shoulders or withers, you make jumping the jump so much more difficult for the horse.  Sit up and remember to ride!

    Adjusting the Length of Your Horse’s Stride

    My big piece of advice when you are beginning to work with adjusting the length of your horse’s stride is to start small.  A couple of inches either way are either longer or shorter.  Being able to have this level of adjustability in your horse can change so much when it comes to your training in general.
    Remember, you are simply ‘asking’ your horse to lengthen or shorten; you’re not doing the work yourself! Don’t lie back and don’t throw your body forward.
    And, as I said at the beginning, this type of suppleness and adjustability through your horse is not just for jumping. You can and will use this in all day-to-day riding.  And it’s a great exercise to work on with your horse as well.
    Happy Riding
    Lorna

    Resources:-

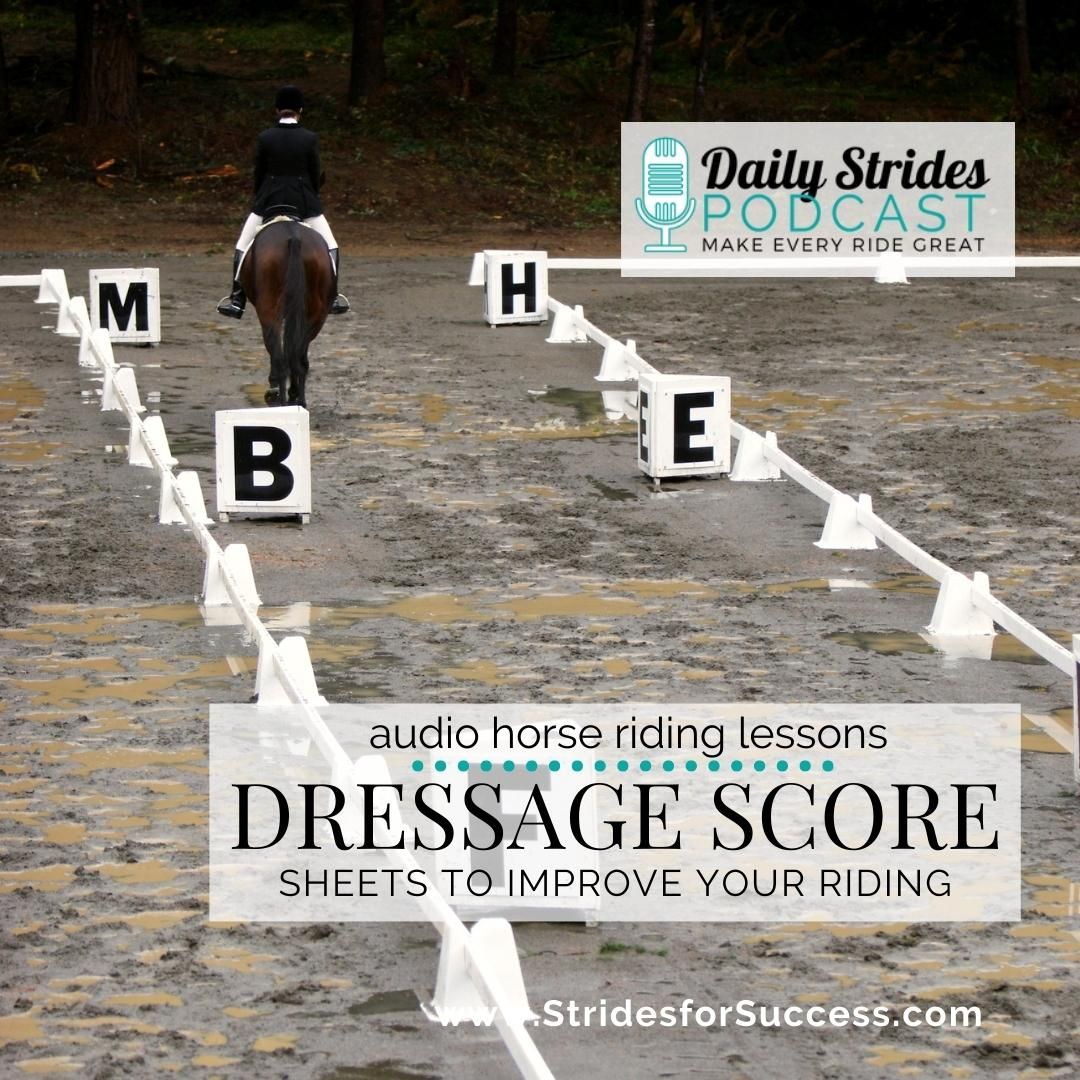
  • Analysing Your Dressage Score Sheets to Improve Your Riding

    Analysing Your Dressage Score Sheets to Improve Your Riding

    Dressage is a funny thing when we really think about it.  Riders pay someone for their opinion on how well they are riding for those few minutes. And how well their horse is responding and performing for those few minutes. And yet, often when riders receive their marks, it can feel like harsh criticism!  Remember, dressage is all about the judge’s opinion.  It is subjective.  Unlike, say, jumping for example.  In jumping, the pole is either up or it’s down.  No in-between and definitely not open to interpretation!

    But, the fact that the comments are subjective allows you to begin analyzing your dressage score sheets and use them as a training tool for you and your horse. And this may require a mindset shift first… 

    In this episode of the Daily Strides Podcast, I want to help you begin using your score sheets as a tool to improve your riding. After all, if shift our thoughts about each dressage test to being less about harsh judgment and more of a mini private lesson, well, it helps us to be more open to the feedback we receive.

    Understanding Dressage Score Sheets

    So let’s begin by saying that each movement is scored between 0 and 10.  0 means it never happened, and 10 is perfect! And, it is also worth noting that judges are only required to comment on any movement that was deemed to be a 5 or under.  So, if you see a fairly empty comments section, well that’s a good thing :)

    The dressage score sheets are a tool used by the judges to evaluate your performance during a dressage test. They include comments, scores, and, sometimes, diagrams or notes regarding specific movements and overall performance. The goal is to help you understand how the overall test went, and pointers to work on for the next time.

    Remember, the judge is not there to train or coach you.  They are merely observing what they see.

    And when this is also coupled with the fact that there’s a lot happening quickly, one movement, then the next, and the next, etc. it makes sense that the judge won’t be able to write a composition for you.  They are, again, simply commenting on what they are observing as you ride your test.

     1. Analyze the Comments Thoroughly

    When you receive your dressage comment sheet, the first step is to read through it carefully. Many riders make the big mistake of only wanting the ‘score’ or the ‘mark’. And, yes, in the moment that is usually what’s most important.  However, going forward…

    Pay close attention to the judge’s comments on each movement and the overall impression. Judges often use abbreviations and shorthand, so make sure you understand their terminology. If you have any questions or uncertainties, don’t hesitate to seek clarification from experienced trainers or judges.

     2. Notice Patterns

    Dressage tests consist of a series of movements which are judged separately. One by one as you ride through your test.  By searching for patterns, both in an individual test and by looking over previous tests as well, you can begin to identify things about yourself and your horse.  What movements you are stronger or more able to ride?  And, similarly, the movements that need more attention and development.

    Look for patterns in the feedback; if several movements received similar comments, it’s a clear indication of an area that requires improvement.

    Remember, dressage judges are not just random riders put there to dish out harsh criticism! Becoming a judge is not something a rider can do on a whim.  Different governing bodies have different requirements, but it is safe to say that most judges will have been successful in their own right as dressage riders. And then also have passed some sort of training, exam, or program. This means that while their opinions can be subjective, they are also guided by well-defined principles.

     3. Begin Creating a Training Program

    Once you’ve identified specific areas that need improvement, now the work begins on improving those individual things.  And this is what can trip riders up.  Things such as relaxation or rhythm are absolute basics, and a lot of riders are not keen to go back to the start again! They rather want to work on the ‘fancier’ movements. Unfortunately, this is why they will remain ‘stuck’ at a certain level without ever really progressing.

    Many of the planned riding sessions in your program can be based on the feedback from your dressage score sheets.

    For example, if the judge (or judges!) pointed out issues with your horse’s impulsion, your goal might be to improve impulsion in your next training sessions.  I also think that it’s important not to get too hung up on only improving the weaker parts of your test.  That will usually result in riding becoming a bit of a chore for you and your horse!  Sprinkle the topics that need work throughout your rides.  And remember to keep it fun for both of you.

     4. Record Yourself Riding the Test

    My final tip for you to make the most of your dressage score sheets is to actually record yourself riding the test.  Now, obviously, this can only be done going forward with future tests.  But if you have the recording on the actual test that was judged and then use that to compare, movement for movement, with your dressage score sheet, you can begin to ‘see’ what is more or less desirable in your work.

    This allows you to visually assess your performance and compare it with the judge’s feedback.  A side by side review or comparision. 

    Instead of seeing your marks, scores, and comments as negative, be realistic about what they really are.  Personalized feedback from an expert on the topic tells you where to focus your attention and energy going forward so that you and your horse can improve.

    And that can be an amazing thing!

    Happy Riding
    Lorna

    More on This Topic

    Join Our Online Community of Equestrians

    Dressage Score Sheets to Improve Your Riding - Connection August 2023

  • Sprinkling Half Halts all Over the Arena

    Sprinkling Half Halts all Over the Arena

    [fusebox_track_player url=”https://op3.dev/e/traffic.libsyn.com/dailystridespodcast/1296_Sprinkling_Half_Halts_All_Over_the_Arena.mp3″ title=”Sprinkling Half Halts All Over the Arena” social_linkedin=”true” social_pinterest=”true” social_email=”true” ]

    As riders, we have all heard of the half halt.  Many riders use it regularly to, let’s be honest, varying levels of success! And while it can be easy to say that your horse is just not all that responsive, and just leave it at that.  I think a better plan would be to tweak your approach and see if you can maybe get a better result.

    And then commit to sprinkling half halts all over the arena when working with your horse; groundwork, lunging, and when riding.

    You might be thinking “half halts during groundwork and lunging? Hardly!”  But in today’s episode, I want to literally ‘sell’ you on the idea of learning, practicing, and incorporating these into your day-to-day sessions with your horse.  And then just allowing the results to speak for themselves :)

    Why Sprinkle Half Halts All Over the Arena?

    One of the most simple ways to see the power of the half halt is to begin recognizing and understanding why we use it as a tool in our training with our horses. There are lots of different reasons that this is the ‘go-to’ communication tool for horses. And most of those fall into one of three different categories.

    1. Get Your Horse’s Attention

    It is all well and good to ask questions or try to correct your horse whether on the ground or in the saddle.  But if your horse is not listening to you, it’s obvious that both will fall short of your expectations. This is why we first use the half halt to actually gain our horse’s attention.

    It’s a little like saying “Ding Dong, come back here to me please – I’ve something important that I want to say”. 

    And if your horse brings his attention back to you, the chances are that he will be more responsive and ‘alert’ for whatever request or question comes next. And if you think about how many times you actually need to get your horse’s attention on any given groundwork, lunging, or riding session together… Yep, the result is usually that you begin sprinkling half halts all over the arena. Or trail, field, paddock, pen, etc.

    2. Make a Correction

    The second reason those in the know love the half halt is due to how effective it is to help correct any “that’s not quite it” moments your horse produces! And I think we can all agree that they are, initially anyway, plentiful in any given training session.  And rightfully so.

    After all, this is how we literally train our horses to what expectations we have of them when we apply particular combinations of aids. Or, said differently, when we ask different questions. 

    Your half halt, when correctly applied, can help you point out the ‘mistake’ to your horse. And help your horse to correct that said mistake.  Now, obviously, in this situation, we will use it with other aids in order to be as specific as we can with our horse.  To offer as much clarity as possible.  But, again, sprinkling half halts all over the arena will become easy when you are using it for this reason.

    3. Rebalance and Reconnect

    The final big reason that riders love the half halt is pretty simple.  It allows us to ‘rebalance’ things – maybe even before a full-on ‘correction’ is needed.  When we feel that very first misstep in the rhythm.  Or we feel that subtle but obvious change in the trajectory of the energy (more heavy and less light)…

    When we can both bring our horse’s attention back to us and then, quickly and subtly, rebalance or reconnect the energy, very often the quality of the movement is not ‘lost’. 

    It is so lovely to have the ability to almost ‘foresee’ a ‘speed wobble’ or a ‘whoopsie’ and then make the necessary adjustments so it never ‘really’ happens. That is the power of the half halt.  And this is why, when we take all 3 of these ‘reasons’ into account, it is probably one of the most (if not the most) powerful and versatile tools we have as riders training our horses.

    Half Halt on the Ground

    And this is exactly why, I believe, that if you can begin practicing this starting today (or the very next time you’re with your horse), you will begin to see a definite difference – even in the first session of being intentional about this.

    So, to get started, put a head collar or a bridle (if you’re going riding afterward, this is perfect to do on the way to the arena), on your horse.  Find somewhere you can ‘walk’ while leading your horse.  This can be inside of the arena, on the driveway (if it’s long enough), or in a field or paddock.

    From here, begin thinking about what the ‘half halt’ really is.  It’s a way to communicate with your horse while still maintaining the forwardness. And we do this, on the ground, just like we do in the saddle.

    Your Aids on the Ground

    When you are leading your horse, there can be this temptation to ‘overuse’ your hand aids.  Just like when we ride!  We have the reins, there in full view, and we use what we can see first.  So, just like when in the saddle, your job now becomes ‘wait’.

    You need to ‘wait’ before you just willy-nilly pull your hand back. And you also need to learn to ‘weight’ your aids a little – just like when in the saddle.

    And if you don’t believe me, try it right now. Stand up, walk forward, and then ‘weight’ one of your feet intentionally.  Simply allow more weight to ‘stay’ or ‘land’ on the hip of the foot you are ‘weighting’.

    Half Halt in Everyday Life

    I do suggest you practice this without your horse initially.  And, trust me, this is something you do all of the time in day-to-day life.  Walking through the supermarket. And you are passing an aisle… But ‘Wait’… There is something there that I may want.  Well, when your mind says ‘wait’, your body will automatically ‘weight’ the leg you stepping onto.

    There is an ever-so-slight shift of weight that allows you to ‘pause’ momentarily in order to reconsider what you really want.  That is a half halt.  And you can apply this to your groundwork with your horse. 

    And then, from there, you can begin to transfer this across to the saddle, so that you and your horse can learn to ‘wait’ or ‘pay attention’ or ‘rebalance’ when necessary in your work together.

    Happy Riding
    Lorna

    More on This Topic:-

    Join Our Online Community of Equestrians