Tag: Canter

  • Developing Your Seat in the Canter

    Developing Your Seat in the Canter

    [fusebox_track_player url=”https://dts.podtrac.com/redirect.mp3/pdcn.co/e/traffic.libsyn.com/dailystridespodcast/1139-Developing-Your-Seat-in-the-Canter.mp3″ title=”Developing Your Seat in the Canter” social_linkedin=”true” social_pinterest=”true” social_email=”true” ]

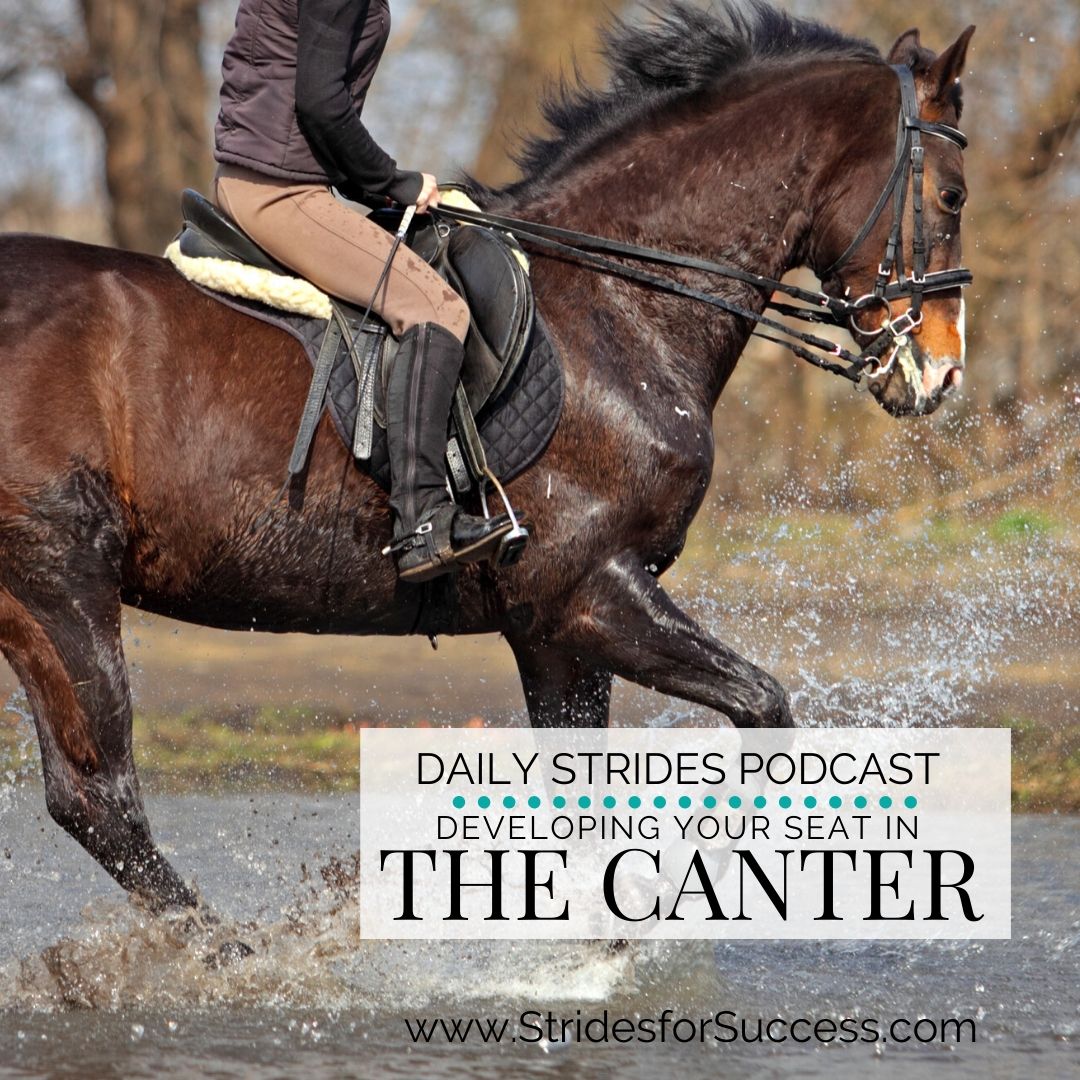
    The canter can be confusing for many riders. Especially what to do with your seat in the canter. You’re told to ride the horse forward with your seat. But you’re then told to be ‘quiet’ with your seat… So which is it? And how can you begin to develop a more effective seat in the canter?

    It all begins with knowing where you are right now. I feel that there are a few things that decide your success in canter with your horse. How much digging you’re doing is one of them. And how much shoulder action is happening is another.

    1. Start with Carrying Yourself

    I want you to think about a clothes hanger with a dress or something long hanging on it. When the wind blows, the dress is moved by the wind, however, the hanger ensures that the dress doesn’t blow away.

    Now, imagine your shoulders are like a clothes hanger. Your body is the garment hanging on the hanger. And your horse is the wind. The wind should be able to move the garment; your horse should be able to move your seat.

    Your horse’s movement will move your seat, but because you are carrying yourself, you won’t be ‘blown away’ by the horse. When you carry yourself, it requires you to use your core strength in order to maintain your own balance. This allows your horse to do what you have asked; canter.

    I think that canter is the gait that separates ‘fit’ riders from ‘unfit’ riders. It is definitely more difficult to fake strength and suppleness in the canter, hence a lot of riders having trouble with their seat to begin with in the gait. In order to really begin developing your seat, you need to first take responsibility for carrying your own body.

    Think about creating space between the bottom of your ribcage and the top of your hips. Carrying your upper body allows your lower body to move with your horse. It allows the ‘wind’ to ‘move the garment’…

    2. Allow Your Horse To ‘Lead You’ in the Canter

    The basics are something we should revisit over and over again in our riding. And yet, so many riders have resistance to this.

    The canter is a great place to get back to the basics in order to actually move forward and create momentum in your progress.

    Following and allowing are things I speak a lot about when working with riders. In order to really begin developing your seat in the canter, you need to first be able to ‘follow’ your horse. This simply means being supple enough through your body to have your horse ‘move’ it. As your horse moves your body, or more specifically your seat, will then follow him. Not shove him or push him, but simply follow his movement.

    Start in the walk. Slip your feet out of your stirrups and allow your horse to move your seat as you walk along. Notice how ‘carrying yourself’ is essential for this to happen.

    From here, you can begin doing the same in the trot. Again, without the stirrups. Before building up to the canter. Notice how you are not shoving, pushing, forcing, digging in or anything else. You are simply following your horse’s movement. You are letting the horse move your seat.

    3. Begin Refining Your Seat

    Once you can follow, you can then begin to look at having more influence using your seat in the saddle. I recommend starting with the half halt. A huge part of the half-halt is ‘allowing’. This is often overlooked or forgotten by so many riders.

    You ask the question, using the half halt and then you ‘allow’ your horse to answer, in this case through your seat.

    You will probably find that you need to ask quite a few times initially in order to get a response.  However, it is important to give your horse the space to respond each time. Ask and allow. Then repeat. Until you get the desired result.

    Yes, you may have to ask differently if your horse is not understanding or hearing the question. However, once you have found the ‘point’ where he hears you, this is where you can really now begin to shift your focus.

    Developing Your Seat in the Canter

    Think back to when you first began riding. I can bet that your aids then look a lot different to your aids now. When you begin using your seat initially in the canter, it will also be a little different from what you actually want it to be months and years from now.

    However, there has to be a ‘beginning point’. A place where you can start. And, once you have learned to follow with your seat, this is where I suggest you can begin focusing your attention on developing your seat in the canter.

    It is also important to remember what goes on ‘under’ your seat. Your horse’s back is the connection between the back end and the front end of his body. If you find yourself at any point struggling with forwardness or contact, I would suggest turning your attention back to ‘carrying yourself’ and following. This will almost always allow the energy to flow through.

    Canter is a wonderful gait. It does not have to be difficult or hard. And often, it only requires a willingness to ‘go backward’ a little in order to then leap forwards.

    Happy Riding
    Lorna

    Additional Resources to Help with This Topic

  • Developing Your Seat in the Canter

    Developing Your Seat in the Canter

    Developing Your Seat in the Canter

    The canter can be confusing for many riders. Especially what to do with your seat in the canter. You’re told to ride the horse forward with your seat. But you’re then told to be ‘quiet’ with your seat… So which is it? And how can you begin to develop a more effective seat in the canter?

    It all begins with knowing where you are right now. I feel that there are a few things that decide your success in canter with your horse. How much digging you’re doing is one of them. And how much shoulder action is happening is another.

    1. Start with Carrying Yourself

    I want you to think about a clothes hanger with a dress or something long hanging on it. When the wind blows, the dress is moved by the wind, however, the hanger ensures that the dress doesn’t blow away.

    Now, imagine your shoulders are like a clothes hanger. Your body is the garment hanging on the hanger. And your horse is the wind. The wind should be able to move the garment; your horse should be able to move your seat.

    Your horse’s movement will move your seat, but because you are carrying yourself, you won’t be ‘blown away’ by the horse. When you carry yourself, it requires you to use your core strength in order to maintain your own balance. This allows your horse to do what you have asked; canter.

    I think that canter is the gait that separates ‘fit’ riders from ‘unfit’ riders. It is definitely more difficult to fake strength and suppleness in the canter, hence a lot of riders having trouble with their seat to begin with in the gait. In order to really begin developing your seat, you need to first take responsibility for carrying your own body.

    Think about creating space between the bottom of your ribcage and the top of your hips. Carrying your upper body allows your lower body to move with your horse. It allows the ‘wind’ to ‘move the garment’…

    2. Allow Your Horse To ‘Lead You’ in the Canter

    The basics are something we should revisit over and over again in our riding. And yet, so many riders have resistance to this.

    The canter is a great place to get back to the basics in order to actually move forward and create momentum in your progress.

    Following and allowing are things I speak a lot about when working with riders. In order to really begin developing your seat in the canter, you need to first be able to ‘follow’ your horse. This simply means being supple enough through your body to have your horse ‘move’ it. As your horse moves your body, or more specifically your seat, will then follow him. Not shove him or push him, but simply follow his movement.

    Start in the walk. Slip your feet out of your stirrups and allow your horse to move your seat as you walk along. Notice how ‘carrying yourself’ is essential for this to happen.

    From here, you can begin doing the same in the trot. Again, without the stirrups. Before building up to the canter. Notice how you are not shoving, pushing, forcing, digging in or anything else. You are simply following your horse’s movement. You are letting the horse move your seat.

    3. Begin Refining Your Seat

    Once you can follow, you can then begin to look at having more influence using your seat in the saddle. I recommend starting with the half halt. A huge part of the half-halt is ‘allowing’. This is often overlooked or forgotten by so many riders.

    You ask the question, using the half halt and then you ‘allow’ your horse to answer, in this case through your seat.

    You will probably find that you need to ask quite a few times initially in order to get a response.  However, it is important to give your horse the space to respond each time. Ask and allow. Then repeat. Until you get the desired result.

    Yes, you may have to ask differently if your horse is not understanding or hearing the question. However, once you have found the ‘point’ where he hears you, this is where you can really now begin to shift your focus.

    Developing Your Seat in the Canter

    Think back to when you first began riding. I can bet that your aids then look a lot different to your aids now. When you begin using your seat initially in the canter, it will also be a little different from what you actually want it to be months and years from now.

    However, there has to be a ‘beginning point’. A place where you can start. And, once you have learned to follow with your seat, this is where I suggest you can begin focusing your attention on developing your seat in the canter.

    It is also important to remember what goes on ‘under’ your seat. Your horse’s back is the connection between the back end and the front end of his body. If you find yourself at any point struggling with forwardness or contact, I would suggest turning your attention back to ‘carrying yourself’ and following. This will almost always allow the energy to flow through.

    Canter is a wonderful gait. It does not have to be difficult or hard. And often, it only requires a willingness to ‘go backward’ a little in order to then leap forwards.

    Happy Riding
    Lorna

    Additional Resources to Help with This Topic

  • 3 Steps to Better Canter Transitions

    3 Steps to Better Canter Transitions

    3 Steps to Better Canter Transitions
    Have you ever felt that feeling?  The feeling you get when you’re trotting and you ask for the canter.  Rather than your horse simply striking cleanly from the trot to the canter, you experience this extremely uncomfortable and unbalanced trot.  A trot that gets faster and faster until finally you almost fall into a canter. Not a great feeling, eh?!
    Or perhaps, your experience of getting into canter is a little different.  Maybe you feel like you are getting thrown forward every time your horse transitions to canter?  Different, but equally as unpleasant!
    [smart_track_player url=”http://traffic.libsyn.com/dailystridespodcast/1135-3-Steps-to-Better-Canter-Transitions.mp3″ title=”3 Steps to Better Canter Transitions” social_linkedin=”true” social_pinterest=”true” social_email=”true” tweet_text=”Yep; better canter transitions are just 3 simple steps away for you and your horse ” hashtag=”equestrian #podcast” twitter_username=”strides_success” ]
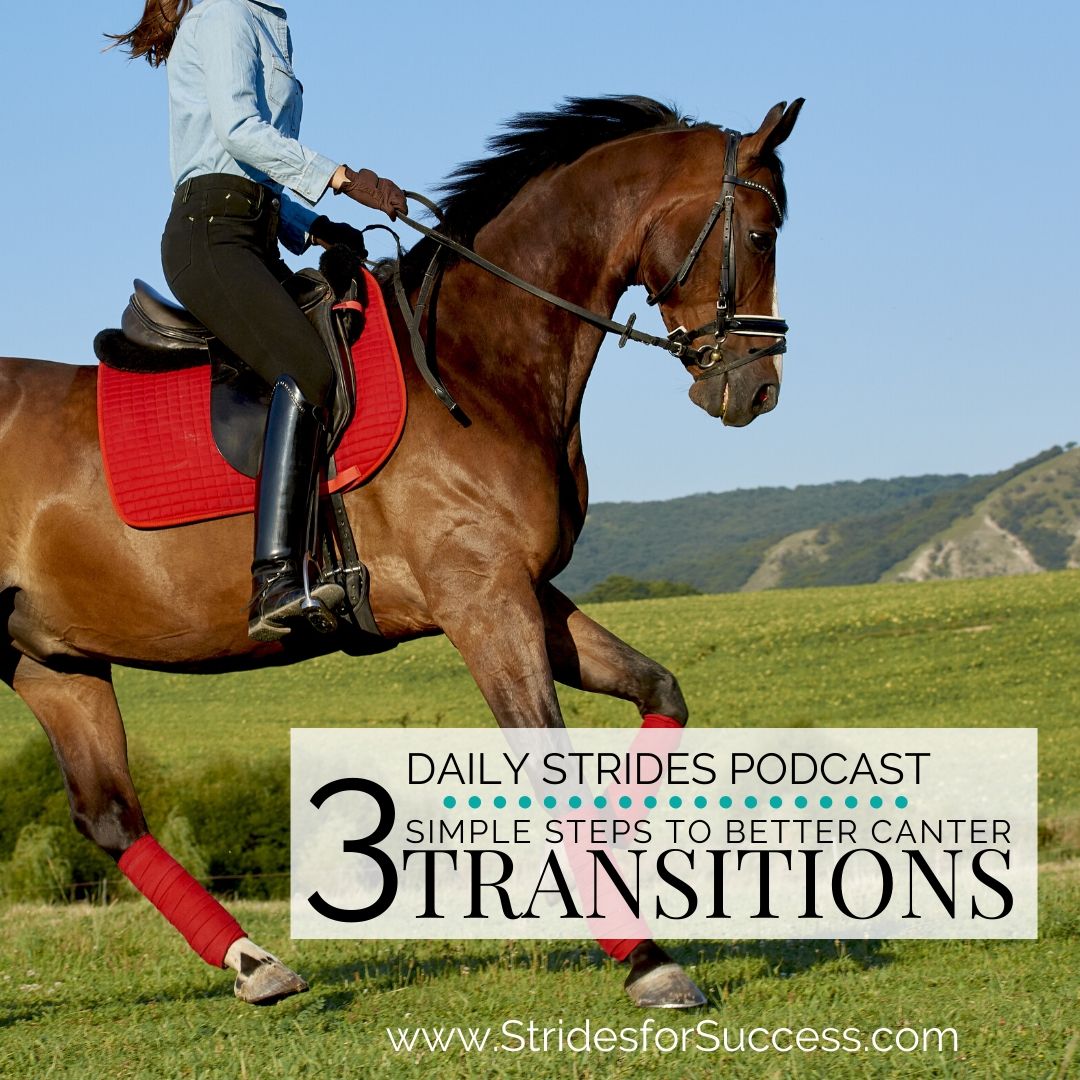
    In this episode of the Daily Strides Podcast, I want to cover a topic that I feel so many riders struggle with.  Successful canter transitions.  I’m going to give you 3 simple yet effective actions that you can implement today, which I guarantee you will improve your canter transitions.
    And, the good news is that, I believe that you can improve this very quickly; you just need to know what to do…

    1 . Plan, Plan, and Plan again!

    Planning is so important. Now I know you may be thinking “Really, Lorna? I knew that”.  If so, great.  Are you implementing it every time you ride?  When we are talking about all things canter transitions related, planning is important for both horse and rider.  It allows you to set your horse up for the upcoming transition.  It also gives you time to get clear on sorting your body out and making sure your body is where it needs to be.
    Remember, one of your jobs, as team captain, is to set things up as well as you possibly can.  Then simply allow your horse to the job you have asked him to do.
    Start by choosing an exact place where you begin to sort yourself out, both physically and mentally.  You then need to make sure you have your horse’s attention using your half-halt.  Your half-halt basically serves to tell your horse: “Excuse me, something is going to happen soon and I need you to pay attention to me.”
    It’s also important to make sure that you have established a good quality trot.  An easy way to assess this is to ask the question, ‘could I jump a jump from this current trot?’.  If the answer is yes, you’re golden!  If not, you have a little work to do before you can ask for the canter transition.

    2 . Get Out of the Way

    The next part is simply to get out of your horse’s way.  Remember, your job is to set it up and ask your horse to canter.  That’s it!  Your horse must actually transition into the canter, not you.  I have seen so many riders who set it all up and then when it comes time to canter, they look like they are physically trying to canter for their horse!  Often they end up leaning forward, lying on the horse’s neck or leaning over the inside shoulder, or all of the above.
    Changing this starts with your basic position.  Your shoulders should be above your hips.  Maintaining that as you move into and through the transition is often enough to get out of your horses way. 
    Keeping your shoulders above your hips and not throw yourself forward or leaning to one side will make a huge difference to your canter transitions.  In fact, if you can maintain a correct position, you’re already halfway to creating better canter transitions.  However, I also know that often this is one of those ‘easier said than done’ things!
    A simple way to keeping this fresh in your mind when you ride is to imagine a large egg.  The egg is sitting on the pommel of the saddle.  It is large enough that it comes all the way up to your chest.  Your goal, as you prepare to and then transition into canter is not to break that egg.  This will help you to maintain your position throughout your canter transitions.
    1. Allow Your Horse to Canter

    The third step to better canter transitions is to actually allow your horse to canter.  If you are leaning forward or to one side, you aren’t really allowing your horse.  You’re hindering them as they make the transition from the trot into the canter and beyond.
    Your horse’s shoulders have to go somewhere when you are asking for a canter.  If you’re sitting on their shoulder, you’re actually shutting down the shoulder.  What I see happening with so many riders is that they plan, they set it all up and then they ask for the canter.
    Unfortunately, when the horse begins to canter, it looks like they suddenly change their minds!   
    This can be pulling on the reins.  Often the rider becomes heavy in the saddle; they hunker down.  In fact, sometimes it seems that the rider is doing everything physically possible to stop that horse going forward into canter!  It’s almost as if they’re thinking: “Whoa, this isn’t what I asked for!”, Even though it was.
    Now believe that, most times, this is caused by something the rider is thinking or feeling, playing out physically in the transition.  Whatever the cause, can you imagine how confusing it is for their horse?  He has obliged his rider by doing what was asked of him and is now frantically receiving signals to stop.  Would you blame the horse if over time, he decides simply not to canter at all when his rider asks?
    Allowing your horse to do what it is you have asked him to do is vitally important to his training and development.  It is also important for your nerves!

    Imagining Successful Canter Transitions

    I want you to imagine this now.  You’re trotting down the long side of the arena, and you’re going to ask for a canter in the corner.  You know that the first thing you need to think about is planning.  So you begin half halting. This allows you to also consider whether or not it’s a good quality trot.
    The half-halt is also a great place to make sure that you are in the best position to ask and then allow your horse to canter.  Take the opportunity to straighten your body, through your shoulders and back.  Also, straighten vertically by checking that your shoulders over your hips.
    Now, choose the exact place that you want our horse to canter, and quickly think about what you need to do to communicate this to your horse.   
    Maybe change in sitting trot.  Definitely ask for a little bit of flexion to the inside.  Use your inside leg and imagine that you are filling up the outside rein.  All while your inside hand is asking for that little flexion.  Then move your attention to your outside leg. Imagine using it to ‘tag’ your horses outside back leg, indicating to him to ‘strike’ with that leg.

    Moving with the Canter Transitions

    As your horse begins to actually perform the transition, your job now becomes maintaining your own body and moving with him into the canter.  Are your shoulders above your hips? What about your imaginary egg?  Is it safe in front of you and are you keeping out of its space?! Consider are you carrying yourself?   And carrying your hands?
    Finally, as your horse takes that first, balanced step into the canter, imagine how it feels when you allow with your seat and follow him into it.  Doesn’t that feel great?! Your horse is finally able to canter!
    These 3 things that we’ve spoken about today are things you can continue to refine and refine.  They will require you to revisit them regularly in your riding.  Plan, get out of the way, and actually let the horse canter!  The three steps to better canter transitions.
    Happy Riding,
    Lorna

    Other Resources to Help with This Topic:-

  • 3 Ways You Are Ruining Your Transitions from Trot to Canter

    3 Ways You Are Ruining Your Transitions from Trot to Canter

    3 Ways You Are Ruining Your Transitions from Trot to Canter

    What this episode is all about & how it can help you:-

    • Understand why a good transition means a better canter all round
    • Begin working on better timing of the ‘ask’
    • Realise how gripping with your legs is negatively impacting the transition
    • Ride smoother, more responsive trot to canter transitions

    [smart_track_player url=”https://op3.dev/e/traffic.libsyn.com/dailystridespodcast/1090-3-Ways-You-Are-Ruining-Your-Transitions-From-Trot-to-Canter.mp3″ title=”3 Ways You Are Ruining Your Transitions from Trot to Canter” social_linkedin=”true” social_pinterest=”true” social_email=”true” tweet_text=”Canter is great; it’s just that getting there can be a massive issue for so many riders…” hashtag=”equestrian #trotting” twitter_username=”strides_success” ]

    Cantering; maybe one of the most enjoyable things to do on a horse. However, for many riders the transition from trot to canter is one that rarely goes smoothly!

    If you are feeling a little more than a little unbalanced by the time you actually get into the canter.  Or if your transitions from trot to canter are a little ‘hit and miss’, this is for you.

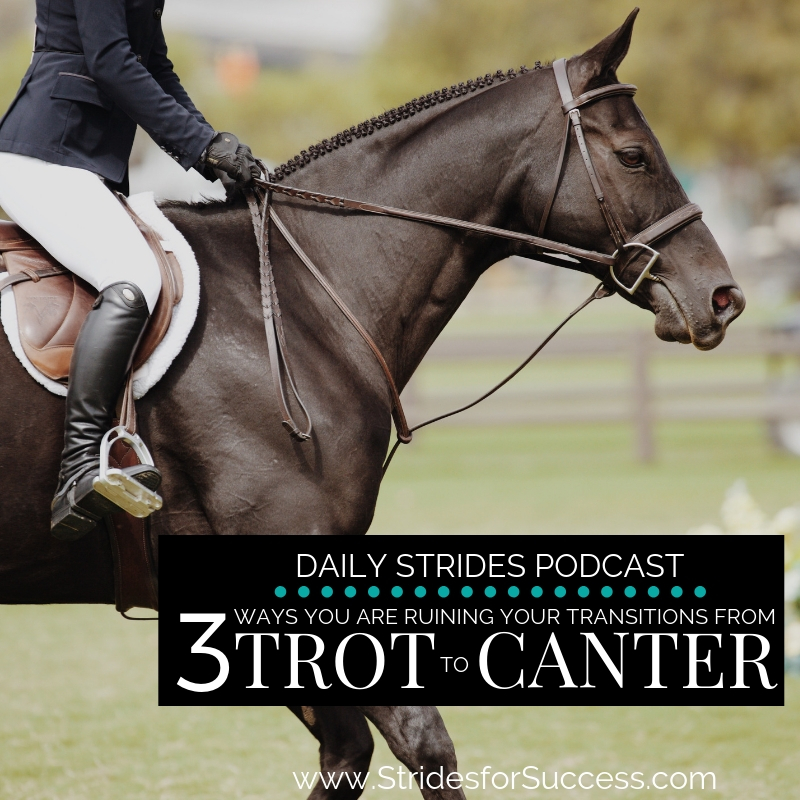
    In this episode of the Daily Strides Podcast I focus on three different mistakes riders make when riding the trot to canter transition.  Identifying what is going wrong with your transitions, will help you improve them and have a better canter all round.

    A Good Transition Means a Better Canter

    So often I see riders literally throwing all their hard work away due to riding a bad transition. They will have established and maintained a good quality trot.  The basic elements are there for a good transition, but somewhere it all goes wrong. 

    A good transition from trot to canter will help you to establish a good quality canter much earlier in the gait

    It is easy to lose sight of why you are cantering in the first place.  It is rarely just to canter.  Most often it is because you are leading up to something else.

    The sooner you can establish and maintain a good quality canter, the better change you have of successfully transitioning in to the next part of your ride. 

    This could be a jump or a bend or circle.  You may have plans to transition back into trot.  Or even just to canter on a straight line.  Whatever the reason for you asking for the canter, the better you can set up the transition into the canter, the more success you will have in the canter itself.

    Mistake No. 1 – Failing to Consider Your Timing of the ‘Ask’

    The conversation you have with your horse from the saddle is a little different to a verbal conversation you have with another person.  There, you can ask and they can immediately respond.  When riding, your horses response will depend a lot on how much of an opportunity you have actually given him to respond!

    You need to time your ‘ask’ to coincide with when your horse is in a position to make any necessary changes, thereby responding to you. 

    This requires, amongst other things, knowledge of how your horse moves and the sequences of foot falls for each gait.  The trouble with trotting is that many riders struggle to feel which leg is moving where underneath them!

    How Your Horse Moves from Trot to Canter

    When asking for the transition from trot to canter, there is a ‘optimum time’ as your horse moves. This is when his outside back leg is just about to come up and move forwards underneath him. The outside back leg is important, as it is the leg that ‘strikes’ the canter.

    However, as mentioned, feeling which hind leg is moving when in the trot can be challenging for many riders.  This is where I suggest taking advantage of your knowledge of the sequence of footfalls.  When your horse is trotting, his legs move in diagonal pairs.

    This allows you to know where the hind legs are by glancing down and noticing where the front legs are.  I have a post about diagonals HERE that will help you figure this out.

    Simply put, when your horses outside shoulder is forwards, his outside hind leg is back, getting ready to move forwards. This is the point where you can ‘ask’ and he has enough time to ‘respond’.

    By asking at the right time, he can then set that outside hind leg down, with the intention of using it to propel him into the first stride of the canter.  Ask at any other point in the stride, and your horse will either take longer to respond.  Or he will become flustered and ‘rush’ into the canter.

    Mistake No. 2 – Gripping for Balance with Your Thighs and Legs

    Oh, this is a biggie!  So many riders have an effective leg position and application.  That is, right up until the moment comes when they ask their horse to transition from trot to canter!  Rather than allowing their leg to reach down and be effective, they draw their legs up and ‘pinch’ with their thighs.

    Squeezing with your thighs is the equivalent of becoming a clothes peg on your horses back! It is not comfortable, enjoyable or effective for you or your horse!

    When you are using your leg aids to ask your horse to transition from trot to canter, your whole leg plays a part.  By squeezing or pinching with the tops of your legs, you stop your lower leg from working.  An ineffective lower leg means a confused aid.

    Gripping with your thighs also affects your overall balance and position. Riders don’t grip to apply a leg aid.  They grip in a misguided attempt to ‘stay on’.  It usually has the opposite effect!

    Mistake No. 3 – Failing to Follow Through with the Canter

    The final ‘mistake’ I see riders make all the time when it comes to the transition from trot to canter is not allowing the canter to actually happen!  It sounds crazy, but it looks a little like this; the rider asks for the canter.  The horse responds and begins to canter.  Only to be ‘blocked’ by the rider from cantering correctly onwards!

    When your horse positively responds to your request for the canter, it is important that you then respond by following him in the canter. 

    This can often be the result of nerves or anxiety on the riders part.  However, it can also be due to a simple case of the rider being ‘stiff’.  Suppleness is not just for the horse!  It is equally as important for the rider, especially when the horse begins to demonstrate ‘bigger’ movements or energy.

    Allowing your horse to canter means that you are moving with him.  Your seat, your hands and reins.  Your thoughts.  All thinking and moving forwards.

    Positively Influencing the Canter Going Forwards

    When you can successfully negotiate a better transition from trot to canter, you can then turn your sights to improving the canter itself.  Very often when there is a poor transition into the canter, the canter itself is left ‘wanting’.

    Poor transitions into the canter result in choppy and unbalanced or rushed and flat canters.  

    Realising that you might just be the cause of the transition is great.  This means that you now have the power to change it for the better for you and your horse.

    Happy Riding

    Lorna

    Other posts, episodes and resources that relate to this topic:-

    Better transitions from the trot to the canter is the theme inside of Daily Strides Premium for April 2019.  In there we look at what you are potentially doing that is having a negative effect on the transition.

    There are also some simple ways you can easily and effectively replace any hindering habits you may have acquired where the canter is concerned!

    All the trainings are easily accessed using your phone, meaning that you can take them with you where ever you are going.  These trainings and so much more are available for you immediately when you join Daily Strides Premium. Find out more HERE

  • Feeling More Confident Cantering In Open Spaces

    Feeling More Confident Cantering In Open Spaces

    Feeling more Confident Cantering in Open Spaces

    What this episode is all about & how it can help you:-

    • Learn how to practice remaining balanced on the transition
    • Understand the importance of a good lower leg position
    • Make small adjustments to help with allowing the canter to happen
    • Figure out how to get started the very next time you are in the saddle

    [smart_track_player url=”https://op3.dev/e/traffic.libsyn.com/dailystridespodcast/1079-Feeling-More-Secure-About-Cantering-In-Open-Spaces.mp3″ title=”Feeling More Confident Cantering in Open Spaces” social_linkedin=”true” social_pinterest=”true” social_email=”true” tweet_text=”Does the thoughts of cantering across an open field thrill you – or fill you with terror? Here are a few practical tips to make sure it is the thrill you’re feeling…” hashtag=”equestrian” “canter” twitter_username=”strides_success” ]

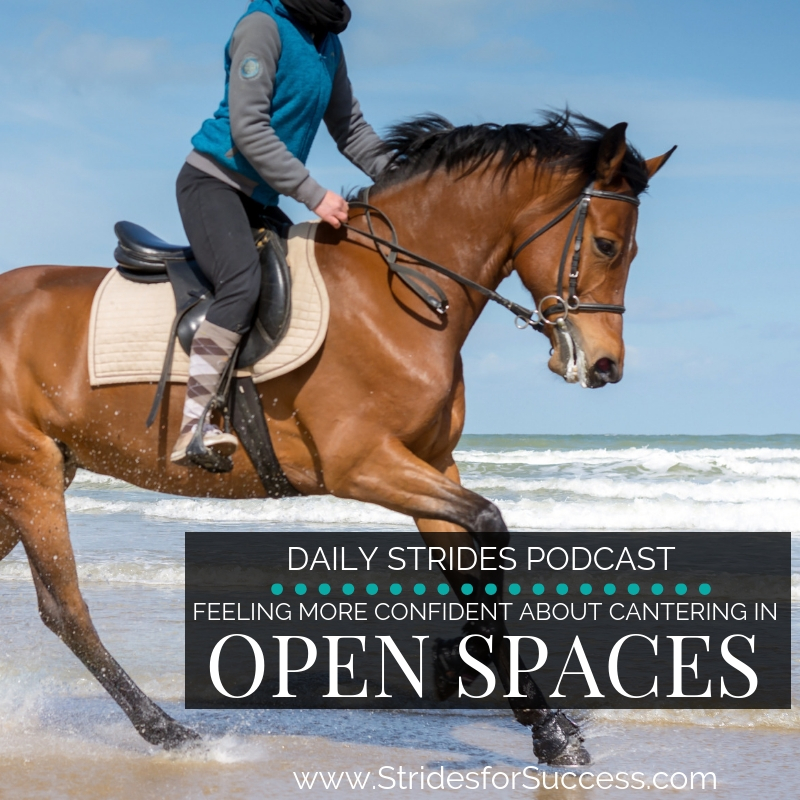
    One of the most thrilling and exciting experiences we can have on horse back can be cantering in open spaces.  There is a feeling of freedom, of ‘two hearts’, of just pure unbridled joy…

    Except when it’s not… For many riders, cantering in open spaces conjures up feelings of anxiety, fear and just all round lack of confidence and control.  However, I believe all riders can work towards having an enjoyable canter in the great outdoors – in a safe and, dare I say, controlled manner.

    In this episode of the Daily Strides Podcast I will give you a few simple exercises that you can begin working on today, to fulfil your dream of that open field canter in the near future.

    It is important to realise that the only thing you can truly control is yourself.  By learning how to better control your thoughts, emotions and actions, you can have more influence over your horse.  Influence – not control…

    I could give you a list of stronger bits and ’emergency brake’ techniques that will definitely give you greater influence over your horse.  However, I am a strong believer that it must be enjoyable for horse and rider in order for it to be a true ‘win’.

    So, we are going to focus on what you can control and improve. You.

    Practice Your Transition into the Canter

    The transition into canter. It often amazes me how some riders seem to think, or at least demonstrate, that they must do the cantering.  No.  Your horse must canter. Keep this in mind the next time you ask for a canter transition.

    Your job as the rider is to set both yourself and your horse up to the best of your abilities for the canter.  Once you have done this, simply ASK for the canter. Then get out-of-the-way and actually allow your horse to canter… 

    It all sounds like common sense, however I see every day how riders throw themselves into the canter. The go from being riders, directing the horse, to being passengers, perched up on the horses withers!  Your horse cannot effectively strike into the canter if you are blocking the movement of the shoulders – which is what ‘perching’ is doing!

    Work on remaining where you should be in the saddle before, through and after the transition. This goes for ‘leaning’ one side or the other as well in order to strike the lead. You don’t strike the lead – your horse does.

    It is amazing what can happen when we are willing to simply ask the question and then wait for the reply…

    Develop the strength in Your Lower Leg & Core

    Cantering is a physically demanding, for both horse and rider. Developing your core strength will go a long way to helping you remain balanced and actively moving with the horse in canter. A stronger core will also help you to feel more confident when applying your aids; particularly those to ask your horse to slow down again!

    The great thing about developing your core is that you can do it out of the saddle. This puts less pressure on your horse and also, gives you far more opportunities to actually improve this part of your riding.  

    Along with a strong core, I believe that a strong lower leg is equally as important.  Many riders, when they feel anxious or stressed, squeeze with their knees.  This effectively blocks your lower legs from doing their job which is namely supporting you and communicating with your horse. 

    No support and a lack of communication are a recipe for disaster, especially when cantering in open spaces. Work at developing the strength and effectiveness of your lower leg by practicing a correct position at all times in the saddle.

    Practice the ‘click of the fingers’ rule which is that if someone could click their fingers and make your horse vanish from underneath you, you should always land on your own two feet. 

    You can join the FREE Equestrian Fitness Challenge HERE to help get you started on improving your core strength.

    Adjust Your Stirrup Length

    Your core and lower leg will only be as effective as your overall position in the saddle.  One of the biggest influencers in your position is your stirrup length and also, how your foot is positioned in the stirrup.

    Ideally, when cantering in open spaces, riding in the light seat or two point seat is the most ‘economical‘ for both horse and rider.

    It allows you to move with the horse while also allowing the energy being created in the hind quarters to move underneath you and connect to the front end, unblocked and unhindered.

    Adjust Your Stirrup Position

    A strong core and lower leg position are necessary for a correct light seat.  However, what is equally as important is the position of your foot in the stirrup.  If your foot is in too deep, or if the stirrup is not angled correctly across your foot, it will result in your ankle joint becoming ‘locked’.

    A flexible ankle joint is essential to a balanced light seat. It is an important part of your ‘shock absorbing system’

    Turn the front of your stirrup (the side closest to your horse’s nose as it falls down the saddle) towards the toenail on your little toe.  Allow the back of the stirrup (the side closest to your horse’s flank) to be just behind, or under, the ball of your foot.

    This will result in the stirrup being angled more diagonally across your foot, rather than at right angles to your foot.  A diagonal stirrup, positioned not too far down your foot will allow for your ankle, and therefore your knees and hips, to move with the energy.

    Start by Cantering ‘Laps’ in an Enclosed Space

    My final piece of advice for developing confidence for cantering in open spaces is to practice in a more confined and enclosed area.  An enclosed arena is perfect.  However, a small paddock or field with good footing will do equally as well.

    Pretend you are out in the open.  Work on improving your initial transition.  Pay attention to how your body is moving with the horse.  Work on developing a solid position and then, finally, on building fitness and mental confidence. 

    Begin with working on the rhythm and trying to maintain a good quality rhythm for a specific period of time or length of canter.  From here, begin noticing how you can influence the energy using your aids.  Practice your half halts.  Make sure you are maintaining contact and also, pay attention to the talk going on in your head. 

    Confidently cantering in open spaces really comes down to how much faith you have in your own abilities as a rider.  The great news is that by following a few simple principles, you can begin building that confidence starting at your very next ride.

    Happy Riding

    Lorna

    Other Posts and Episodes that Relate to This Topic:-

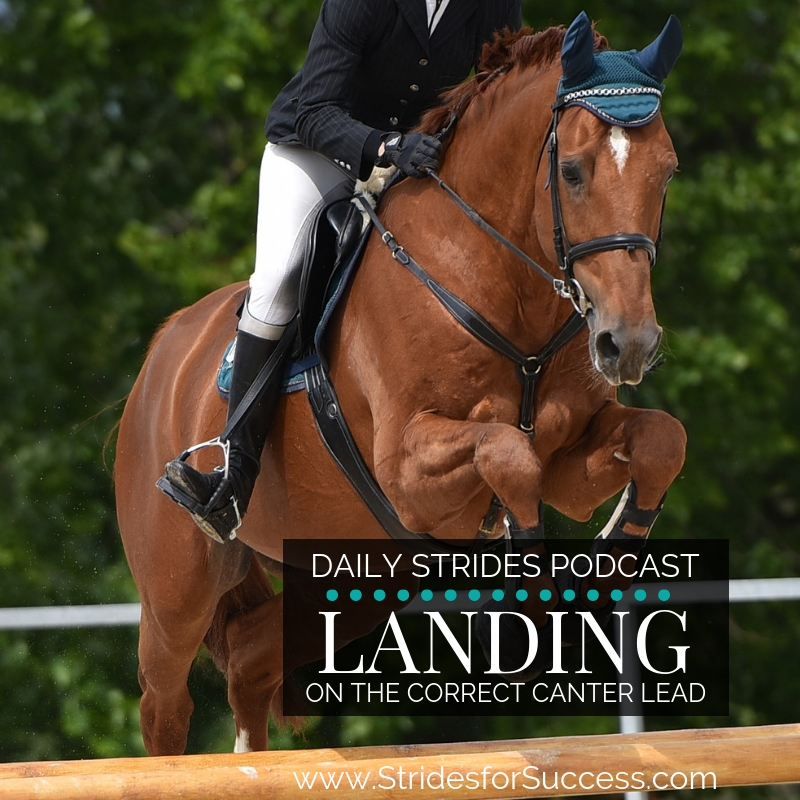
  • Landing on the Correct Canter Lead After a Fence

    Landing on the Correct Canter Lead After a Fence

    Landing on the Correct Canter Lead

    What this episode is all about & how it can help you:-

    • Understand the influence of your weight on the approach
    • Learn how to ‘open a door’ for your horse
    • Begin shifting your weight over the fence
    • Effectively school on this to practice it

    [smart_track_player url=”https://op3.dev/e/traffic.libsyn.com/dailystridespodcast/1066-Landing-on-the-Correct-Canter-Lead-After-A-Fence.mp3″ title=”Landing on the Correct Canter Lead After A Jump” social_linkedin=”true” social_pinterest=”true” social_email=”true” tweet_text=”Struggling with canter leads on landing over jumps? This episode of the Daily Strides Podcast will help…” hashtag=”equestrian #jumping” twitter_username=”strides_success” ]

    Are you struggling with your correct canter lead when landing from a fence? Perhaps you approach the fence on the one rein, however the track or exercise requires a change of rein after the fence.  You find that you often need to come back to trot in order to change lead.  Or perform a flying change.

    In this episode of the Daily Strides Podcast we focus on your correct canter lead on landing from a jump.  I will give you some practical tips you can implement the next time you ride. However, like all things in horse riding, it will take mindfulness and effort on your part.  But the results are well worth it.

    Why the Correct Canter Lead on Landing is Important

    Think back to the last time you were jumping.  If you could add up how many minutes you actually spend jumping and place that side by side with all the minutes spent in between the jumps…  So much of jumping depends on what you are doing on the ‘flat’ before and after (or in between) the jumps.

    Now, obviously we first have to master actually getting over the fences.  Getting from A to B.  However, once we have that, our focus then really shifts to the part on the flat between the fences.  Having to continuously either transition to trot to change lead breaks the flow between your fences.

    Therefore being able to ask your horse to land on a specific lead will help the overall flow of your jumping. 

    Which leads to the question, ‘How do I tell my horses that I want him to change lead in the air over the fence?’.  Now, you can do this over a smaller jump, however there is often not enough time for you to get clarity on what you are trying to do. Which means they are asking in a way which is not very clear to the horse.

    For this reason I suggest you work over fences that are around 60 to 70 cm (2 foot to 2 foot 6 inches).

    Can you work over smaller fences?  Yes of course, you can apply this to working over a pole on the ground if you want.  However, I have found the riders gain more clarity – and have more time to make necessary adjustments initially – when the fences are a little more substantial.

    Your Weight on the Approach

    You must be very clear on where your weight is before the fence. If you are approaching the fence on the right canter lead, so your horse is leading to the right, you must be positioned correctly to reflect this.  Your inside seat bone and leg, in this case, your right seat bone, should be slightly more weighted.

    Being mindful and specific about the details on approach will help both you and your horse notice when things change or shift.  It is the small, subtle changes that ask the horse to also make a change 

    Your horse will do everything in his power to keep both of you upright.  Who wants to fall over, right?!  So it goes without saying that if and when you shift your weight, he will try shift as well to remain underneath you.

    Often the rider is sitting incorrectly on the approach to the fence. This is why being very clear on what you are doing before the fence is so important.

    It is worth repeating; jumping has very little to do with the actual jumping of the fence.  It is more to do with what is happening before and after the fence

    ‘Weighting’ is not Leaning or Tilting…

    A word of warning; when I say that you must make sure that your weight is on the correct side, I do not mean that you must be leaning towards that side!

    Leaning or tilting, particularly with your upper body will have the complete reverse effect.  Leaning to the inside is usually accompanied by a shifting of the seat to the outside of the saddle.  You definitely don’t want to happen!

    Weighting it only means that you have a little bit more weight dropped into that inside seat bone and / or heel. In fact, it has more to do with your core than anywhere else in your body.

    There are some links at the end of this post to other episodes and posts that go into more detail about weighting and how to do it correctly.

    Opening a Door for Your Horse

    Most horses seem to respond well when they feel like they have a ‘way to go’.  I call it a door. Very often you have to open a door to show your horse which way you want them to go. You can do this through your rein.

    You can use a more open rein to show your horse which direction you want to take on landing.  Direction will determine ‘inside’ and ‘outside’, which in turn will dictate the choice of lead.

    By using more of an open left rein, for example, he will begin realise that you will be tracking left on landing.  This allows him to perform a quick switch and land on the left lead from the jump.

    Remaining Straight While ‘Opening a Door’…

    The down side to doing it this way is that very often because you have opened that door, the shoulders tend to follow through the same space!   This results in losing your line.  I’m sure you know how important lines are when jumping!

    For example, let’s say that you are on the right lead approaching the fence, and want your horse to track left on landing.  You can open your left rein as a way to indicate to your horse that you want to track left and therefore land on the left canter lead.

    The potential is there that he can come off your line, veering slightly to the left. Now, for the most part, if you are indeed tracking left after the fence, it shouldn’t be too much of a problem.  You can correct him using your other aids.

    However, if you are riding a related distance or a combination, veering off your line can have huge repercussions on the following jumps.  In those instances, you definitely want your horse to ‘stay the line’. 

    Shifting Your Weight Over the Fence

    We spoke earlier about weighting your inside seat bone. Where I suggest making this change or shift is as your horse is going over the fence.

    This is a subtle, quiet shift.  It does not mean that you throw your body one way or the other. A shift in the weight can sometimes be made by simply turning your head

    I am sure you have often it said often when riders are training how important it is to ‘look for the next fence’.   This is not only to be sure of where you are going, but also to make that subtle shift begin to happen.

    When you and your horse are well ‘tuned in’ to each other, you won’t need to think about the shifts.  They will just happen, as though on autopilot

    In order to make this happen, I suggest beginning to work on this in your very next ride.  You will find that, as you progress, it becomes automatic for you too. This allows you to focus your attention on other issues.

    Refining Your ‘Subtle Shifts’

    Initially think about just turning your head and looking in the direction you want to travel on landing.  You could even allow your shoulders to follow a little bit as well. You will often find that this is enough to affect the weight in the saddle.

    Keep in mind that refining your aids all depends on how well you and your horse have been conversing or communicating with each other up to this point.

    If you have been doing a lot of unnecessary ‘talking’ by overusing your aids, then your horse is probably not going to listen as well as you would like.

    You begin refining your conversation by only speaking to your horse when you have something worthwhile to say. Meaning that you only apply your aids or ask for your horses attention when you have something worthwhile to add to the conversation

    Schooling to Practice Landing on the Correct Canter Lead

    Every time you are approaching a fence, pay attention to how you are ‘sitting’ and make any necessary corrections.  Have your inside seat bone and heel weighted a little.

    Be clear on where you want to go afterwards.  In other words, have a clear line planned out in your mind’s eye.

    When you are in the air, shift your weight slightly from the inside to the outside.  Said differently, swap your inside and your outside.  You can also open your inside hand a little.

    Finally, make sure you are looking in the direction you want to go as you go over the fence. As you are in mid-air you should already be thinking about the next fence and plotting your line. This will make enough subtle shifts in your body for your horse to pick up on, and for him to make the change.

    A Word of Caution

    This goes without saying, but let’s just include it here anyway…  This episode and blog post is assuming that you have had all the necessary ‘checks’ performed on your horse.

    Many riders struggle with canter leads due to problems with the horses back, legs, tack suitability or teeth to name just a few. 

    Make sure that your horse is sound and that there are no underlying problems which are potentially hindering him, or making it uncomfortable for him to land on a correct lead.

    Happy Riding

    Lorna

    Links mentioned in the episode:-