Tag: dressage

  • Riding a Clean Flying Change

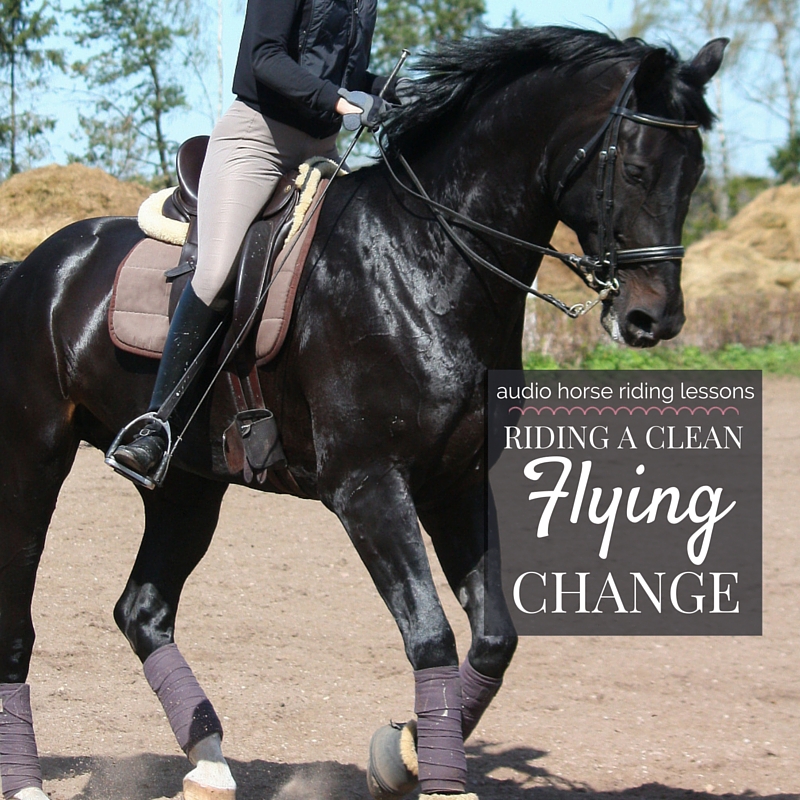
    Riding a Clean Flying Change

    [fusebox_track_player url=”https://op3.dev/e/traffic.libsyn.com/dailystridespodcast/SFA476-Riding-a-Clean-Flying-Change.mp3″ title=”Riding a Clean Flying Change” social_linkedin=”true” social_pinterest=”true” social_email=”true” ]

    Think back to the last time you were cantering along on your horse and a change of rein was coming up.  You began the task of preparing to drop back a gear into a trot to change the canter lead.  “Better than losing rhythm and balance through a flying change…”  However before you even got there, your horse (being the clever guy that he is) decided to take matters into his own hands. And with what felt like a skip, Voila, he had performed the flying change all by himself…

    The flying change is one of those things that we tend to, as riders, overthink in our heads.

    However, the simple truth of the matter is that flawless flying changes happen when we focus on the preparation and then allow our horse to perform the change without interference from us in the saddle.

    Riding a Clean Flying Change

    What is a Flying Change?

    A flying change is when your horse changes from one canter lead (let’s use right canter lead for this example) to the left canter lead without having to return to trot to do so.  It is essentially a ‘skip’ or suspension mid-stride.

    And during this ‘suspension’ your horse will change the sequence of his footfalls resulting in him swapping leads.

    Before you begin working on flying changes it is important to make sure you and your horse are ready.

    Pre-Requisites for Flying Change

    You should be both capable of riding a balanced canter. This means moving with your horse as he moves. Also, you should have an independent seat when cantering.

    I would also insist on the ability to tell, by feel, what leg is where underneath you as your horse canters. This is important for timing the change correctly.  

    Your horse must have sufficient strength for a balanced, rhythmical canter, during which he is truly straight.  He must also be responsive to your aids. As in, waiting for ‘further instructions’ from you throughout the canter.

    It is also an advantage if both of you can correctly lengthen and shorten your strides while cantering, maintaining impulsion, rhythm and balance while doing so.

    Physical Strength & Development

    Asking your horse to perform a flying change before he is physically and mentally ready can result in confusing him and even training him to only half perform the change, changing only in front rather than in front and behind.

    If your horse is not quite ready yet, perhaps he does not have enough physical strength, you can still use the following exercises in walk and trot to build up to a flying change later.

    As I mentioned before, the preparation of the quality of the canter leading up to the flying change is vitally important to ensure a clean change.  This simply means that your horse changes both his front and back legs to the new sequence of footfalls for the new canter lead at the same time.  Investing your training time in this preparation will ensure a clean change when you do eventually ask for it.

    Timing of Your Aids

    The timing of the aids for flying change is also essential and in order for your horse to have enough time to receive your signals and then to act accordingly. SImply put, you must ask for the flying change at the right time.

    The correct time is just before the inside front leg or leading leg touches down on the ground in the canter stride.  This is the 3 in the 1,2,3 beat of the canter.  This is why being able to tell what is happening underneath you at any given time throughout your time in the saddle is so important to clean, balanced transitions and changes.

    I suggest beginning your work on a 15m circle on the left rein in a walk, mimicking your position as it would be in canter.

    By practicing in the walk, you can begin to condition your body to respond in the manner you desire at the correct time.

    Your inside leg (left leg) will be on the girth, your outside leg will be slightly behind the girth.  Your inside seatbone (left seatbone) will be slightly in front of your outside seatbone and your inside shoulder (left shoulder) will be slightly behind your outside shoulder.

    You will have a consistent contact through your outside hand and your inside hand will be soft and offering, so as your horse’s inside shoulder can move forward in the canter stride.

    Practice in Walk & Trot

    Now, as you are on the circle, choose a place where you can at an imaginary X, straighten for 3 strides before tracking right onto a 15m circle to the right.  Don’t move onto the circle initially, but be aware of where the X is as you are riding.

    Beginning planning your ‘change’ by noticing the footfalls.  If necessary, glance down to your horse’s shoulder and to make sure you are indeed ‘asking’ when your horse’s front inside (in this case left) shoulder is moving forward and preparing to touch down on the ground.

    I suggest building to this by riding a few half halts, as you would when you canter and then at the desired place, begin straightening your horse just as the inside front leg reaches forward and quickly and quietly swap your inside to your outside and vice versa.

    Work on moving your legs and hands first, and then following with your seat and shoulders.  Your legs and arms will help straighten your horse through the ‘transition’, while your seat and shoulders will then shift as your horse makes the change, following along with his movement.

    Moving to Canter…

    Work on this a few times in walk and then begin working in trot. Change rein on the circles if necessary to ensure your horse does not become bored.  When you feel you are in control of your body, you can pick up the canter on the circle.

    As mentioned before, the quality of the canter is vitally important. Ride some transitions. Also lengthen and shorten the canter on the circle to help engage your horse’s hind quarters.

    If your horse has a tendency towards a flat canter, you will have to work on adding more ‘bounce’ into the canter in order to perform a clean flying change.  Again, transitions up and down between canter, trot, and walk as well as within the canter gait itself will help with this.  Also, remember to use your half halts to help rebalance and engage the hindquarters.

    Once you feel your canter is of good enough quality, you can begin again planning the change of rein from one circle to the other however you are going to initially ‘gear down’ to walk or trot in order to change canter lead.

    Take the time to ensure your horse does not lose balance and also that you are not shuffling or shifting your weight in the saddle while your horse is in the area around X.

    Pay attention to asking your horse to straighten before asking for the canter on the new lead.  Once you have ridden this a few times, using the walk or trot as a catalyst between canter leads, your horse will begin to anticipate what is happening.  Use this to your advantage.

    Asking for the Flying Change

    Prepare the canter and, making sure you are timing it correctly, make the changes and ask for the flying change.  It should be a clean ‘strike’ which will feel like a skip underneath you. Work on then maintaining the rhythm of the canter on the new lead as you continue around the circle.

    Once you have mastered the flying change between circles, you can begin working them into other areas of your schooling.  Canter down the center line and again, at X ask for the flying change.

    This is particularly eye-opening to see how straight your horse is during the transition and how balanced he is on the new lead.  You can use poles if necessary to help keep you straight as you move down the centerline.

    Things to Watch Out For…

    Make sure that you are not leaning with your upper body through the transition.  Many riders think an over-exaggerated ‘lean’ or ‘push’ with their upper body is the key to riding a flying change. However, this will only serve to unbalance your horse and confuse the situation.

    If your horse is struggling, or if he is changing in front and not behind, take things back a few steps and try again.

    Often, most of the problems that show up surrounding the flying change are a result of not enough ‘suspension’ in the canter, meaning that your horse does not have enough time to change the sequence of footfalls.

    If you are sure that your canter leading up to the change is sufficiently energetic, consider that perhaps you are leaning, particularly with your upper body while asking for the change, which is throwing your horse off-balance.  Focus on sitting up through the transition and ‘allowing’ it to happen underneath you.

    The flying change is a wonderful movement to ride, however asking too early in your horse’s training will do more harm than good in the long run.  once again, make sure your horse is sufficiently strong enough to ride the movement before you start.

    Happy Riding
    Lorna

    Additional Resources to Help with This Topic

    Riding a Clean Flying Change

  • Riding Haunches In or Travers

    Riding Haunches In or Travers

    [fusebox_track_player url=”https://op3.dev/e/traffic.libsyn.com/dailystridespodcast/SFA441-Riding-Haunches-In-or-Travers.mp3″ title=”Riding Haunches In or Travers with Your Horse” social_linkedin=”true” social_pinterest=”true” social_email=”true” ]

    Do you find that when you ask your horse to perform haunches in or travers, the forward movement tends to get a little ‘stuck’?  It feels as though he is on his tippy toes, pottering along with no inclination to get to the other end of the arena?!

    The Benefits of Haunches In

    Haunches in is a lateral movement that is fantastic for suppling your horse and it also opens the door to performing a half pass later in training.

    It requires an engagement of the hindquarters, due to the outside hind leg having to move over and almost in front of the inside hind leg, and so incorporating this movement into your schooling will, in turn, help strengthen your horses’ hindquarters.

    Riding Haunches In or Travers


    I find that haunches in is also a great exercise to improve the rider’s coordination, both physically and in their head. It also helps to take the confusion out of riding lateral movements on their horses.

    What is Travers (or Haunches In)?

    You ride this movement by asking your horse to move his hindquarters or haunches in off the track. So, towards the inside of the arena if you are on the outside track.  As he continues to move forward, his shoulders remain on the track.

    He does this by bending around your inside leg at an approximately 30-degree angle to the track.  

    How Much Bend Off the Track?

    If you looked at your horse moving down the arena, from the front, you would see either 3 or 4 distinct tracks created by your horse’s hooves.  I say 3 or 4 because this depends on what level in his training your horse is at. It can also depend on how he is put together.

    A simple way of imagining how haunches in should look when being ridden is to think the ‘last stride’ of a circle or bend, just before your horse straightens up again.  

    Now imagine holding this position as you ride down the long side of the arena.   Your horse’s shoulders would be on the track. However, the hindquarters or haunches would be slightly in off the track as he bends around your inside leg.

    Getting Started…

    Haunches in or travers can be performed in walk, trot or canter and, as always, I suggest first asking for the movement in walk before building up to faster gaits.  This will give both you and your horse the opportunity to figure out what to do when it is being ridden.

    Start in a walk on a 10-meter circle in the corner before the long side of your arena.  Focus on establishing and maintaining a correct bend while on the circle. Do this by applying the half halt as necessary to re-balance your horse, and let him know something is happening.

    Your Aids for Haunches In

    As you come out of the corner on the circle, use your outside leg to keep your horse’s hindquarters off the track. They will be closer to the inside of the school.  Do this by bringing it back and maintaining the bend around your inside leg.

    Make sure the shoulders remain on the track by using your inside leg on the girth.  

    Your inside leg will also help create the bend and continue to create the forward energy that is essential to prevent you and your horse from becoming ‘sticky’ while riding the haunches in.

    Work towards maintaining the bend around your inside leg and ask your horse to move down the long side with his hindquarters to the inside and off the track.  Continue to half halt throughout the movement to re-balance. Also, pay attention that your horse is not over-bent,

    Only ask for a few strides of travers initially, working up to longer periods as your horse becomes stronger and grows his confidence in his ability.

    The Balance of Aids…

    Make sure your inside leg is continuing to create forward impulsion as you perform the movement.  Also, continue to check that you are not applying too much inside rein. This will result in you ‘pulling’ his head and neck around.

    Over-bending through the front end will prevent your horse from stepping out correctly. This will ultimately lead to the short, choppy, sticky steps that we often achieve when riding haunches in.

    Don’t worry too much about the angle initially.  Rather focus that your horse is listening to your aids and responding. Even if that response is not as ‘active’ or expressive as you would like it to be.  As he becomes more supple, you can ask more difficult questions of him and work on ‘polishing’ the movement up.

    Alignment Through Your Position

    All the while, both before, during, and afterward, make sure your body and position are correct.  Also, that you are applying and using your aids as clearly for your horse to understand as possible.

    Often when we are not getting the desired result, riders can ‘fight’ with their horse; pulling, pushing, and shoving in frustration.  Rather realize that if what you are doing is not working, go back a step or two, perhaps to leg yielding, and after re-establishing a solid foundation, ask again.

    Try not twist or slouch your body while riding.  It is tempting to ‘look’ your horses hind quarters to see if you are achieving what you are setting out to do; rather use your seat to ‘feel’ what is going in and ‘glance’ with your eyes that the shoulders are remaining on the track.

    Also, think about your seat aids as you prepare and ride the haunches in movement.  Don’t try to influence your horse to ‘go sideways’ by swinging your seat around in the saddle.  Simply make sure your inside seat-bone is slightly more forward than your outside.  A little like when you are asking for a bend. Also, pay attention that you are not collapsing through the inside hip and shifting all the weight onto your outside seat-bone.

    Developing the Movement

    Once you and your horse have successfully performed the movement in the walk, you can begin to add trot. You can also later add canter into your schooling time.

    Pay attention that your horse is truly bending around your inside leg, otherwise he may just be leg yielding!

    Another exercise you can ride is a 20-meter circle, which using haunches in, you can spiral smaller into a 15 meter or even 10 meters if your horse is balanced enough.

    From there you can use shoulder in to move your horse back out to the original 20-meter circle.  

    This can be ridden on both reins in all three gaits and is a simple way of incorporating this movement into your daily schooling routines.

    Happy Riding
    Lorna

    Additional Resources for Equestrians

    Riding Haunches In

  • Simplifying the Shoulder In

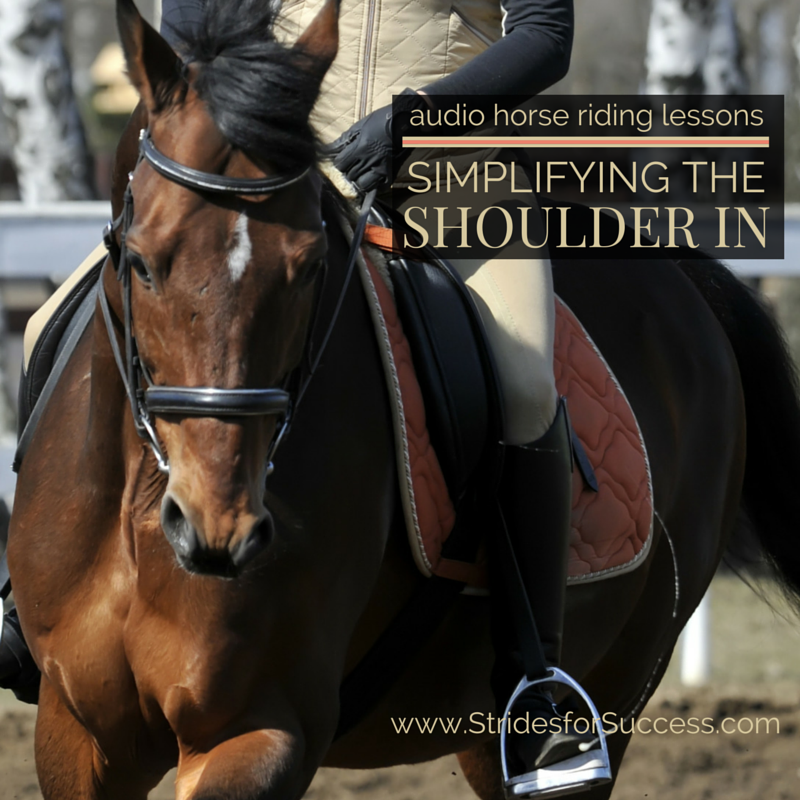
    Simplifying the Shoulder In

    [fusebox_track_player url=”https://op3.dev/e/traffic.libsyn.com/dailystridespodcast/SFA411-Simplifying-the-Shoulder-In.mp3″ title=”Simplifying the Shoulder In” social_linkedin=”true” social_pinterest=”true” social_email=”true” ]

    Does the thoughts of riding shoulder in leave you feeling less than confident in your riding abilities?  Are you a little unsure about the angle, the bend, and the degree of collection required in order to successfully ride the movement?

    Shoulder in is super for encouraging suppleness and collection in your horse. However, if ridden incorrectly, things can quickly begin going the opposite way of your desired results…

    Shoulder in is a great movement to begin really flexing and strenghtening your horse.  However, for many riders it seems far too complicated to even consider riding.

    What is Shoulder In?

    Shoulder in is a lateral movement and when ridden correctly, will entail your horse bending around your inside leg. The shoulders will be at an approximately 30-degree angle to the side of the track or arena. With the shoulders in, you will then ask your horse to move forward on the line, moving away from the direction he is bent.

    It is also important to mention that the bend should be consistent from head to tail, not broken or over-bent in places.

    Simplifying the Half Halt

    3 Tracks, not 2 or 4…

    Normally when we ride our horses forward, we do so on 2 tracks; namely made of the inside hind leg following the inside fore and then the outside hind following the outside fore.

    However, for shoulder in, you will ask your horse to shift his shoulders more to the inside, off the track, which will result in your horse travelling on three tracks.

    Track number 1 will be the outside hind leg. The second track, number 2 or the middle track, being made up of the inside hind following the outside foreleg.  And finally, the inside foreleg on its own separate track, creating track number 3.

    Suppleness & Crossing Legs

    As your horse performs shoulder in, his inside legs will cross over and in front of the outside legs. This will be more apparent with the front legs, rather than the back legs.

    Also, as your horse becomes stronger and more developed and balanced, he will become lighter in front. This will lead to a more expressive movement through the shoulders while performing the shoulder in.

    Before Working on Shoulder In

    Before starting out teaching your horse the shoulder in, it is worth noting that he should have a good understanding of leg yielding. He should also have started showing some collection in the gait.  Additionally, the ability to make small adjustments to his stride while consistently maintaining the rhythm, tempo, forward energy, and balance throughout will help.

    The leg yielding is important for a few reasons. The most notable being that he understands the forward and sideways movement. This while remaining straight through the leg yield.  

    The straightness is important because it is this same straightness that will allow him to keep his hindquarters on the track while shifting his front end off the track and bending around your inside leg.

    Preparing for the Movement

    The quality of the shoulder in depends on the quality of the gait leading up to it… Preparation is key to a good shoulder in!

    I suggest introducing the shoulder in, for both you and your horse, in the walk.  This will allow both of you the necessary time to ‘figure’ things out in both your minds. It also, more importantly, gives you time to figure out how to move your bodies accordingly.  Often riders try to rush the shoulder in and this often leads to the horse remaining straight through their back and over bent through the neck.

    Shoulder in is only really shoulder in if the actual shoulders move in off the track!

    The Angle of the Shoulder In

    Before we go any further, I think we should look at the angle of the shoulder in.  What the angle means, is that of your horse’s shoulders to the original track you were riding on.

    Often riders try for too great an angle than the 30° that is required.  If the angle is too great, your horse will not be able to perform the movement.

    Simplifying the Shoulder In

    To help visualize 30° I suggest bending your elbows and putting your hands out in front of you, palms facing each other, about hip-width apart (like a robot!).  Pivot your upper body around 90° from your hips, so your arms are essentially creating a right angle to the line your hips are on and where you were originally facing.

    Now, once there, think about it like this… If this is 90°, let’s now move your hands back to 45°…  So estimate halfway and move your hands and shoulders there…

    Now, 30° is actually only 2/3 of the way to 45°… so once again, do a little estimation of what a third of the way would look like, and again adjust your hands and arms to there… And voila; the angle is not as severe as most riders first imagined it to be!

    It can also help to get out a trusty protractor and, using the straight side as the track, look at where 30° actually is…  Again, it is not 45°!

    Start on a Circle in Walk

    To actually ride your first shoulder in, I recommend starting walking a 10m circle in the corner. As you complete the circle, begin to ride the long side of your arena while asking for shoulder in.  Notice the bend in your horse and as you move down the track, focus on keeping the hindquarters on the original track where they should be, but the shoulders ‘in off the track’ at about a 30-degree angle.

    Ride this for 3 or 4 strides and then, to finish or ride out of the shoulder in, rather begin another circle where you are than try to place your horses shoulders back on the track.  This is easier for your horse to achieve and feels like a more natural conclusion when first learning about the shoulder in.

    Your Circle is a Tool…

    Use your 10m circle to begin your preparations.  Notice your position while on the circle and make any adjustments to correct it.  Pay particular attention to your shoulders and upper body. It is often tempting to ‘lean in’, which inevitably pushes your hips and seat to the outside of the saddle.   Use your half halt on the circle to balance your horse. And, also, tell him that something is about to happen…

    Use the natural bend created by riding on the circle to help place your horse in the correct position as you come off the circle and begin to move down the track.  The half halt will help keep you both balanced and, depending on your horse, you can ask for a degree of collection in the gait.

    As your horse takes the first step of shoulder in, pay attention again to your upper body.  Your shoulders must be kept in line with your horse’s shoulders. Also, take care to carry yourself and your upper body. This will, in turn, allow your horse’s front end to lighten a little as the weight is transferred onto the inside hind leg as it comes underneath him.

    Your Aids Through Shoulder In

    Although you should look where you are going, I suggest rather keeping your head in line with you and your horse’s shoulders. Look through the ears, rather than glancing out the corner of your eye down the school at the track.  The reason is that when riders first begin riding shoulder in, they tend to turn their shoulders to keep in line with their head…  Which, in the case of looking down the track of the arena, will lead to you shifting your weight incorrectly in the saddle.

    Your inside leg is what the horse is ‘bent’ around. It is used to keep creating the forward energy and the sideways movement happening underneath you.  

    It is your outside leg that controls your horse’s hindquarters and prevents them from swinging out, which is a common fault in shoulder in.

    Your outside leg also helps to keep the horse moving forward and keep the outside hind leg moving underneath the horse. This, in turn, will encourage better use of the inside hind leg, allowing the horse to lighten more in front and free up the shoulders for better movement.

    Your outside hand supports the outside leg and controls the degree of bend, It also helps regulate the rhythm and also controls the horse not to continue on with the ‘circle’ or become over bent.  Your inside hand asks for the flexion, however must remain soft and giving throughout the movement.

    It is up to you, the rider, to find and then maintain a balance between both hand and leg aids in order to maintain a consistent bend and angle throughout the movement.

    Trouble-Shooting Your Shoulder In

    The shoulder in can go wrong in many different ways…  Your horse may over-bend through the neck while keeping his back straight.  This is often caused by too much inside hand on the rider’s part and must not be mistaken for a correct shoulder in.

    Another way too much inside hand shows up is in the rider crossing their hand over the horse’s neck, from inside to outside… Your inside is your inside, your outside is your outside!!

    Riders can also become overly tense while trying to ride the movement. This causes them to ‘pinch’ their thighs and close their pelvis.  Which generally results in the rider getting ahead of the movement, slouching through their upper body, and being unable to correctly use their aids.  Particularly legs to maintain the forward energy.

    All too often, lack of preparation will result in too fast a tempo or lack of rhythm in the movement. This causes the horse to become heavy on the forehand and become unable to use their shoulders correctly.

    Developing Your Shoulder In

    Later, as you become more skilled at asking the correct questions at the correct times and your horse becomes more skilled at actually carrying out the movement, you can begin to ask for shoulder in down the centerline or across the diagonal.  However, initially, I strongly suggest you use the track on the arena. This will help you to gauge where the hindquarters must remain and the angle of the shoulders.

    Shoulder in can be performed in walk, trot and later, canter.  As your horse develops greater strength and balance, he will become more able to transfer his weight from the front end to the back-end.  

    It is also important to note that the angle of the shoulder in may vary slightly depending on the horse and the level of training and suppleness. However, all should be equal on both reins.  Any resistance on either rein should be noted and worked on overtime.

    Shoulder in often initially seems like a daunting task. However, if you approach it correctly, in a well prepared, patient, and relaxed manner, once your horse can begin to perform the movement, it will open many more doors. And, it will pave the way to further lateral movements and greater strength and suppleness throughout his body.

    Happy Riding

    Lorna

    Related posts, episodes, and freebies you may enjoy:-