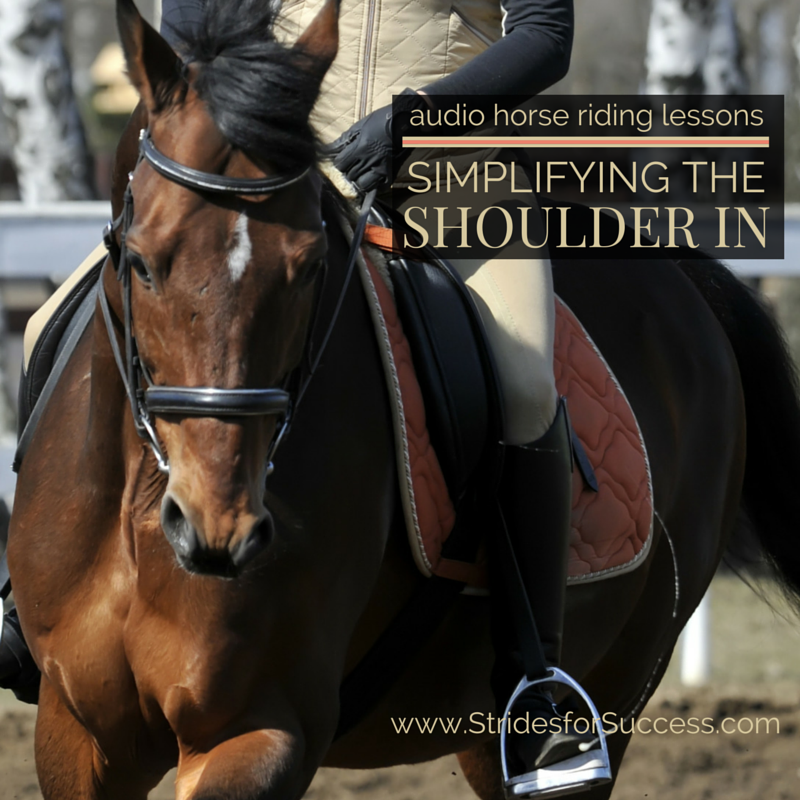
Does the thoughts of riding shoulder in leave you feeling less than confident in your riding abilities? Are you a little unsure about the angle, the bend, and the degree of collection required in order to successfully ride the movement?
Shoulder in is super for encouraging suppleness and collection in your horse. However, if ridden incorrectly, things can quickly begin going the opposite way of your desired results…
Shoulder in is a great movement to begin really flexing and strenghtening your horse. However, for many riders it seems far too complicated to even consider riding.
What is Shoulder In?
Shoulder in is a lateral movement and when ridden correctly, will entail your horse bending around your inside leg. The shoulders will be at an approximately 30-degree angle to the side of the track or arena. With the shoulders in, you will then ask your horse to move forward on the line, moving away from the direction he is bent.
It is also important to mention that the bend should be consistent from head to tail, not broken or over-bent in places.
3 Tracks, not 2 or 4…
Normally when we ride our horses forward, we do so on 2 tracks; namely made of the inside hind leg following the inside fore and then the outside hind following the outside fore.
However, for shoulder in, you will ask your horse to shift his shoulders more to the inside, off the track, which will result in your horse travelling on three tracks.
Track number 1 will be the outside hind leg. The second track, number 2 or the middle track, being made up of the inside hind following the outside foreleg. And finally, the inside foreleg on its own separate track, creating track number 3.
Suppleness & Crossing Legs
As your horse performs shoulder in, his inside legs will cross over and in front of the outside legs. This will be more apparent with the front legs, rather than the back legs.
Also, as your horse becomes stronger and more developed and balanced, he will become lighter in front. This will lead to a more expressive movement through the shoulders while performing the shoulder in.
Before Working on Shoulder In
Before starting out teaching your horse the shoulder in, it is worth noting that he should have a good understanding of leg yielding. He should also have started showing some collection in the gait. Additionally, the ability to make small adjustments to his stride while consistently maintaining the rhythm, tempo, forward energy, and balance throughout will help.
The leg yielding is important for a few reasons. The most notable being that he understands the forward and sideways movement. This while remaining straight through the leg yield.
The straightness is important because it is this same straightness that will allow him to keep his hindquarters on the track while shifting his front end off the track and bending around your inside leg.
Preparing for the Movement
The quality of the shoulder in depends on the quality of the gait leading up to it… Preparation is key to a good shoulder in!
I suggest introducing the shoulder in, for both you and your horse, in the walk. This will allow both of you the necessary time to ‘figure’ things out in both your minds. It also, more importantly, gives you time to figure out how to move your bodies accordingly. Often riders try to rush the shoulder in and this often leads to the horse remaining straight through their back and over bent through the neck.
Shoulder in is only really shoulder in if the actual shoulders move in off the track!
The Angle of the Shoulder In
Before we go any further, I think we should look at the angle of the shoulder in. What the angle means, is that of your horse’s shoulders to the original track you were riding on.
Often riders try for too great an angle than the 30° that is required. If the angle is too great, your horse will not be able to perform the movement.
To help visualize 30° I suggest bending your elbows and putting your hands out in front of you, palms facing each other, about hip-width apart (like a robot!). Pivot your upper body around 90° from your hips, so your arms are essentially creating a right angle to the line your hips are on and where you were originally facing.
Now, once there, think about it like this… If this is 90°, let’s now move your hands back to 45°… So estimate halfway and move your hands and shoulders there…
Now, 30° is actually only 2/3 of the way to 45°… so once again, do a little estimation of what a third of the way would look like, and again adjust your hands and arms to there… And voila; the angle is not as severe as most riders first imagined it to be!
It can also help to get out a trusty protractor and, using the straight side as the track, look at where 30° actually is… Again, it is not 45°!
Start on a Circle in Walk
To actually ride your first shoulder in, I recommend starting walking a 10m circle in the corner. As you complete the circle, begin to ride the long side of your arena while asking for shoulder in. Notice the bend in your horse and as you move down the track, focus on keeping the hindquarters on the original track where they should be, but the shoulders ‘in off the track’ at about a 30-degree angle.
Ride this for 3 or 4 strides and then, to finish or ride out of the shoulder in, rather begin another circle where you are than try to place your horses shoulders back on the track. This is easier for your horse to achieve and feels like a more natural conclusion when first learning about the shoulder in.
Your Circle is a Tool…
Use your 10m circle to begin your preparations. Notice your position while on the circle and make any adjustments to correct it. Pay particular attention to your shoulders and upper body. It is often tempting to ‘lean in’, which inevitably pushes your hips and seat to the outside of the saddle. Use your half halt on the circle to balance your horse. And, also, tell him that something is about to happen…
Use the natural bend created by riding on the circle to help place your horse in the correct position as you come off the circle and begin to move down the track. The half halt will help keep you both balanced and, depending on your horse, you can ask for a degree of collection in the gait.
As your horse takes the first step of shoulder in, pay attention again to your upper body. Your shoulders must be kept in line with your horse’s shoulders. Also, take care to carry yourself and your upper body. This will, in turn, allow your horse’s front end to lighten a little as the weight is transferred onto the inside hind leg as it comes underneath him.
Your Aids Through Shoulder In
Although you should look where you are going, I suggest rather keeping your head in line with you and your horse’s shoulders. Look through the ears, rather than glancing out the corner of your eye down the school at the track. The reason is that when riders first begin riding shoulder in, they tend to turn their shoulders to keep in line with their head… Which, in the case of looking down the track of the arena, will lead to you shifting your weight incorrectly in the saddle.
Your inside leg is what the horse is ‘bent’ around. It is used to keep creating the forward energy and the sideways movement happening underneath you.
It is your outside leg that controls your horse’s hindquarters and prevents them from swinging out, which is a common fault in shoulder in.
Your outside leg also helps to keep the horse moving forward and keep the outside hind leg moving underneath the horse. This, in turn, will encourage better use of the inside hind leg, allowing the horse to lighten more in front and free up the shoulders for better movement.
Your outside hand supports the outside leg and controls the degree of bend, It also helps regulate the rhythm and also controls the horse not to continue on with the ‘circle’ or become over bent. Your inside hand asks for the flexion, however must remain soft and giving throughout the movement.
It is up to you, the rider, to find and then maintain a balance between both hand and leg aids in order to maintain a consistent bend and angle throughout the movement.
Trouble-Shooting Your Shoulder In
The shoulder in can go wrong in many different ways… Your horse may over-bend through the neck while keeping his back straight. This is often caused by too much inside hand on the rider’s part and must not be mistaken for a correct shoulder in.
Another way too much inside hand shows up is in the rider crossing their hand over the horse’s neck, from inside to outside… Your inside is your inside, your outside is your outside!!
Riders can also become overly tense while trying to ride the movement. This causes them to ‘pinch’ their thighs and close their pelvis. Which generally results in the rider getting ahead of the movement, slouching through their upper body, and being unable to correctly use their aids. Particularly legs to maintain the forward energy.
All too often, lack of preparation will result in too fast a tempo or lack of rhythm in the movement. This causes the horse to become heavy on the forehand and become unable to use their shoulders correctly.
Developing Your Shoulder In
Later, as you become more skilled at asking the correct questions at the correct times and your horse becomes more skilled at actually carrying out the movement, you can begin to ask for shoulder in down the centerline or across the diagonal. However, initially, I strongly suggest you use the track on the arena. This will help you to gauge where the hindquarters must remain and the angle of the shoulders.
Shoulder in can be performed in walk, trot and later, canter. As your horse develops greater strength and balance, he will become more able to transfer his weight from the front end to the back-end.
It is also important to note that the angle of the shoulder in may vary slightly depending on the horse and the level of training and suppleness. However, all should be equal on both reins. Any resistance on either rein should be noted and worked on overtime.
Shoulder in often initially seems like a daunting task. However, if you approach it correctly, in a well prepared, patient, and relaxed manner, once your horse can begin to perform the movement, it will open many more doors. And, it will pave the way to further lateral movements and greater strength and suppleness throughout his body.
Happy Riding
Lorna
Related posts, episodes, and freebies you may enjoy:-
-
-
- Free Suppleness Audio
- Increasing Your Horses Suppleness
- A Simple Exercise for Straightness
- Leg Yielding to Refine Your Asking Aids in the Saddle
- Solving Leg Yielding Problems
- Using Lateral Work to Improve Your Walk
- FREE Weeks Riding Plan
- Online community for equestrians working on their mindset & fitness
- Online Community for equestrians focusing on re-schooling horses (and ex-racehorses)
- The Daily Strides Podcast on iTunes
- The Daily Strides Podcast on Stitcher Radio
-
Leave a Reply