Author: Lorna Leeson

  • The Trot to Canter Transition

    The Trot to Canter Transition

    [smart_track_player url=”https://op3.dev/e/traffic.libsyn.com/dailystridespodcast/SFA296-The-Trot-To-Canter-Transition.mp3″ title=”The Trot to Canter Transition” social_linkedin=”true” social_pinterest=”true” social_email=”true” tweet_text=”A better trot to canter transition with your horse” hashtag=”horseriding #transitions” twitter_username=”strides_success” ]

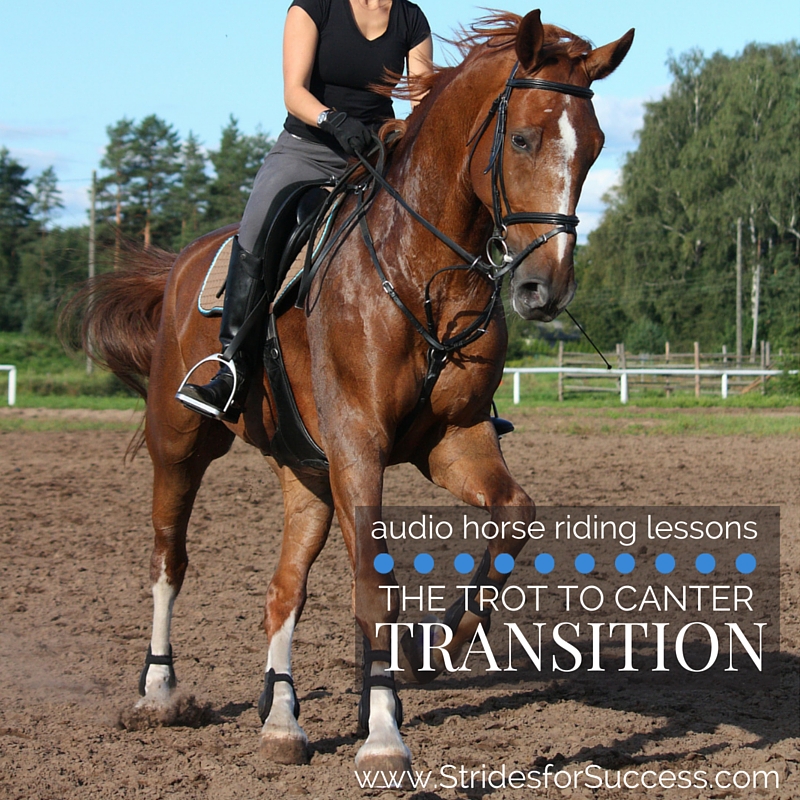
    Do you manage to perform a ‘clean’ trot to canter transition every time?  This transition is often one of the most difficult to maintain balance and rhythm.  And this is true for both horse and rider.

    The potential for your horse to run into the canter, instead of actually ‘striking’ the canter when asked is quite high.

    In this episode of the Daily Strides Podcast, we cover an exercise that will help you become more clear with giving your horse the aids to canter.  It will also help to place your horse into a situation where he can transition from trot to canter more easily.

    Trot to Canter Transition

    Perfect this Transition?

    I want you to begin by riding a 20-meter circle, paying close attention to the quality of your trot.  Make sure you have a nice, active working trot; your horse moving forward from your leg.

    As you are trotting, notice how responsive your horse is to your aids…

    Are you having to ask two or three times for a specific movement or response? Use the initial trot on the circle to secure your horse’s undivided attention.  And to develop his willingness to do as you ask.

    Riding a Smaller Circle

    Once you have the trot moving forward as you want it, begin gradually leg yielding on to a smaller circle.  I say slowly, as I would like you to do this over a few rotations of the circle.  Continue to decrease the size until you are eventually riding an approximately 12m circle.

    Again, spend some time here re-balancing and establishing an active trot.  Pay close attention to your position.  Don’t lean or tip forward onto your horses neck. I also want you to be mindful of your aids.  Are your legs where they should be?  Are you asking the right questions?

    Trot to Canter Transition

    After 3 to 4 circuits of the smaller circle, you can begin leg yielding back out to your original bigger circle.  This is where you will ask for the trot to canter transition.  It is an ideal place to ask as firstly your horse is naturally flexed correctly.  And secondly, you are using a strong inside leg, riding into your outside rein, which you will use to balance the actual transition and the canter itself.

    As you near the ‘outside’ circle again, I want you to have a quick check of your position and after half halting your horse, you can ask for the canter.

    If your horse ‘runs’, bring him back, re-balance the trot, and then try again.  If your horse transitions into the canter, but then breaks back to trot after only two or three strides, you know that your inside leg is not being used effectively.

    You can continue this exercise a few times, paying attention to what you are asking, how you are asking and how your horse responds.  From there, you can try the trot to canter transition on the circle alone and see how you get on.

    Happy Riding
    Lorna

    Additional Resources To Help Equestrians:-

  • Putting Your Riding Under The Spotlight

    Putting Your Riding Under The Spotlight

    ]Scroll down this article to find the guided audio lesson plan that I have created and suggest you use to get you started with this process]

    There are a few disadvantages to riding alone.  One of the biggest is the fact that while you may think and feel like you are doing everything correctly, there is a good chance that in actual fact you’re not!   This is why so many arenas have mirrors around them.  And while many riding centers and equestrian facilities install the mirrors for this exact reason; it can be a pricey solution!

    Today, I present you with a much easier, cheaper solution that you can use whenever you like. A tool that, in the long run, can become invaluable to your riding progress and success.  And, which you can use to help to motivate you when things are going less than well…

    Using Video to Improve Your Riding

    Camera-ready?  Today I want you to video yourself riding your horse while listening to today’s lesson.  This week’s lesson is a basic flatwork plan which you can listen to while you record yourself riding.

    I suggest that the camera is placed where the letter A is situated in the arena (in the center of one of the short sides of your arena).   The lesson plan we use will capture you doing basic movements, from all angles, which gives you a great overall picture of the present skill level you are at.

    How Video Will Help Your Riding

    A quick word for reference here, I have updated this particular blog post in October 2021.  I have testimonials and references from hundreds of riders around the world who have used this process and are seeing the results. 

        1. As you replay the video, play the audio as well to see how you react when different movements are asked
        2. Use this to see first hand if you are perhaps stronger on one side or the other
        3. Creating a permanent record of your progress which you can then compare with newer videos.  This is best applied using the same audio lesson to see how you are improving, or where progress is perhaps slightly stalled, which lets you know what needs more work.

    Things to Keep in Mind

    Just a few pointers to help you to make the most of this exercise in your riding:-

        1. Remember that this video is for your benefit, and you alone…  If you are worried about what others will think, choose a time to ride alone
        2. The time of day and subsequent daylight may result in different conditions on the video.  Remember to account for shadows, dullness, etc. in your review.
        3. The time of day is also just one of the things I encourage you to take note of HERE.  All of these things (and more) will also play a part in this working for you or not

    Another thing to keep in mind with regards to this consistency.  By riding the same movements in the video, week after week or month after month, you get a really clear picture as to what aspects of your riding you need to focus on during your schooling.

    This way you can use your practice sessions in the arena to truly move your riding forward.

    Happy Riding
    Lorna

    Additional Resources To Help Equestrians:-

  • Improving Your Ride With the Half Halt

    Improving Your Ride With the Half Halt

    The half halt is possibly one of the most important tools riders have when communicating with their horses.  It is also probably the most under-utilized!  And this is particularly true where novice riders are concerned.

    As a trainer, I believe that if you can become more conscious of how and when you are using your half halt, you can begin improving it with every single ride going forwards.

    I have a free resource HERE for you to use while you ride to really begin doing this.  Or just pop your details in below and I’ll send it straight to you :)

    [convertkit form=2682886]

    Why do we use the Half Halt?

    The half halt can be used for a couple of different reasons;

        1. Balancing or ‘steadying’ your horse
        2. Letting your horse know or indicating to your horse that something is about to be asked of him
        3. Bringing your horse’s attention back to you and what you are asking him

    It is a vitally important movement that should precede all other movements and tasks.  From transitions to bending, from jumping to halting

    What becomes confusing about this aid is the fact that the word ‘halt’ is in its name… It really has nothing to do with halting.  Rather it has everything to do with focusing and regrouping you and your horse. This applies to both before each new question and throughout the movement itself.

    In fact, I am a fan of renaming this powerful aid “Let’s pause and regroup a moment”…

    How Long to Ask with the Half Halt?

    The aid itself, when applied, should only be used for a split second and then released.  An easy way to think of this is ‘one foot fall’ of your horse within each stride.  You can use multiple half halts one after the other to achieve what you want.

    However, it is vital to release each one immediately.  Hold and then release.  Repeated.  Simply ‘holding’ will result in your horse learning to lock himself against you and become heavy in your hand.

    I have more detailed free training, articles, and Daily Strides Podcast episodes listed below to help you with this:-

    And My Half Halt Will Improve?

    Once you have the basic foundation of a good quality half halting in place, you can begin to use this throughout each and every interaction with your horse.  From groundwork to lunging, and from long-lining to riding.  By performing this simple movement correctly throughout your ride, you will experience

        • More improved feel in the saddle throughout the ride
        • A more successful outcome for each ride due to increased focus (both horse and rider)
        • A better basic position for you to communicate your aids more successfully with your horse
        • More accurate transitions
        • Better quality transitions (halt, walk, trot, and canter)
        • The ability to transition within the gait itself (lengthening and shortening)

    The “let’s pause and regroup” is truly a game-changer in your riding and I am looking forward to helping you both understand and ride better ones going forward.

    Make sure to get the free resource to use next time you’re in the saddle HERE

    Happy Riding
    Lorna

    Additional Resources To Help Equestrians:-

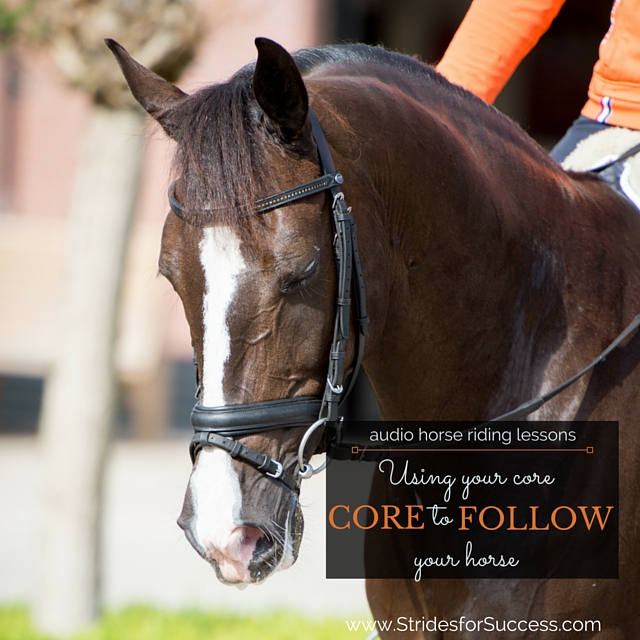
  • Using Your Core Muscles To Correctly Follow Your Horse

    Using Your Core Muscles To Correctly Follow Your Horse

    Using Your Core to Follow Your Horse

    Horse riding is really one long conversation between horse and rider.  One of the ways that we look to improve our riding is by being in constant harmony with our horses.

    The ability to ‘follow your horse’ and be a balanced, conscientious rider comes from our ability to balance and control our own bodies… Core strength.

    [smart_track_player url=”https://op3.dev/e/traffic.libsyn.com/dailystridespodcast/SFA276-Using-Your-Core-Muscles-Correctly-To-Follow-Your-Horse.mp3″ title=”Using Your Core to Follow Your Horse” social_linkedin=”true” social_pinterest=”true” social_email=”true” tweet_text=”Following your horse is not as difficult as it seems…” hashtag=”equestrian #horseriding” twitter_username=”strides_success” ]

    The Ability to Carry Yourself While Riding Your Horse

    It seems strange to think about this, but carrying yourself while in the saddle is essential for becoming a balanced, effective rider.  Many riders will bemoan the fact that they have ‘no core’ or a weak core.  They allow this perception to hold them back from improving.

    However if you can walk over to your horse, before you mount up, you already have the necessary core strength to carry yourself in the saddle. 

    It may not be a strong or developed as you would like, however carrying yourself simply requires that you engage your core. If you can walk to your horse unaided and unassisted, you can begin to follow your horse today.

    Think of Standing Up Rather than Sitting Down

    For most riders, as soon as their bum makes contact with the saddle they ‘sit down’.  Unfortunately for most of us, sitting down means that we are slouched.  Bad posture and completely relaxed.

    One of the simplest ways to carry yourself when in the saddle is to engage your core as though you are ‘standing’ rather than sitting.  

    Yes, you are still sitting in the saddle.  However, your core will feel and act as though you are standing.  This way you will remain aligned, your posture will become more correct.  There will also be the necessary ‘space’ between your ribs and your hips that is necessary for your seat to follow your horse’s movements.

    Working to Follow Your Horse While in the Saddle

    I suggest beginning to work on improving your ability to follow your horse in the walk.  Keep the emphasis on relaxing through your body, and allowing your horse to move underneath you.

          1. Relaxing our hips and pelvis
          2. Relaxing our leg, without tension or gripping
          3. Sitting up through your body, making sure your rib cage and upper body are not ‘crushing’ your organs and pelvis.

    If all these points are in place, in harmony, with each other, you can then begin to concentrate on following your horse.  Doing so will help you to become a more independent and skilled rider

    Following Is Different Than Driving or Shoving!

    Keep in mind that when you follow your horse, it does not mean that you are driving, shoving, or pushing!  So many riders confuse ‘digging a hole’ with their seat bones, and just being supple enough to follow.

    Relax enough that your horse can bring you along with him.  Then, simply allow the movement to happen.

    Happy Riding

    Lorna

    Articles & freebies that Relate to this Topic:-

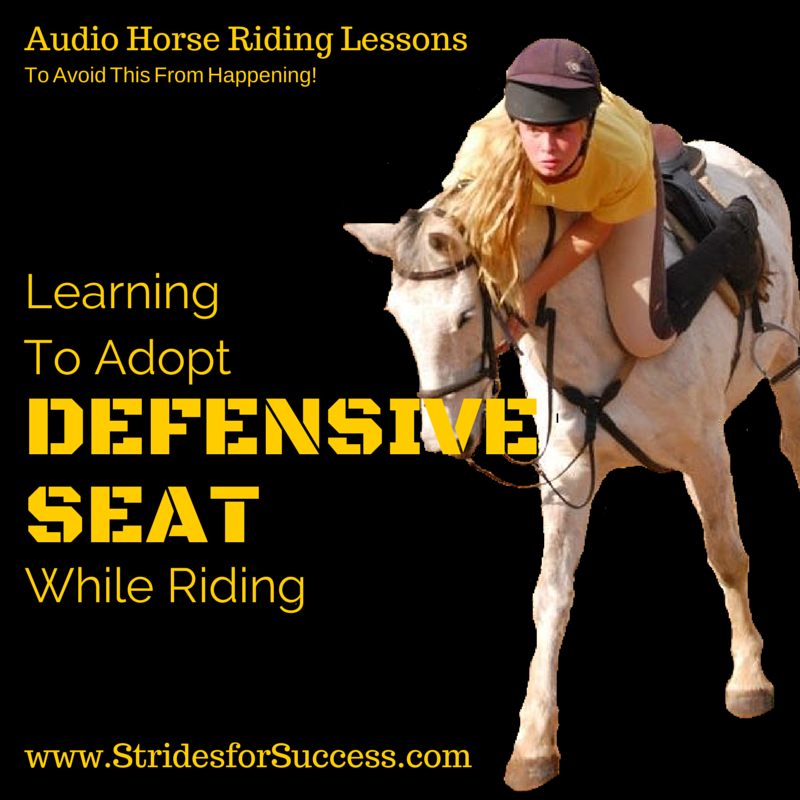
  • Learning To Adopt a Defensive Seat While Riding

    Learning To Adopt a Defensive Seat While Riding

    If there was a soundtrack for having a defensive seat while riding, ‘Jaws’ music would be it!  It would sufficiently set the tone for what is going on in your head.

    Anyone who has been caught off guard by their horse while in the saddle, knows what I mean about this.  It usually begins when your horse does something ‘unexpected’.  You lose your balance a little.  And this all coincides with you beginning to experience that awful feeling of dread in the pit of your stomach.

    You know, the one reserved for when your horse gets his back up a little. And, you just know, that in the next few seconds will begin to show you exactly how athletic and agile he can be!

    Having a horse buck underneath you is not a good thing!  Being able to stay on and ride your horse through this challenge is essential for many riders.  Especially if the horse in question learns to take advantage of the situation!

    Learning to Adopt a Defensive Seat While riding

    A Defensive Seat While Riding

    ‘Staying power’ is a term that describes what many riders wish for in moments like these!  The ability to remain in the saddle, moving and working forward with your horse.  Leanring how to transition quickly into a more defensive seat while riding will help you achieve this.

    So, rather than just accepting your fate.  Simply allowing your horse to push the ejector button when he feels like it, here’s a few suggestions to not only keep you in the saddle but also ride your horse through the bucking and back to working with you in the arena.

        1. Push your heels down (really down!)
        2. Bring your shoulders slightly behind your hips, stretching out the front of your body
        3. Distract your horse by riding him through the problem and get him to use this energy elsewhere!

    I have written some more comprehensive blog posts surrounding this topic that you may find helpful to read or listen to (there is a short 12-minute podcast episode on each as well).

    Happy Riding
    Lorna

    Additional Resources To Help Equestrians:-

  • Riding on the Bit

    Riding on the Bit

    [fusebox_track_player url=”https://op3.dev/e/traffic.libsyn.com/secure/dailystridespodcast/576-Correctly-Riding-Your-Horse-On-The-Bit.mp3″ title=”Riding On the Bit” social_linkedin=”true” social_pinterest=”true” social_email=”true” tweet_text=”Struggling with On the Bit? This will help…” hashtag=”horsepodcast, #equestrianpodcast” twitter_username=”strides_success” ]

    So, we’ve all been there, riding around the arena on our horse, desperately seeking the elusive ‘On the Bit’.   Pumping with our legs, ‘sponging’ with our hands; doing our level best to achieve what is beginning to feel like the holy grail of riding a horse!

    All the while hoping, praying, wishing (hey, when you are desperate you will resort to anything!) that a lightning bolt will just shoot out of the sky and, **Poof**, your horse is ‘on the bit’!

    The sad part is that the more we pump with our legs, push with our seat and plead with the Good Lord to show us mercy and deliver us from this agony that is our desperation… The less and less likely we actually are of achieving our goal!

    For many trainers, it can feel like there is a fine line when explaining this concept.  I am taking the brave (or stupid, depending on where you see the line) step of trying to decipher this massive mystery.  A feat by which so many riders define themselves.

    Riding on the Bit - Daily Strides Podcast - Strides for SuccessWhat Is ‘On the Bit’?

    The term ‘on the bit’ is an extremely misleading one as rather than focusing on your horse’s head, neck, and mouth.

    Your focus as the rider should be on what you are staying to your horse through your aids.  And then noticing how your horse is then using his body in response to this.

    The key to truly having your horse accepting your contact is the reason behind wanting him to do so.  So you can collect and then channel the energy that is being created in his hindquarters as it passes through his body to his front end.

    Developing On the Bit in Your Riding

    As this energy is then gathered and channelled, you will find both you and your horse on the bit.  You may only see glimpses at first; but over time this will develop.  you will both learn to establish on the bit earlier in the ride.  And also, maintain this contact and connection for longer periods as you both develop.

    The rider needs to begin making small adjustments. Not only their body, but their mind, so as they can become ‘feather riders’ and allow the horse to actually use his back underneath them.

    I discuss this topic in far more detail in the following blog and episodes posts:-

    Happy Riding
    Lorna

    Additional Resources To Help Equestrians:-