Tag: cantering

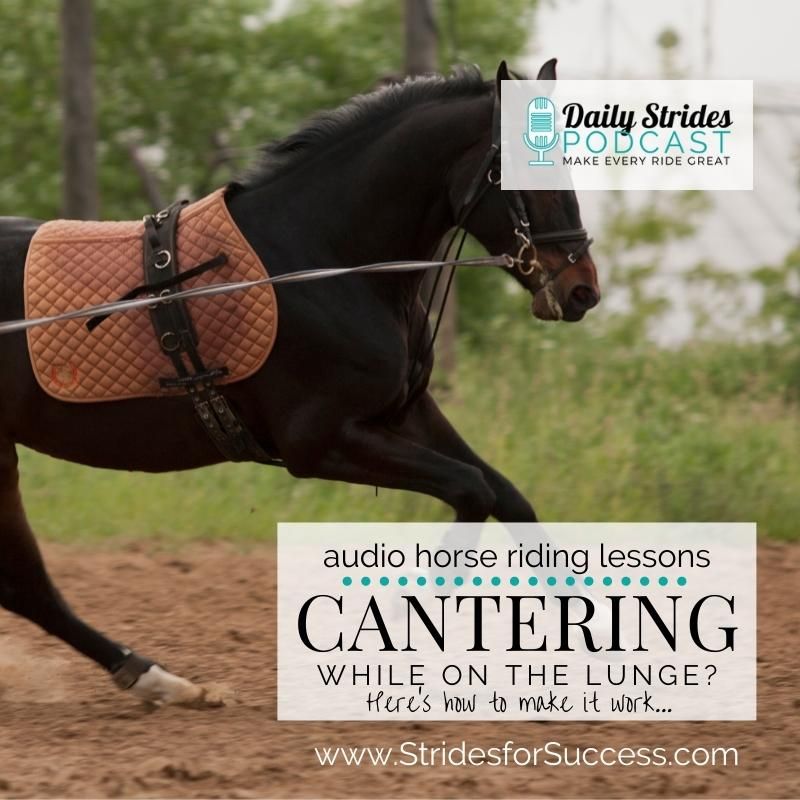
  • Cantering on the Lunge? Here’s How to Make it Work…

    Cantering on the Lunge? Here’s How to Make it Work…

    [fusebox_track_player url=”https://op3.dev/e/traffic.libsyn.com/dailystridespodcast/1237_Cantering_on_the_Lunge_How_To_Make_it_Work.mp3″ title=”Cantering on the Lunge Line? Here’s How To Make it Work…” social_linkedin=”true” social_pinterest=”true” social_email=”true” ]

    Here’s a confession; for years I used to think of cantering while on the lunge as just something I did to ‘finish the session’. It was like something that I could check off a list. There was no intention behind it (only to get it done),

    And with any cantering happening while on the lunge, there was definitely no thought put into using the time or gait to develop the horse.

    Which, now, seems so bizarre! Why would I have even bothered with it when there was no set focus or intention?! It really does seem like madness; except for one thing…

    Every week, I see so many riders making the same mistake. Cantering endless circles while on the lunge – without a single thought about why and what it might achieve or work towards…

    Transitioning Into the Canter

    Let’s start at the beginning with this one. I love thinking about the similarities between what happens when riding and what happens when lunging. Meaning, if you were to ride a ‘good’ transition from trot to canter, what would you consider before ‘asking’?

    The transition into canter will only be as good as the quality of the trot asking for it – and the quality of the preparations for the ‘ask’.

    Meaning that the trot must be moving forwards, not running. And the rider (the lunger) must invest a little time, energy, and focus in preparation for the transition itself.

    Become comfortable with your half-halt while on the lunge – yes it is a thing – and spend time on coordinating and balancing your aids to ask for the transition.

    Starting to Canter

    When your horse does transition into the canter – resist the urge to panic! If you are not used to lunging on a consistent basis, the canter can seem very, well, fast! It is almost like a rider who is learning to canter for the first time. It can seem like things are, literally, flying by! They’re probably not!

    And if your horse is ‘running’ in the canter, check out this episode HERE to help you with that.

    Watching your horse canter while on the lunge often requires you to feel a little mentally uncomfortable for a time. This is due to a perceived ‘lack of control’.

    Keep in mind that you have the same level of influence you had while in the trot, it is just that you may need to say things a little louder (using all of your aids) in order to be initially heard. This is a training process.

    Your job will be to refine the aids and increase responsiveness so that you can be heard by your horse while in canter on the lunge.

    Improving the Canter

    From here, you can begin to actually work on the canter. See your aids, both natural and artificial, as being a channel for energy. Use your outside boundary to help you channel things a little more.

    Become aware of the rhythm of the canter itself. Is there a distinctive 1,2,3..1,2,3.?
    How can you, using your aids, help define this further?

    From here, think about straightness. Are you using the lunge line to ‘slow your horse down’? Or are you using it to keep your horse while on the circle? In both cases, this will cause the energy to fall out. And, any leaks in energy will result in a canter that is far less than what it could be.

    Just like when you ride, your lunge line should be used to create contact. Not steer the horse (keep it on the circle) or slow the horse down (pulling on it like an anchor).

    Assess your aids, and be honest with yourself. Are you using all of the aids at your disposal in order to positively encourage a better canter from your horse, or are you just relying on the, unfortunately, obvious lunge line to ease your mental discomfort and make you feel more in control?

    Be Consistent with Your Actions

    Just like when you began cantering in the saddle, cantering on the lunge is probably not going to look pretty the first few times you try. It might consist of rushing and funning in wild circles. It could turn into a situation where any sort of request for a more balanced canter is met with a transition back to trot!

    The key to developing your influence in the canter is to keep trying. Notice what works. And change what doesn’t.

    Over time, if you can consistent with your approach, you will begin to see moments of ‘good’ canter on the lunge. Build on these. Give yourself a challenge of trying to prolong those moments just a little. And watch your efforts begin to produce real and lasting results.

    Happy Lunging
    Lorna

    More on this Topic:-

  • Asking for The Correct Canter Lead when on the Straight

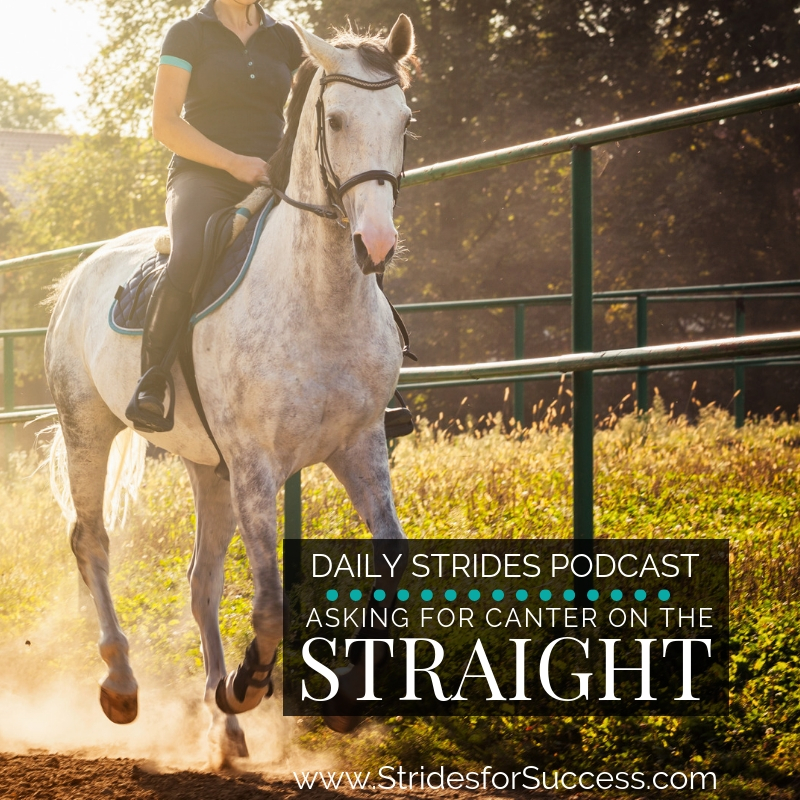
    Asking for The Correct Canter Lead when on the Straight

    Asking for the Correct Canter Lead when on the Straight

    What this episode is all about & how it can help you:-

    • Understand why correct flexion is everything
    • Get clear on the role of your seat
    • Use your legs to ‘ask’ the question
    • Actually allowing the horse to actually canter

    [smart_track_player url=”https://op3.dev/e/traffic.libsyn.com/dailystridespodcast/1064-Asking-for-Canter-on-the-Straight.mp3″ title=”Asking for Canter while on the Straight” social_linkedin=”true” social_pinterest=”true” social_email=”true” tweet_text=”Struggling to strike a correct canter lead on the straight? This episode of the Daily Strides Podcast will help” hashtag=”horseriding #canter #podcast” twitter_username=”strides_success” ]

    Do you find that canter leads end up getting you and your horse in a bit of a muddle sometimes?  You’ve perhaps noticed that if you ask in the corner you are usually okay…   But, if and when you ask on the straight, well, it seems to be down to chance!  A fifty / fifty chance, but a chance all the same!

    In this episode of the Daily Strides Podcast I am focusing about cantering, and the correct leads in canter. I want to help you to strike the correct canter lead 100% of the time, regardless of if you are on a bend or on the straight.

    For many riders, the transition to canter is one that is initially mastered on a corner or bend.  This is because the bend will naturally help ‘set you up’ for success through the transition itself.  However, it is when the same transition is asked while riding a straight line, muddled communication becomes apparent very quickly!

    If you have experienced this, firstly don’t worry.  It is a common issue for many riders and one that is easily ‘straightened out’ when you understand the mechanics behind it all. 

    Correct Flexion is Everything

    I cannot stress enough the importance of correct flexion in cantering.  I find that often riders are so busy trying to get the horse to go forward and into the canter – that they completely forget about the flexion.  The flexion that really must be there if the transition is going to be a successful one.

    I believe that correct flexion is one of the foundational pieces necessary for the correct transition to occur

    With canter you want to have a slight flexion to the inside. Remember that flexion is not a bend. Bending is when the horse’s nose and tail get closer together on the one side of their body, as they bend that way.

    Flexion and Suppleness

    Flexion is more like a slight ‘give’ to one side. What is really important about flexion is that there must be a certain degree of suppleness present in horse and rider.

    If you are fixing or forcing the flexion, then it is not flexion. 

    If you do this then the horse cannot move through the transition into whatever you want him to do. It is important to understand that for flexion there has to be movement.   There has to be suppleness and it has to be ‘loosey goosey’.

    Flexion is not dictated by which rein you are on, it is dictated by whichever canter lead you are asking for.  It is important to decide which is your inside and which is your outside and make that clear to your horse before the transition

    Let’s say you were to ask for a little flexion to the left, then you are going to be setting the horse up to canter on the left lead. It doesn’t mean that you horse veers off to the left, because we are riding a straight line. That is why I said that flexion is not bend, it is just a little ‘give’ – it is an indicator, or a ‘nod’ in that direction.

    Understanding the Role of Your Seat

    Your seat…  We could go deep into what your seat should and should not be doing. However I have covered it in detail in past episodes HERE & HERE.  There is also a complete list complementary episodes on this topic at the bottom of this blog post.

    I see so frequently with riders, that their seat is actually incorrect.  It often shows up in that they are not sitting straight; meaning that there is more of their body on the one side of the saddle than the other side.

    If you are riding on the straight, make sure you are straight in the saddle!  Otherwise you are giving conflicting directions, or asking questions that don’t make sense, to your horse

    How is Your ‘Scoop’?

    The second common mistake I see when it comes to the seat is riders confusing a ‘scoop’ with a ‘dig’.  You can ask for the transition, and the correct canter lead, with your seat.  Very often the term used is to ‘scoop’.

    Unfortunately, what very often happens is that riders will ‘dig’ instead of scoop. Trust me, your horse will not enjoy the feeling of having a hole dug in his back!  He will try to move his back away from you. This usually results in him either go crooked through his body, or hollow through his back. Neither are good when it comes to successful transitions, especially canter transitions.

    Think of your ‘scoop’ as being light, almost like an indicator. You are subtly asking for something ‘more’ or bigger to happen.  And remember, you and your horse must be ‘fluent’ in the seat in order for the ‘scoop’ to work :)

    Using Your Legs to ‘Ask’ the Question

    If you and your horse are not quite proficient in the language of the seat just yet, don’t worry. The easier way ask for the correct canter lead it to use your legs to ask the question.

    In a previous episode HERE we spoke about the ‘legs first or the seat first’ combination. The egg and chicken of horse riding for many riders.  I believe that they are both usually influential on each other.

    This is good news for you as it means that you can use your legs to influence your seat, and your horse, when asking for the canter transition initially

    The simple canter aids are that your inside leg is ‘on’ and your outside leg is slightly back.  However, instead of your outside leg remaining too far back, it is almost as though it plays tag

    Where you ‘tag’ your horse is important.  You don’t want to touch him too far back, closer to his flank (you would be surprised what I have seen riders try and do in an effort to get into canter!).

    I am going to suggest that you be more subtle and let the ‘back’ be just an inch or two behind your usual outside leg position.  Most horses will understand.

    Both Your Legs Have Important Roles in the Transition

    After touching him (tagging) your outside leg will stay a little more back when compared with your inside leg.  This is because your outside seat bone is a little back and your inside seat bone a little more forward as your horse canters.

    It is equally important to realise that it is not just your outside leg doing all the work.  When your outside leg is ‘tagging’ your horse,  your inside leg will be asking for ‘more’ energy.  This can be with your inside seat bone, and this is where the scoop comes in.

    Allowing the Horse to Actually Canter

    Once you have asked the question, you now have to actually allow your horse to canter!  We spoke about straightness through your body at the beginning of this post, and this is where it is really key to remain ‘straight.  Equal amounts of your body and weight on both sides of your saddle.

    It is also really important to make sure that you haven’t allowed your body to tip forward as your horse took that first step into the canter.   Your correct position is essential to allowing your horse to canter

    When it comes to ‘allowing’, I personally believe that it is all about your seat.  If you are shut down the energy through your seat, your horse can no longer go forward

    A simple way to imagine this is to imagine yourself sitting up and allow your seat to lead.  Your body must simply follow through from your seat.

    I believe there is an invisible connection between your seat and your hands, and by allowing through your seat, you allow through the hand.  This, in turn, allows your horse to move into the canter.

    Practicing the Correct Canter Lead While on the Straight

    Like all things in horse riding, this too is going to require practice. I would strongly suggest schooling on this using the centre line or a quarter line.

    A simple exercise you can do which will allow you to keep moving forward in your riding is to work on the quarter line.  Ask for the canter while on the quarter line.  Then change rein across the long diagonal.  As you change rein, transition down to trot and use the time to rebalance and establish your trot.  Then simply ride down the opposite quarter line ask for the other canter lead.

    Of course, there are many different schooling exercises and movements you can use to practice this.  What is important is to remember the flexion and ‘how’ you are asking your horse for the canter transition.

    Happy Riding

    Lorna

    Links mentioned in the episode:-

  • 4 Steps to a More Comfortable Canter

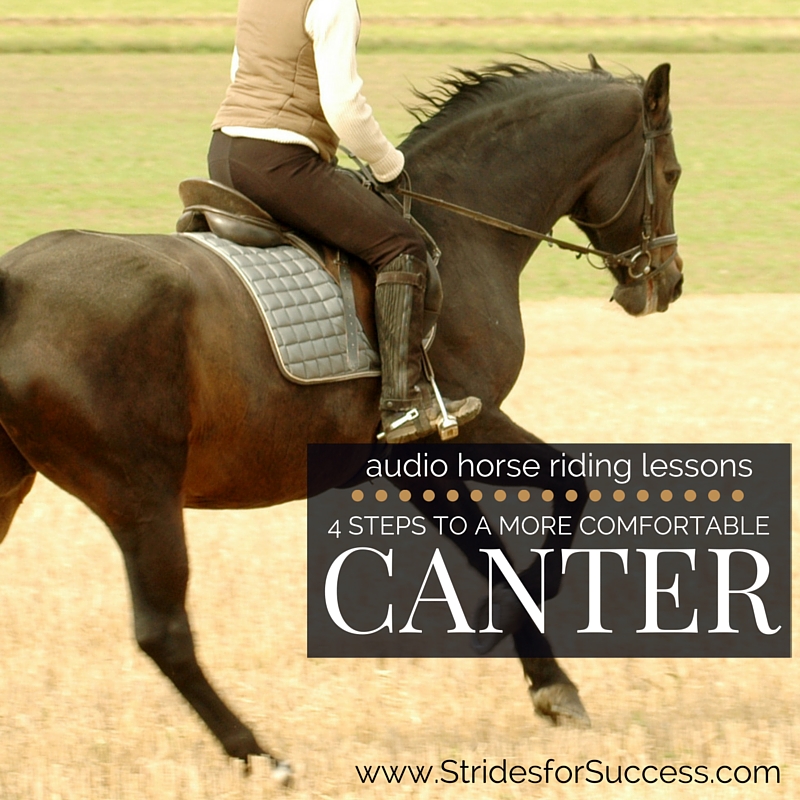
    4 Steps to a More Comfortable Canter

    4 Steps to a More Comfortable Canter

    I don’t know about you but for me, the canter is the most comfortable and enjoyable gait when riding your horse. I just love the feeling of rolling along, wind in my hair… The three-beat rhythm is so different from the other three paces.

    But I also realize that so many riders never really get to appreciate how enjoyable the canter can be, either through fear or trying too hard.

    Let me explain…

    When your horse canters, it is almost like a dance. He will lead and you will follow. As anyone who dances knows, if the follower tries to lead, the dance loses its flow and grace. The same applies if the follower won’t allow the leader to lead! These two scenarios are so often the case when people experience a choppy, uncomfortable, rhythm-less canter; they just won’t allow their horse to lead them!

    The truth is that horse riding is one of those things in life that you really do get out what you are willing and prepared to put in. So often, people want to have wonderful paces and an enjoyable ride, without doing the downright hard slog that it takes to really understand how your body works with your horse as you ride.

    So if you are willing to put the work in, here are a few different points you can begin to do today that will, hopefully, allow you to experience the canter in all its glory.

    1. Practice the sitting trot, without your stirrups
    2. Prepare and ride the trot to canter transition correctly
    3. Sit up through your upper body
    4. Become the ‘Jelly’!

    So let’s have a look at each of these points in a little more detail.

    1. Practice the sitting trot, without your stirrups

    The sitting trot is a wonderful way of improving the canter.  This is because in order to really ride it correctly, you need to allow your hips to move with your horse.  Not against him.  Just like in canter.  To do this you must let your legs stretch down; no drawing them up!

    The sitting trot also, over time, gives you a more secure seat.  It will also improve your balance.  Both of these ‘benefits’ are essential for a good canter.  

    Spend 10 to 15 minutes every time you ride without your stirrups.  Begin only riding straight lines at trot if you are initially skeptical about your abilities to say on your horse! Just make sure you are slowly building it up, both time and energy.

    2. Prepare and Ride the Trot to Canter Transition Correctly

    Preparation is key to most, if not all, success. A vast majority of riders, especially nervous ones, literally throw their horse into a canter and then hang on.  Their faces turning purple with exertion.  Knuckles white from clinging on to the reins or saddle for dear life…

    Rather take the time to understand what your horse does in the canter transition.  This allows you to prepare your body for the shift in momentum that you will inevitably feel as the gear change happens.

    Watch others ride transitions; notice what is good and what isn’t. Most of all, remember that your horse must canter – not you!  Sit up through your body.  Allow your horse to canter by being ready to follow with your hips and hands.  Not your upper body!

    Throwing yourself towards or onto your horse’s neck during the transition is a surefire way of unbalancing you both and maybe even leading to a fall… Sit Up!

    3. Sit Up Through Your Upper Body

    So we mentioned it already, however it is so important that I have dedicated a whole point to it! You must make a conscious effort to sit up through your diaphragm and upper body. Why?  Well, if you are slouched you are, basically, heavy through your torso and body.

    This causes you to firstly become very heavy on your horse’s back.  Imagine a child that does not want to be lifted up, versus one who does.

    Secondly, this heaviness creates a jarring for you and your horse because your pelvis cannot properly move.  This is essential to allow the energy created in your horse’s back-end to efficiently and correctly connect through to the front end.

    Your pelvic area must follow your horse in the canter and it is a whole lot easier to do this if you carry your upper body yourself. You need a strong core to do this, which I cover in the FREE Equestrian Fitness Challenge which you can join HERE

    4. Be ‘The Jelly’

    Hmmm, this may initially sound confusing but bear with me while I explain. Imagine you have a dinner plate in your hand and you slowly begin to move your arm up and down, bouncing the plate. Now imagine on that plate there were two items, a stone and a lump of jelly…

    Which do you think will bounce off your ‘plate’ first, the rigid, hard stone or the soft, flexible piece of jelly? Of course you are going to lose the stone first! Your job when cantering is ‘Be the Jelly’!

    Allow your body to relax and be taken by your horse in the canter… Remember the dance; you must follow. In order to follow, you again must be pliable enough for your partner, which in this case is your horse, to lead you.

    However, very important, don’t collapse your upper body. ‘Being the Jelly’ basically means being flexible through your body, not collapsing on top of yourself and your horse, and just being carried around.

    Suppleness is Essential for Riders…

    Riding requires your horse to carry you, yes, but it also requires you to carry yourself. Remember that always, but allow your body to be led, especially in the beginning when learning.

    Once you have begun to relax and enjoy the experience of canter, you can then begin working on actually riding it… and that is a whole other ball game :-)

    Happy Riding
    Lorna

    Links to Related Topics and Freebies:-