Tag: equipment

  • Essential Equipment When Training Your Horse

    Essential Equipment When Training Your Horse

    [fusebox_track_player url=”https://op3.dev/e/traffic.libsyn.com/dailystridespodcast/1291_The_Essential_EQuipment_Needed_to_Work_With_Your_Horse.mp3″ title=”Essential Equipment You Will Need when Working with Your Horse” social_linkedin=”true” social_pinterest=”true” social_email=”true” ]
    Have you ever begun following a recipe and it’s all going great, until… You realize that you are missing an ingredient.  And whether it is an absolutely key ingredient or a more ‘supporting’ ingredient, it matters.
    Because at the end of the process, what you’ve made is not exactly what you had in mind when you began…
    Training your horse at home can sometimes feel like this.  You get a few days or weeks into it, only to find your momentum grinds to a halt when you don’t have access to a key piece of equipment.
    Today, I want to help you identify what you will need (the basics) to get started and what you might like to add further down the line. After all, the equipment when training your horse is almost as important as the plan.

    The Key Pieces of Equipment

    As mentioned, I am really focusing on the absolutely essential equipment when training your horse today.  There are many ways we could go with this, but I am going to assume that you are working towards training your horse correctly and as a ‘riding horse’.  Meaning that your horse is an allrounder that you can then decide to dedicate more time to pursuing a specific discipline if you want to.
    So, in my experience, these key elements are essential:-
      • 40m x 20m flat (ish) space to work in
      • A boundary for that space
      • Markers (such as dressage letters)
      • Access to a safe riding trail or field to ride in
      • 4 to 6 (or more) poles
      • 4 to 6 uprights or ‘blocks’ to raise the poles off the ground
      • Sheltered, safe, and quiet place to tack up/groom, etc.
      • Good fitting and suitable saddle and bridle
      • Lunging rope and lunging whip
      • Helmet, gloves, and (ideally) body protector
    I want to divide these into two categories and go into a little more detail.  As you can probably see, the first 7 items on the list have to do with ‘where’ you will ride. The second 3 are actual things you can use on yourself and your horse.

    “Riding Area Equipment”

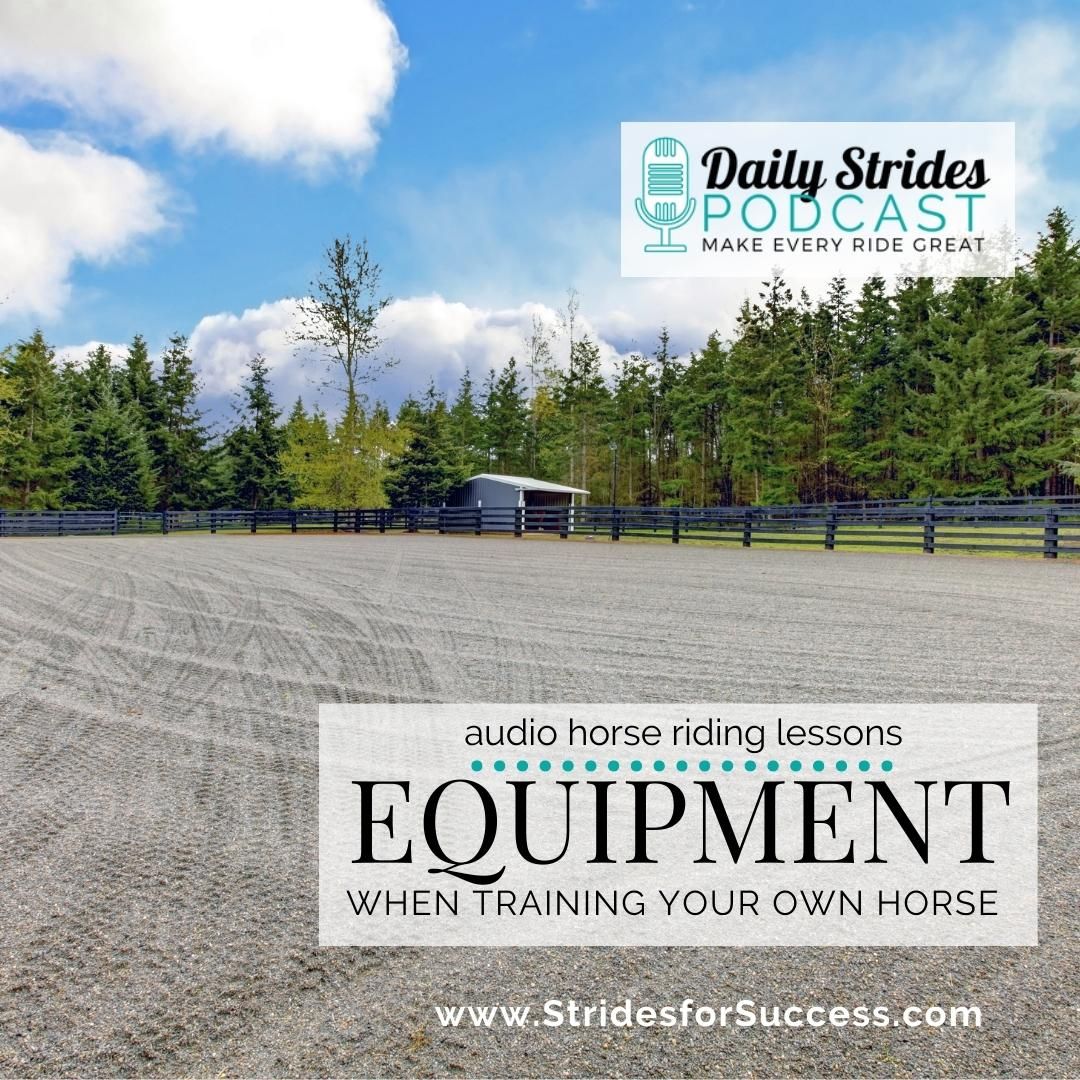
    • 40m x 20m flat (ish) space to work in

    I’m going to start here with the most obvious item on the list; a flat space to work in.  Now, to be fair, a 20m x 20 m space will also work initially.  However, as you begin to ‘do more’ with your horse, you will require a larger area.  And, personally speaking, anything smaller than 20m x 40m is almost a little too restrictive and small.  A ‘good sized’ flat space with good footing is definitely part of the essential equipment when training your horse!
    This space does not have to be an actual arena.  A flattish area in a field is also suitable.  However, this can become a little ‘muddy’ or ‘hard’ during different seasons. But, if you need to get started, it will work.  It’s what I personally had access to as a little person, and while not perfect, it did the job🙂
    • A boundary for that space

    Many riders overlook this aspect of their space.  Is a solid railing or tape line even considered a piece of equipment when training your horse? Yes, oh yes, it is! Especially if they are working in an open field or a very large open arena.  But remember, the boundary of the area you are riding and working your horse in is an artificial aid.  It will help you to reinforce your aids (particularly the outside ones initially) and help with accuracy.
    If you are riding in a field, invest in a roll of white 40mm ‘horse tape’ and as many ‘stakes’ for that tape as you need.  This way you can erect and dismantle your ‘arena’ easily when necessary.  It will also allow you to move it if the ground becomes unsuitable for riding.
    If you are riding in a very large arena, you can either use the same tape or you can use poles and uprights to demarcate a smaller riding space.  Again, this is not a permanent ‘arena’; you will be riding in a larger space soon and then the poles or tape can be moved.
    • Markers (such as dressage letters)

    Whether or not you want to learn true dressage, having the markers is really handy when training your horse. I simply message the dressage letters because they are easy to obtain or to make if necessary.
    If you do want to make your own, find 8 bucket lids and simply paint one of the letters A,K,E,H,C,M,B,F onto each lid.  Then cable tie, nail, or screw the bucket lids to a pole or something suitable where the markers should be.  The measurement of the markers is important.
    • Access to a safe riding trail or field to ride in

    Riders and horses who only work in one space all of the time tend to become sour.  They also don’t learn to increase both their confidence and their trust in each other.  This is why I feel it is important to have access to an alternative riding area that you can use for simply relaxing and enjoying each other’s company – or training!
    A horse trail or quiet country lane is perfect.  An open field will also suffice if the footing is safe and suitable. The more safe riding areas you have access to, the more options you have when it comes to equipment when training your horse.
    • 4 to 6 (or more) poles

    I do think that a few poles are ‘essential’ equipment when training your horse.  Especially when you are serious about the work being done.  They are for going over, going through, on the ground, and raising them up as well.
    They do not have to be fancy or 14′ in length. In fact, shorter ‘thicker’ poles will help encourage more accuracy🙂
    • 4 to 6 uprights or ‘blocks’ to raise the poles off the ground

    Okay, so the poles are great.  And I am a firm believer in the power of a great groundpole exercise.  But being able to raise the poles is also great and can add a whole new perspective to your training exercises. And the ‘blocks’ do not have to be fancy.  Tyres or short logs will work if you don’t have anything else initially!
    • Sheltered, safe, and quiet place to tack up/groom, etc.

    There is nothing more frustrating than trying to prepare to ride and being at the mercy of the elements! It tends to start the whole ride off on the wrong foot.  I believe that the tone for each conversation or ride is established during the preparation phase, so it makes sense to create a space where you can enjoy and relax with your horse.
    It does not have to be fancy. However, once you have your space, maybe look at upgrading it each month.  Things should be easy to reach, on hand, and easy to use.  And, again, comfortable for you and your horse.

    “Horse & Rider Equipment”

    • Good fitting and suitable saddle and bridle

    This one goes without saying.  If the tack you are using is not right for your horse, it will negatively impact your training.  Many horses simply ‘inherit’ tack from other horses. Or they get sold on with a set of tack that is never questioned.
    Make sure you regularly fit your tack, especially when training as your horse may change shape.  And, also, make sure you regularly assess if the equipment (bits and nosebands especially) is the right one for the job at hand.
    • Lunging rope and lunging whip

    Both are necessary for working your horse correctly while on the lunge.  The lunge line is to help provide ‘contact’.  Not to ‘steer’ the horse or keep him on a circle.  The lunging whip is to ‘back up’ your natural driving aids. Not to ‘whip’ the horse.
    Used correctly, they really help your horse to understand your aids as they add clarity.
    • Helmet, gloves, and (ideally) body protector

    Okay, the helmet goes without saying.  The gloves, I feel, are important. Especially for lunging and some groundwork.  And the body protector… I realize many riders are against wearing one.  But remember, if you are training your horse alone, you will probably be alone for a lot of the training! Anything that can help prevent further risk to you or your horse is a win.  And a body protector falls into this category.  I feel it is well worth the investment.
    So there you have it. A list of things that I believe you will need when you begin working and training your own horse.  By getting a few basics in place, you will be able to create more consistency and momentum in your training.
    And when you couple this with good, correct training – well it’s a winning formula.
    Happy Riding
    Lorna

    Seeking Founding Riders…

    If you are considering training your horse at home or alone (boarding at a barn, but don’t have a regular coach or trainer), make sure you check out the details of my upcoming brand-new program.

    I’m looking for a limited number of riders to work in-depth with me and my team as we go through this program for the first time.  Get on the waitlist to be the first to find out all of the information… We start in early September. Join the Waitlist HERE (no obligation to join the program, just be the first to know all of the details :) )

    More Training On This:-

  • 4 Essentials for Getting Started with Lunging for Riding

    4 Essentials for Getting Started with Lunging for Riding

    4 Essentials for getting Started with Lunging

    Lunging is one of those rare things to do with horses that has a pretty low ‘barrier to entry’. Getting started is pretty easy and ‘do-able’ for most riders. All that is needed is a few essentials and most riders can get started and off to the races with their horse.

    [smart_track_player url=”https://op3.dev/e/traffic.libsyn.com/dailystridespodcast/1119-4-Essentials-to-Get-Started-with-Lunging-that-will-Help-Your-Riding.mp3″ title=”4 Essentials to Getting Started on the Lunge with Your Horse” social_linkedin=”true” social_pinterest=”true” social_email=”true” tweet_text=”So…. What do you really need to successfully lunge your horse? A lot less than you’d think actually…” hashtag=”lunging #equestrian #podcast” twitter_username=”strides_success” ]

    This is fantastic news because lunging, in my opinion, is something most horse and rider combinations can only benefit from including in their training routine. This is regardless of experience, training, age, discipline, goals, etc. It is also something that many riders can use to build their own confidence.

    Lunging is unique in that you don’t have to be a great rider.  Yet, your lunging can have a sizable positive difference on your horse’s training.

    So, all that being said, there are a few things that I feel are essential for lunging. This is lunging in a way that will help you to positively impact your conversation when you do get into the saddle. Lunging for Riding. Not just lunging for lunging sakes.

     1. A Small ‘Flatish’ Area to Lunge In

    The first thing you need is somewhere to actually lunge your horse. This does not have to be a lunging arena or round pen. It can be anywhere that you have a ‘flattish’ piece of land that you can mark off and use. It can be the corner of a field. Or the end of a larger arena.

    Your horse’s safety is paramount. Make sure that there are no rocks, stones, holes, poached parts. Lunging in 12 inches of mud is not enjoyable for anyone involved, horse or rider. Many riders think that they must only work their horse in a dedicated arena with especially tailored equestrian surface. This is simply not true. In fact, many horses that only work in these ‘optimal’ conditions, struggle when they get out and into the real world.

    Please don’t allow the lack of a lunging arena to prevent you from using this versatile tool with your horse. Trust me, your horse is more than able to navigate a few ups and downs.

    He will cope just fine when working over less than perfectly manicured surfaces. However, what I do suggest is taking the time to erect a temporary fence or barrier around your lunging area. It helps when you initially begin to set boundaries. I also find it helps to keep both horse and rider a little more focused. Again, not essential, but I do suggest putting one up if you have not lunged before.

     2. A Good Quality Lunge Line

    A lunge line or lunge rope is essential if you want to lunge your horse in a way that will compliment your riding. Remember, I am talking specifically about Lunging for Riding here. I realize that many riders, maybe you as well, practice loose lunging or free lunging. This is not what I am referring to when I speak about lunging.

    Just like when you are in the saddle, your contact on the lunge is an essential part of the overall communication and conversation. The lunge line is your contact when you are lunging.

    I am going to suggest splashing out and buying a good quality lunge line. It is a personal pet peeve of mine when someone hands me a flimsy line to work with. They blow in the wind. Knotting up is a regular occurrence. Really, they are just a pain to work with!

    Lunging, just like riding, should be enjoyable for all involved. Investing in a good quality lunge line will definitely improve the overall experience for you.

     3. A Lunging Whip

    Now, I know from past experience that many riders are against the use of a lunge whip. You might be one of those riders. If so, please hear me out with this… The lunging whip is not for hitting or whipping the horse. It is not to hurt or inflict any sort of pain, whether that be physical or emotional, on the horse.

    Your lunging whip is used the way that you use your legs in the saddle. It is part of a balance of aids. It works with your other aids in order for you to be crystal clear when you ‘converse’ with your horse.

    Just like your legs when you are riding, your lunge whip is merely part of a bigger, ongoing, conversation. You would never kick your horse’s sides to the point where he is bleeding or bruised. Well, the same goes for your lunge whip. It is not overused.

    Your lunging whip is used with your body position in order to either convey ‘forward’, ‘neutral’ or ‘whoa’ to your horse. Your seat is used with your legs to do the same from in the saddle.

     4. Your Attitude or Mindset

    The final piece to the puzzle to get you up and running with your lunging. One of the fantastic things about working with your hose on the lunge is the fact that you have this different perspective. You are still using your aids to communicate with your horse.  However, you are doing it from the perspective a trainer or coach would have. This allows you to see so much more.

    Now you can begin to see how powerful one or two lunging sessions a week could be.  They have the potential to move your riding, and your horse’s overall development, forward.

    The other thing that working on the lunge allows you to see is where you are perhaps negatively influencing your horse from the saddle. When we lunge, we take the rider out of the equation. No more shuffling, shifting, rubbing, bracing, banging, slouching or any of the other things we as riders do, often unbeknownst to ourselves, that influence our horses.

    Lunging allows your horse to get on with the important work of figuring things out, without any outside interference from a well meaning rider.

    Getting Started This Week

    So, I’ve told you what I feel are the absolute essentials for successful lunging with your horse. Do you need more ‘bells and whistles’ further down the line?  Sure, if you want to add them on, you can. Things like boots for your horse’s legs are always a good idea. I’m going to assume you are already using boots and bandages in your day to day riding. If so, keep doing what you would normally do when you ride.

    A helmet and gloves are also a must when it comes to lunging a horse. Again, I am going to assume you have both of those already.  Use them, just as you would when you are mounted up and in the saddle.

    Finally, remember that when it comes to training or coaching, the coach or trainer must meet the horse and rider where they are right now. Their current physical, mental and emotional capabilities and perspectives.  To really successfully lunge your horse, you must meet him where he is right now. Working on the lunge is just like riding, it takes time to develop and get right. Allow for that.

    You can get started to with the “3 Days to Successful Lunging” Guided Audio Training
    , even if you or your horse have never lunged before.

    Happy Riding

    Lorna

    Lunging for Riding – Online Program

    If you are interested in taking your conversation on the lunge a little further, check out my Lunging for Riding digital program. It is fully online, meaning you can do this from anywhere in the world.  The program will give you four weeks of step by step guidance on working this way with your horse.  4 exercises a week that will move your horse forwards on the lunge.

    The best part is that you do not have to have any experience of working your hosre on the lunge in order to begin using this program.  I will give you step by step guidance to help you begin to feel confident and excited about lunging your horse. 

    CLICK HERE TO BEGIN SUCCESSFUL LUNGING OF YOUR HORSE TODAY

    Resources to help with this topic:-

    For more information visit the links below