Tag: ground poles

  • Basic Exercises Using Ground Poles

    Basic Exercises Using Ground Poles

    Basic Exercises Using Ground Poles

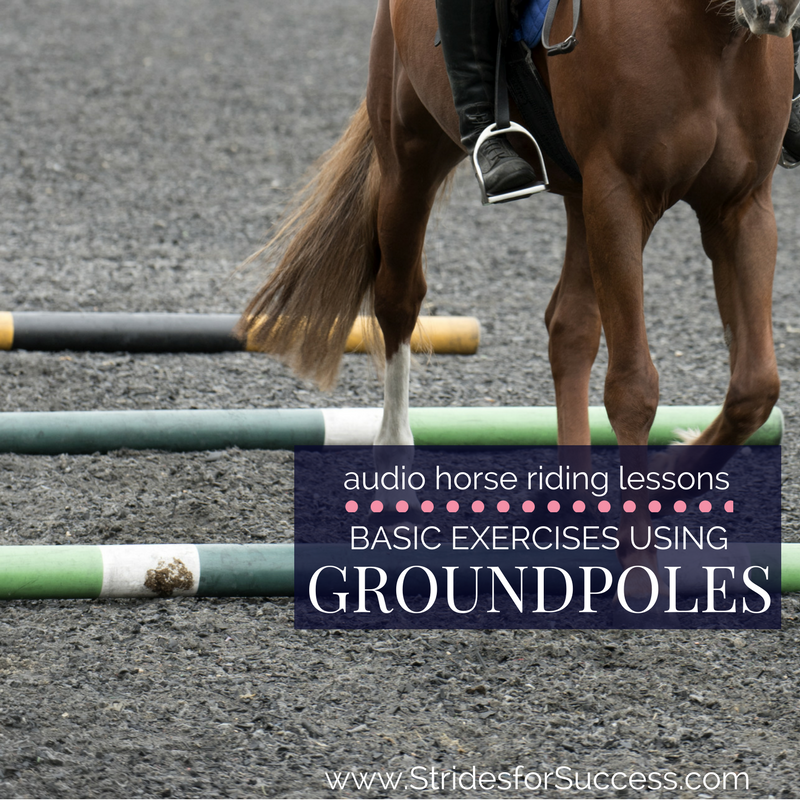
    Do you find yourself shying away from using ground poles in your riding because you think they are ‘only for jumping’?  Perhaps you know all the benefits of using ground poles, but are completely unsure about how to use them effectively?

    Many riders want to include ground poles in their schooling, but are unsure about how to get started in a way that is safe for both them and their horse.

    This blog post is Part 2 of the initial Using Ground Poles in Schooling post which you can read HERE.  The first post contains more detailed instructions on how to get started with ground poles for the first time. I strongly suggest you pop over and have a read of it, before you jump into the exercises mentioned in this post.

    Building up to a Number of Trotting Poles

    Once both you and your horse feel comfortable riding over a single pole, you can begin to expand the number of poles.  This is where you can add more poles to build a line of trotting poles.

    Start with 1 extra pole, and then 2, and then 3 and then 4 and so on and so forth.  The poles should be a comfortable distance for your horse and this is generally around 4’6″ or 1.35m apart from each other.

    I suggest that when trotting over a set of trotting poles for the first time rather get off your horses back into the light seat, so he can use his back more.  

    However it is important to note that you must not shift all your weight forward onto his withers or front end… He has to lift those to clear the poles!  There is a full description of how to successfully do this HERE and HERE

    [smart_track_player url=”https://op3.dev/e/traffic.libsyn.com/dailystridespodcast/861-Basic-Exercises-Using-Groundpoles.mp3″ title=”Basic Exercises Using Groundpoles” social_linkedin=”true” social_pinterest=”true” social_email=”true” tweet_text=”Do you use groundpoles in your riding? Here is an awesome freebie to get started…” hashtag=”equestrian #makeeveryridegreat” twitter_username=”strides_success” ]

    So assuming that you are nicely balanced and allowing your horse to use himself over the poles, you will probably find that your horse will easily navigate 2 or 3 poles in a row.  Sometimes he might misjudge and get the striding wrong, but allowing him the space to figure it out is vitally important.

    Introducing Additional Poles

    I suggest only adding a fourth or fifth pole once he can confidently navigate the three poles.   This is because he may have to make minor adjustments through the poles in order to successfully navigate the exercise.  Allowing him to think for himself through the more basic exercises will enable him to confidently make adjustments where necessary.

    This is why your balanced, independent seat is vitally important.  Remaining balanced and poised rather than bouncing around on his back will enable him to focus on using himself correctly through the poles…  Rather than trying to get out from under your backside hammering away on his back

    Later, as you both of your strenght and balance increased, you will find it easier to move with and follow your horses ‘exaggerated’ movement through the poles.  When this happens you can actually begin to navigate the poles in rising trot, or posting.

    In fact, eventually you may even be able to stay in sitting trot as you move through the poles, but this will require a truly independent seat and a strong, balanced, developed horse.

    Raised Trotting Poles or Caveletti

    When both you and your horse feel confident and comfortable working through the trotting poles, you can begin to introduce raised trotting poles or caveletti to the schooling session.

    Raised poles are great for teaching horses to go straight, keep regular tempo and introduce more suspension, which means they have to use themselves more.  

    That raised suspension is also superb at allowing you, the rider, to experience that extra energy underneath you and begin focusing your riding on being able to move with the energy, rather than bouncing against it.

    This exercise also encourages your horse to really use his back.  It also can contribute to greater development of the topline, more flex in joints as the legs must be raised or lifted higher to get through the sequence and also, more thinking and responsiveness from your horse.

    However… This will require a much greater effort from your horse, so don’t over do.  Asking too much can result in the muscles can becoming strained rather than strengthened.

    It is also worth keeping in mind that this exercise will also require more effort from you, the rider! Keep the weight dropped into your heel and keep your shoulders square and chest opened.  Make sure your hands are soft and following and that you are allowing your horse to move both his head and neck, but also to use his back.

    Try not to fall backwards behind the movement while riding over the poles.  Make sure you are using your body to carry yourself.  I often suggest pinching some mane or a neck-strap if it is the first venture for a rider over the raised poles.

    Use the same trotting poles that you are comfortably working through and begin by raising alternatives sides on each of the poles in the sequence.  The poles are only raised by 3 or 4 inches.

    I find that raising just one side, lets say the left side, of the first pole, and then the right side of the second pole and so on, builds a ‘funnel’ which you can also use to encourage straightness in your horse through the sequence.  Later, once you are both comfortable, you can also raise both sides of each pole if you want.

    Start initially with raising 1 and then build up from there.  You may need to shorten the distance between poles initially ( again inch by inch) as often horses don’t have the necessary strength and co-ordination to both maintain the stride and lift their legs higher to clear the poles.  But you will feel this as you go.

    Progress Must be Slow & Steady

    Don’t stress your horse.. All changes must be gradually done to ensure your horse is confident and happy in his ability.  You also want to ensure that he continues to use himself correctly through the exercise.  Often if he begins to tire, the quality of the work will lower and mistakes will be made.

    You may find your horse will try to run through the poles, as he feels uncomfortable and not so confident with this new exercise.  If this happens, take things back a step or two.

    Slow and steady will build both of your confidence.  It is also important to use your half halt throughout.  Let him realise that it is better to wait, engage his back end and then power through slowly and concisely, rather than rushing forward.

    But again, if you sense any anxiety or nervousness on your horses part, take things back a step or two to where he is comfortable and ask again from there.

    Click here to subscribe

    Ground Poles in Canter

    Ground poles can also be used in the canter.  Once again, it is important that you focus on where you are going, rather than looking down.  It is also important to work over the pole in a simple light seat.

    Focus on establishing a rhythm and then maintaining the tempo and balance while working over the poles in the canter.

    I suggest setting up a 20m circle with 4 poles at each of the quarter markers of the circle.  If the circle was a clock the poles would be at 12,3,6 and9 o’clock.  Choose 1 pole to start over initially, bypassing the others as you complete each circuit of the circle in canter.

    Pay attention that your horse is balanced both over the pole and throughout the circle, using his hind quarters and keeping a consistent tempo in the canter all the way through.  

    Lack of balance will result in changes to the tempo or rhythm.  Loss of balance may also result in flying changes or breaking back into trot.

    Focus also on your position that you are moving with him and asking for the bend to the inside without leaning or tipping your body.  Keep in mind that your horse will be able to better navigate the poles if you remain balanced and quiet in the saddle.

    As he becomes better at just the 1 pole, introduce a second pole – the one directly opposite the first one ( the 6 for the 12 or the 9 for the 3 on a clock).  Pay attention to reaching the centre of all the poles when you reach them on every circuit you ride.

    Adding more poles to your circle

    As both of your confidence increases, you can introduce the 3rd pole and work up including all 4 poles in your circle.  However, this may take some time to build up to and rather get 1 pole correct before moving on.

    For a second exercise in the canter, I suggest building the cantering equivalent of trotting poles.  Again, begin with just 2 poles, about 3.3m apart and then make any minor adjustments to the distance to suit what your horse is comfortable with.

    Once you are both happy over 2 poles, begin adding additional poles in a straight line and you can also begin to raise the poles, again alternating the sides between each following pole to create a funnel of sorts through the poles for your horse to canter through.

    As always, try not to pull or interfere and pay close attention to being as light in the saddle as possible.  Allow your hose to figure it out!

    Imagine every canter pole is a jump and ride it accordingly, which is a super exercise without the stresses of actually jumping.  Fine tune your riding and your horses going bit by bit, pole by pole without jumping the legs off your horse.

    Regardless of how you begin to incorporate ground poles into your riding, remember to try and finish on a good note.  It is also worth repeating that when your horse becomes tired – stop.  Working a tired horse, mentally or physically, over poles is a recipe for disaster.  

    Slow and steady is the way to proceed in order to build both of your strenght, balance and confidence. 

    Happy Riding
    Lorna

    Have you taken the challenge yet? Join thousands of riders all over the world in the 30 Day Rider Fitness Challenge – your horse will thank you!

  • Riding a Bounce to Improve Overall Strength

    Riding a Bounce to Improve Overall Strength

    Have you ever experienced popping over a jump with your horse, when he suddenly realises he needs a little ‘more’ if he is going to clear the jump?  He stretches, or pushes, a little farther than you expected and suddenly you find yourself very much behind the movement and bracing for the inevitable ‘thud’ that your backside connecting with the saddle will create on landing!

    Or perhaps your horse has a frustrating habit of hanging a hoof here and there over fences, which leads to poles on the floor and a less ribbons than you would like hanging on your wall!

    [smart_track_player url=”https://op3.dev/e/traffic.libsyn.com/dailystridespodcast/601-Correctly-Riding-a-Bounce-to-Improve-Overall-Strength.mp3″ title=”Riding a Bounce to Improve Overall Strenght” social_linkedin=”true” social_pinterest=”true” social_email=”true” tweet_text=”Do you include bounces in your pole work with your horse? Here’s how to get started…” hashtag=”equestrian #jumping” twitter_username=”Strides_success” ]

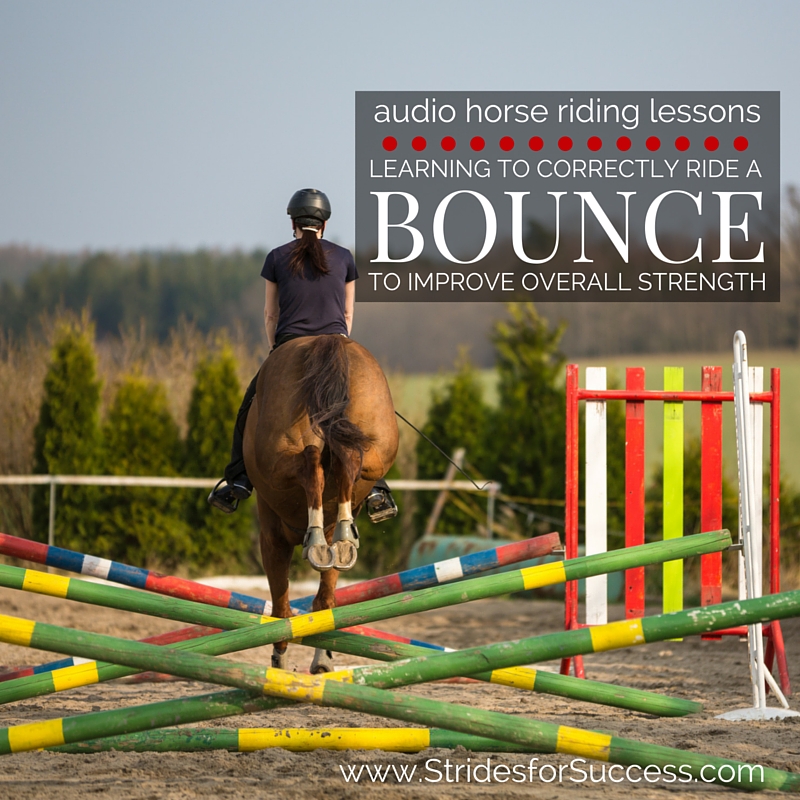
    Developing both you and your horse’s physical strength is essential for successful, safe and injury free jumping.  But doing so without ‘jumping the legs off’ your horse is often a challenge for many riders.  This is where incorporating a simple bounce or two into your schooling, initially as ground poles and later as actual jumping obstacles, can help you both become stronger and more in control of your body over jumps and fences.

    For many riders, the thoughts of riding a horse into a bounce is a daunting one.  However, it need not be and in fact, will help you not only become stronger, but also give you a greater understanding of how your horse uses his body both before, during and after a fence, and how you must move to stay in sync with him throughout the effort

    A bounce, simply put, is when a horse lands from one jump (or canter stride) and as he touches down, immediately takes off again over a second jump or ground pole.  There are no ‘non jumping strides’ between the two obstacles; the front feet will touch down and then as the back feet near landing, the front feet will pick up again to jump the second jump.

    Successfully navigating a bounce requires quite a bit of athleticism from your horse, as well as quick thinking.  They are a super way of teaching horses to ‘snap up’ their front legs and also, to use their hind quarters over a fence and on landing to propel them forward again.

    Learning to Correctly Ride a Bounce to Improve Overall Strength

    For the rider, the bounce requires balance and micro adjustments throughout the body in order to stay with the horse, poised over the saddle, rather than getting too far ahead of the movement, or being left behind.

    It also helps riders to react quicker to what is happening underneath them as the horse is continually having to shift the weight between back and front throughout the sequence

    Riding through a grid containing more than one bounce also requires the rider to understand impulsion and how the horse’s energy must be controlled.  If the horse is ‘chased’ through the fences, he will not have time to make the necessary adjustments to successfully clear the obstacles.  Similarly, if the riders fails to create enough impulsion or energy, the horse will be unable to make it through the line without having poles down along the way.

    Before you begin introducing your horse to a bounce, it is important that he is confident jumping both individual fences and also related fences, such as doubles with one or two non jumping strides in between.  The rider must also be able to stay with the horse over fences and have a secure and balanced jumping position when jumping related distances.

    Start by placing a single pole on the ground and cantering over it.  Feel how your horse moves over the pole, and also, how you remain balanced, while getting off his back, as he canters over the pole.  Once you are both comfortable with this, you can then add a second pole between 3m and 3.7m or 10′ and 12′ away from the first.  Canter your horse over the poles and make adjustments to the distance as necessary.

    Work over the poles on both reins, approaching from different directions.  Working over the bounce when still only ground poles is a great way to test your horse’s rhythm and balance.

    See if you can maintain a consistent rhythm before, during and after the poles

    This is also a great opportunity to see how well you can follow your horse before increasing the difficulty.  I suggest keeping the weight dropped into your heels, your back straight, your shoulders open across your chest and your seat moving with your horse and ‘hovering’ when actually moving over the poles, in a light seat.  You can also use this exercise to assess your hands and shoulders.  Are they ‘following’ your horse’s mouth, continuing to maintain a consistent contact with your horse at all times?

    It is tempting to try avoid landing heavily on your horse’s back, or catching him in the mouth by ‘over preparing’ yourself for the jump.   Over preparing will result in you getting into your jumping position too early, and will see you leaning on your horse’s neck and shoulders for support.  Use your practice over the ground poles in order work on this, rather than when there are actual jumps involved, as it will make it much more difficult for your horse to lift his shoulders and perform a clean jumping effort.

    Remember to wait for your horse to begin over the pole, and then follow his lead

    Also notice how centered your horse is over the poles.  Later, when you are both comfortable popping through the bounce, you can begin to build cross poles, which will help keep your horse centered through the line.   But for now, notice if there is a tendency to drift one way or the other.

    Keep in mind that your horse is always influenced by your position in the saddle, so make sure you are riding in a balanced way through the line yourself

    It is common for riders to ‘duck’ one side or the other of the horse’s neck over fences…  Not a good habit to cultivate, so if it is there, nip it in the bud now!  Think about keeping your chin centered over your horse’s neck or mane as you move with your horse through the bounce.

    Once you are both comfortable riding through a single bounce of ground poles, you can begin to add more poles to the line.   Continue to assess the distance and adjust it to suit your horse’s comfort levels.  Later, as you both become stronger, you can then begin asking more difficult questions of your horse by asking him to adjust to set distances, but to begin with, build his confidence levels by building the lines for him and his preferred lengths.

    You then begin to build actual jumps where the poles are.  Depending on the height of the jumps, you may have to adjust the distances again for your horse, and always move through the line from both directions to help keep your horse fresh.

    Keep in mind that riding a bounce takes concentration and strength from your horse; therefore riding a line of bounces is quite taxing.  Don’t over do it, rather work through it and then leave it for a while, to return later when your horse is fresher.  Working your horse through this when he is tired, either physically or mentally, will only lead to mistakes and injuries.

    Happy Riding
    Lorna

    If you are interested in finding out more about bounces and how they can help you and your horse, perhaps the four other audio horse riding programs about this topic can help you. You can get theses, and hundreds more lessons, in Daily Strides Premium.  You can find out more by visiting https://stridesforsuccess.com/join/.

  • Using Ground Poles in Schooling

    Using Ground Poles in Schooling

    Ground poles for improving position, elasticity

    Have you used ground poles in your schooling before?  Do you perhaps think ground poles are only really useful for jumpers or competition horses?

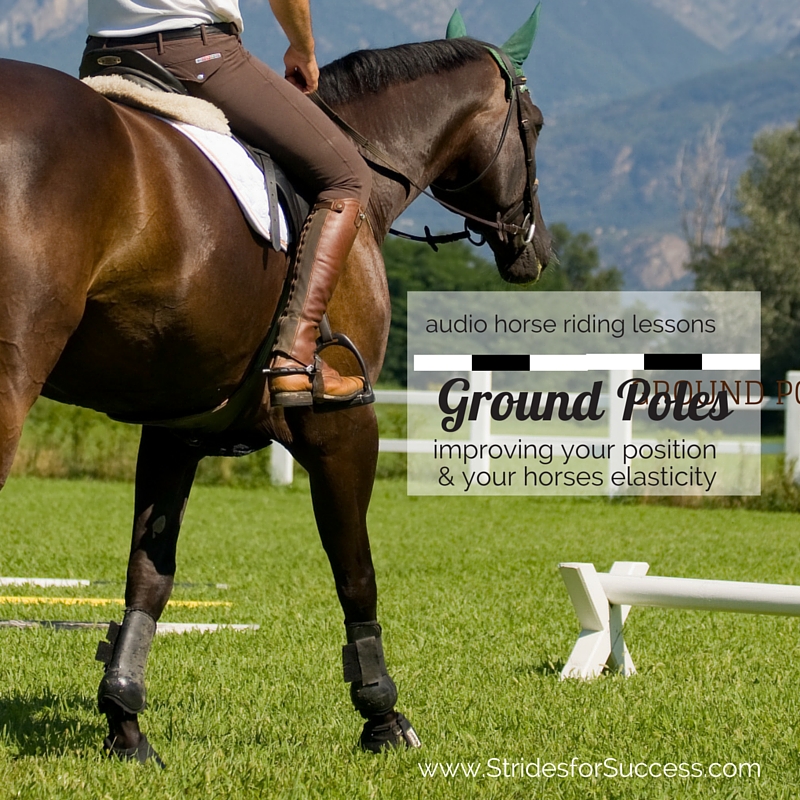
    Ground poles are a fantastic tool for horses of all disciplines.  They help to improve self-control, balance, focus, suppleness, elasticity, coordination (including hoof / eye) and strength in both the horse and the rider.

    Another added benefit of working over ground poles, is that your horse will use his back more correctly.  The poles will also encourage greater flexibility or bend in his joints and, over time, the poles can be used as exercises when shortening and lengthening strides in different gaits.

    Ground poles can also be used also as a training aid, which you can regularly return to when loosening up older stiffer horses.  They can also, if used correctly, encourage a horse with a shorter stride to gradually, inch by inch, lengthen or stretch their strides without rushing and losing their balance.

    Jumpers will often incorporate days of schooling over ground poles rather than jumping as it saves the horses joints while keeping them fit, ready and tuned up for show ring.  Use of the ground poles encourages the horse to push more off their hind quarters, instead of pulling with shoulders & front end and also helps develop confidence over distances and an awareness of the legs and feet.

    The beauty of the ground poles is that basically no jumping is performed.  However the horse and rider both still receive the benefits…  

    Poles can be used to get your horse to begin balancing themselves using their hind quarter more, instead of total reliance on using the head & neck to maintain balance.

    As I mentioned, ground poles can be used with horses of all disciplines, whether it be dressage for greater ability to balance, lengthen and shorten, or jumping.  They are equally as beneficial for trail horses as they can help develop ‘sure footedness’ in a horse due to increased coordination.

    Both Horse & Rider Must Work Over the Poles

    So, we have discussed just a few of the numerous benefits for the horse, however it is worth remembering that all this can be undone if the rider does not do their job efficiently!

    If you don’t focus on where you are going… You’re probably going to find yourself some place else!

    In other words, look up when going over the ground poles, not down.  Plan your route or line and then as you approach the pole itself, look up and on to either the next pole or wherever it is you are continuing on to.

    Ground poles are excellent for teaching you, the rider, to maintain a steady rhythm and tempo in walk, trot & canter.  They also teach patience, with riders learning to wait.  

    A big part of using ground poles successful in your schooling  is allowing your horse to think for himself and figure things out… Which will in time make him a much safer mount in difficult situations.

    It is important that before you start each session, you have a clear goal in mind and also an end point.  Working over poles can be tiring for your horse, so make sure you are not hammering on and on as tiredness leads to mistakes and bad habits.

    Also keep in mind that although the poles are on the ground it makes good horse sense to ensure your horse is dressed for jumping, whether that means extra leg protection or different tack etc, as sometimes horses can get exuberant over the poles and may knock themselves or injure themselves.

    Start with Single Ground Pole

    So, to start I suggest beginning to work in walk over a single pole.  Try to use this exercise to firstly build your horses confidence and introduce him to poles, but then also to begin ‘training’ your body how to respond to the different feeling as your horse navigates the pole.

    Too often riders do not put the appropriate time in to doing the simpler exercises, and this almost always leaves the door open for problems further down the line in a horses education or career.

    Once you are both comfortable navigating the pole in walk, begin to trot back and forth over the pole.  When riding this, try to keep posting, adjusting your body to accommodate the different feeling over the single pole.

    Remaining balanced in the Saddle over the Poles

    Ground poles will test your balance and independence of seat, whether it is over true ‘ground’ poles, or over raised poles later.

    Remaining balanced while your horse navigates the pole is often easier said than done, particularly if it is the first time you are riding over a pole.  This is because your horse is using himself, particularly his back-end, more.  His hind legs have to lift more up and under him in order to successfully clear the pole.

    It is vital that you make sure your knees and ankles are free to absorb this extra bounce and movement…   Any excess tension or ‘fixed’ positions will cause you to become stiff and rigid.  This is what leads to you becoming the proverbial ‘sack of potatoes’ on your poor horse’s back.

    Click here to subscribe

    I initially make my riders get off the horse’s back into a light seat all the way through.  I have a detailed descriptions of how to correctly do this HERE and HERE

    The reason I suggest the light seat is due to the increased suspension or bounce as the horse navigates the poles.  Novice riders in particular struggle with this and it can often result in them getting left behind and become heavy and burdensome on the horse’s back.

    This will enviably result in the horse hollowing his back instead of rounding and using his back-end.  However if you feel you are balanced enough to absorb the added energy, post through it, and use the posting to help maintain the tempo of the trot.

    The Poles Must be Adjusted; Not the Horses Stride

    Finally, it is important to remember that your horse is an individual.  The suggested distances of the poles, when you begin to work over more than one pole at a time, are just that – suggestions.

    The poles must be adjusted to your horse’s stride, and not vice versa.   You can use the suggested distance to build the initial exercise, however once you see how your horse handles it, it is vitally important that you adjust the poles to suit your horses stride.

    Your horse will not have the strength, the confidence or the ability to adjust his stride at the beginning stages of working over poles.

    In order for ground poles to be an effective schooling aid, your horse must have confidence in what he is doing… And allowing him to feel comfortable going over them is the key to creating this.

    Small increments rather than huge changes are what will bring you success when working with ground poles.

    This is the first of two blog posts on this topic.  The second blog post contains actual exercises using ground poles which you can use when riding your horse.  You can read Part 2 HERE

    Happy Riding
    Lorna

    Have you taken the challenge yet? Join thousands of riders all over the world in the 30 Day Rider Fitness Challenge – your horse will thank you!