Tag: hands

  • Why Your Half Halt Isn’t Working

    [fusebox_track_player url=”https://dts.podtrac.com/redirect.mp3/pdcn.co/e/traffic.libsyn.com/dailystridespodcast/1383_Why_Your_Half_Halt_Isnt_Working.mp3″ title=”Why Your Half Halt Isn’t Working” social_linkedin=”true” social_pinterest=”true” social_email=”true” ]

    Have you ever felt as though the concept of the half halt is a memo every other rider, except for you, somehow received? If so, you’re not alone! There was no memo, and there are more riders than you can imagine out there who also just don’t ‘get it’!

    Which is strange because the half halt is one of the most widely referenced tools in riding! And yet it remains one of the least understood!  Today, I want to simplify it for you. We’re going to look at what the half halt is, what it isn’t, how to tell if yours is working, and what to do when it’s not.

    My goal is that by the time you finish reading, you’ll have a clearer picture of how this small moment of communication between you and your horse can genuinely change how you work together.

    What ‘Is’ The Half Halt?

    Let’s begin with the simplest explanation. The half halt is a tiny moment of rebalancing. Nothing dramatic, nothing forceful. Just you and your horse pausing, ever so slightly, to redistribute weight, reorganize, refocus – and then continue on together with more clarity.

    Think of it as a gentle invitation to reset the balance so that the next stride, transition, or movement feels more together.

    And while on it’s own, it’s extremely powerful, it’s also worth noting that a half halt is rarely a “one and done” situation. Because it’s such a small moment, you often need a few of them close together to make a noticeable difference. That’s normal. The half halt is subtle by design. That subtlety is its power.

    Why Does it Feel Complicated?

    The confusion around the half halt usually begins because people make it sound far more complicated than it needs to be. There is this idea that half halts belong to the world of very advanced riding. That they exist on a mystical plane occupied only by the Top 1% of riders – and maybe some unicorns! That is not the case.

    You can begin using half halts today, no matter where you are in your riding journey. Like everything, you will refine it over time, but you do not need to wait until you are “ready” to begin.

    The real key to understanding the half halt is recognizing that it is not just one aid. It’s a blend of a lot of your aids working together, almost simultaneously. If you take nothing else from this, please take this: your hands come last. Most riders begin with their hands, and that is where everything falls apart. The reins are not the half halt. They are only one final part of it.

    Riding the Half Halt

    A correct half halt begins with you. Your seat and posture come into play first. Think of it as ‘carrying’ yourself so that you’re modeling what you want for your horse to follow. You should become an example of the ‘self-carriage’ you’d like your horse to adopt.  Then your leg is there to maintain the forward energy. Only once that energy is present do you close your fingers briefly to collect and channel what you’ve already created.

    The hand does not create anything. It only gathers what the seat and leg have already put into place

    This is where many riders struggle. They go first with the reins, hoping to “make something happen,” but there is nothing there to collect. They are trying to grab and hold energy, rather than wait for the energy to be ready to be gathered.  When the reins come first, it either stops the forward flow completely or it creates tension that blocks the possibility of connection. Either way, the half halt simply cannot work.

    Did It Work? (the big question!)

    So how do you know if your half halt actually had a positive influence? One of the clearest signs is a lightening of the forehand. When the weight redistributes, you can usually feel the horse lift slightly in front. The balance improves, and the energy begins to feel clearer. It becomes easier to direct. Everything feels a little more organized underneath you.

    You may also feel the rhythm settle. If things were starting to get fast or slightly scattered, the half halt helps to bring the horse back into a more relaxed, consistent tempo.

    You and your horse become more together. That’s what a half halt is supposed to achieve: a sense of working with one another rather than against.

    What you should not see is a big, dramatic change. If the horse slows considerably, hollows, or becomes tense, that wasn’t a half halt. That was just pulling! A correct half halt is barely visible. You almost have to feel it more than see it. When a horse and rider are working well together, you won’t see big corrections. The rider uses quick, subtle adjustments before things go wrong. The half halt becomes part of that quiet conversation.

    Why Isn’t My Half Halt Working?

    If your half halt isn’t producing these kinds of changes, there are a few likely reasons. The first is, like I’ve already mentioned, too much hand. If the rein aid is too strong or too early, everything falls flat. Another common issue is the lack of your supporting leg. If your lower leg swings forward, or if it’s simply doing nothing, the energy disappears before it can be gathered!  Timing is another factor. Many riders hold the half halt too long.

    The whole moment should take only the space of a single footfall, not an entire stride. If you hold too long, the energy becomes blocked – and the conversation becomes stuck! 

    And sometimes the horse simply doesn’t understand yet. That’s not a failure. It just means there is more training to be done, and more clarity to establish between you. The half halt is a conversation that grows and develops over time.

    All Half Halts are Not the Same…

    One of the most important things to remember is that the half halt is not fixed. It changes depending on the day, the horse, what you are doing, etc.  Even though both of you feel physically and mentally can have an impact on the quality of the half halt. You cannot approach it as a formula where two plus two always equals four. Some days your horse is supple and forward-thinking, and everything responds easily. Other days, the response is delayed or dull.

    Your half halt must remain supple and adaptable. You adjust your approach to meet the horse where they are.

    Practicing the ‘Feel’

    If this feels overwhelming, try to relax. The best way to learn the half halt is through simple, consistent practice. The next time you ride, begin by organizing yourself. Focus on your self-carriage first. Then, feel your horse through your seat. Allow your core to quietly stabilize. At the same time, your legs come on just enough to encourage the energy to keep flowing forward. Once that energy is there, close your fingers briefly. Then release. That release is just as important as the gathering.

    You can practice this every six to eight strides to begin. Simply remind yourself what you’re about to do; then, sit tall, feel, gather, release. Notice how it feels.

    Does the balance change? Does the rhythm improve? Do you feel slightly more connected? These changes may be tiny at first, but over time they accumulate. Each half halt builds on the last.

    If Your Half Halt Isn’t Working…

    Learning to ride a good half halt is not an overnight achievement or a quick fix. It requires dedicated and intentional time working on it in the saddle. It also takes consistency and a willingness to listen and respond to your horse. Notice the feedback your horse gives you. Notice how the balance shifts when you get the timing right. Notice the small improvements.

    The half halt, more than anything, it requires an openness to feeling. You cannot learn feel from a book or a video or even a coach. You learn it by doing. That is why this is an invitation to experiment. 

    If you find you would like support with this, we are dedicating October, November, and December 2025 to working through the half halt inside Connection. October is focused on half halting on the lunge, and then through November and December, we will bring those principles into the saddle.

    With weekly live training sessions, audio riding lessons, and ongoing support, Connection may be what will help you and your horse.  You can find the details at stridesforsuccess.com/join.

    For now, take this simple explanation with you to the arena. Practice it. Play with it. Pay attention to what changes. That is where you and your horse will truly begin to both understand and respond to this tool.

    And, with time and consistency,  the half halt will become something natural, fluid, and fantastically effective for you and your horse!

    Happy Riding
    Lorna

    The Your Signature Ride Challenge

    Here’s the idea: you use only your seat and leg aids to “write” your name in the arena. Sounds simple, right? But what it really does is sharpen your awareness of timing and clarity.  You’ll learn when your aids actually make a difference.  And you’ll have fun doing it.  All while creating a pattern that’s uniquely yours!

    You can sign up by CLICKING HERE

    It’s free to join, and every rider who participates gets access to a guided audio lesson to help them through the challenge. Plus, you’ll have a chance to win 3 months inside Connection (a $66 value)

    Restart & Reschool

    And if you would like a little more 1-to-1 coaching, explore Restart & Reschool Private Coaching. It is perfect if you’re starting your practice – or if you’re looking to turn your existing practice into something ‘real’ for you and your horse. I’ll guide you step by step on the way! You’ll not only get the full ‘OTTB; From Racetrack to Ready Program’, but also fornightly private lessons with me to move you forward in your riding.

    We can work on anything you would like; from groundwork, to lunging, to riding, to jumping… With the virtual private lessons, we can do all of these things – and more.  If you would like to find out me, you can let me know a little more about you HERE and I will then reach back out and we can chat!

    This is the support, training, and accountability you’ve been missing to finally follow through and start seeing progress. No fluff. No overwhelm. And as flexible as you need for your lifestyle. 

    Online Training & Coaching

    Connect with Lorna online:-

  • 3 Keys To More Consistent Contact

    3 Keys To More Consistent Contact

    [fusebox_track_player url=”https://op3.dev/e/traffic.libsyn.com/dailystridespodcast/1258_3_Keys_to_Consistent_Contact.mp3″ title=”3 Keys to Consistent Contact” social_linkedin=”true” social_pinterest=”true” social_email=”true” tweet_text=”Hi, you might enjoy this podcast episode about contact with your horse…” twitter_username=”strides_success” ]

    Contact can often look effortless for some horses and riders. And yet, for many other riders, consistent contact can seem like an enigma. Any efforts at consistency tend to lead to heaviness. Or a complete lack of any contact!  So where is this fine line between consistent, quality contact and washing lines?

    In order to develop contact with your horse, I feel that you must first understand what a ‘good’ contact is. This can often be confusing for many riders, so let’s start there…

    What’s Needed for Consistent Contact?

    Contact, for many riders, has to do with the reins.  And, yes, the reins do play a part in the contact conversation.  However, a good quality consistent contact is more than just the two strips of leather between your hand and your horse’s mouth.

    Contact is really the result of a lot of other things successfully working together first in your riding. Relaxation, rhythm, and suppleness are the obvious ones.

    As you begin to put all of the parts of your training together, over a period of time, you will see that contact begins to happen.  And this can be the challenge initially, maintaining contact.  Because, as you know, maintaining all of the other steps of the training scale that occurred before it, can also be a challenge! Especially when a bigger question is asked.

    Along with the obvious prerequisites for good consistent contact, are some more overlooked necessities. Things like your position, timing, and aids. And then your horse’s acceptance, and ability to take responsibility also need to be present.

    Click here for Free Half Halt Audio Lesson

    How It All Works Together

    Imagine being in a good position to ask a well-timed question and then allow the answer to happen.  There is the right amount of energy entering the channel that you and your horse create together (the container). Your horse is responsive and wants to work with you.

    You can feel the energy being created in his hindquarters and travel underneath you, along his back. As it does so, you can feel the lightness of the shoulders, head, and neck. The energy connects through to the ‘contact’ and then is harnessed to be reused again going forward. 

    The self-carriage you feel from both yourself and your horse is a key element to true, sustainable contact.  This self-carriage will only develop over time through correct and consistent practice. And this is a responsibility that both you and your horse share.  Each of you committed to carrying yourself so that the other ‘team member’ can do what they must do in order for you to both works together. That is true contact.

    True contact is an agreement that you both mutually respect and work towards sustaining as you develop together as a team. It’s the connection between horse and rider. 

    You can begin working towards this today by making sure that you are consistent with these three elements in your riding. This will allow your horse to begin working in a more consistent way as well.

     1. Hold with Thumbs, Not Fingers…

    It often amazes me how many riders have never been shown how to hold the reins properly.  They simply grab them with their hands and off they go. I’ve seen reins being held ‘backward’. Reins that are only connecting with the very tips of the rider’s index finger and thumb, almost yoga-like.  And I’ve seen other riders with their thumb wrapped around white knuckle fingers in an attempt to ‘keep’ the rein.

    While there are many ways to ‘use’ the rein, there really is only one effective way to hold it. And that is by passing it over the index finger and then ‘pinching it’ or ‘pressing it’ with the pad of your thumb. 

    The knuckles of your thumbs will be slightly bent, like a ‘roof’. And it is the thumb that holds the rein in place in your hand, not your fingers. By holding the reins this way, your fingers are instantly free to be used as a variation of the rein aids.  A squeeze.  Maybe a wiggle.  Often a vibration.  All are able to happen because they are not holding the rein.  Your thumb is.

     2. Your Hand is Not Yours…

    This can sound like an odd one!  But if you can begin to see everything below your elbow a little differently, it will help you and your horse create a softer, more consistent contact. I’ve already mentioned that self-carriage is one of the prerequisites for creating good quality, sustainable contact.  And this applies just as much to the rider as it does to the horse.

    By focusing on bending your elbows and carrying your hands, you allow a straight line to exist from each elbow to your horse’s mouth.  These are the true ‘reins’. Your elbows, all the way to your horse’s mouth. A straight channel. 

    This is the all-important second line that creates a position where you can be effective and allowing when riding your horse. When you drop your hands too low, this line will become a v shape.  If you lift your hands too high, the line will become an upside-down V.  Both will create a ‘break’ in the flow of the energy, which will result in energy either falling out or becoming blocked.

     3. Engage Your Other Aids

    It pains me to continue to see horses’ mouths being sawed left and right by misguided riders trying to get horses ‘on the bit’. If contact truly is an agreement, a mutually beneficial agreement, then sawing your horse’s mouth so that he moves away from the pressure (pain) cannot be part of it.

    Click here for Free Half Halt Audio Lesson

    Remember, contact is the RESULT of other things being present and having an influence. Contact is not your horse running around with his head ‘tucked in’ or your horse being ‘in a frame’. 

    One of the biggest parts riders misses when it comes to creating sustainable, consistent contact is the fact that energy must be both present and be replaced with new energy as it is being used. Meaning your horse must be going forwards. Forward does not just mean moving. It means thinking, being engaged, and moving with purpose.

    There is an essential relationship between your legs, seat, and hands that needs to be created and maintained as a rider. It will also need regular ‘upgrades’ and ‘tweaks’ as you develop. 

    Failing to take your legs and seat into account when it comes to successfully creating consistent contact will result in a heavy, dull, and lifeless pulling on the horse’s mouth. This is not true contact.

    Creating Consistent Contact

    As you begin working on this with your horse the next time you ride, remember that contact must be developed over time. Both you and your horse must have the necessary strength and development physically and mentally in order to maintain true contact.

    There are numerous audio horse riding lessons available to you inside of Connection that you can use to create this with your horse. Get started working on this today by joining HERE

    Happy Riding
    Lorna

    Click here for Free Half Halt Audio Lesson

    More on This Topic

    More Training & Support

  • 4 Ways Your Hands May Be Wrong While Riding

    4 Ways Your Hands May Be Wrong While Riding

    4 Ways Your Hands May Be Wrong While Riding
    As I was creating my notes for this episode, it struck me that there is a strong probability that this sounds a lot like Goldilocks!  Too much, too little and ‘just right’ will come up repeatedly as I begin talking about your hands when you are riding.  Obviously, we are aiming to achieve ‘Goldilocks’ hands; just right!
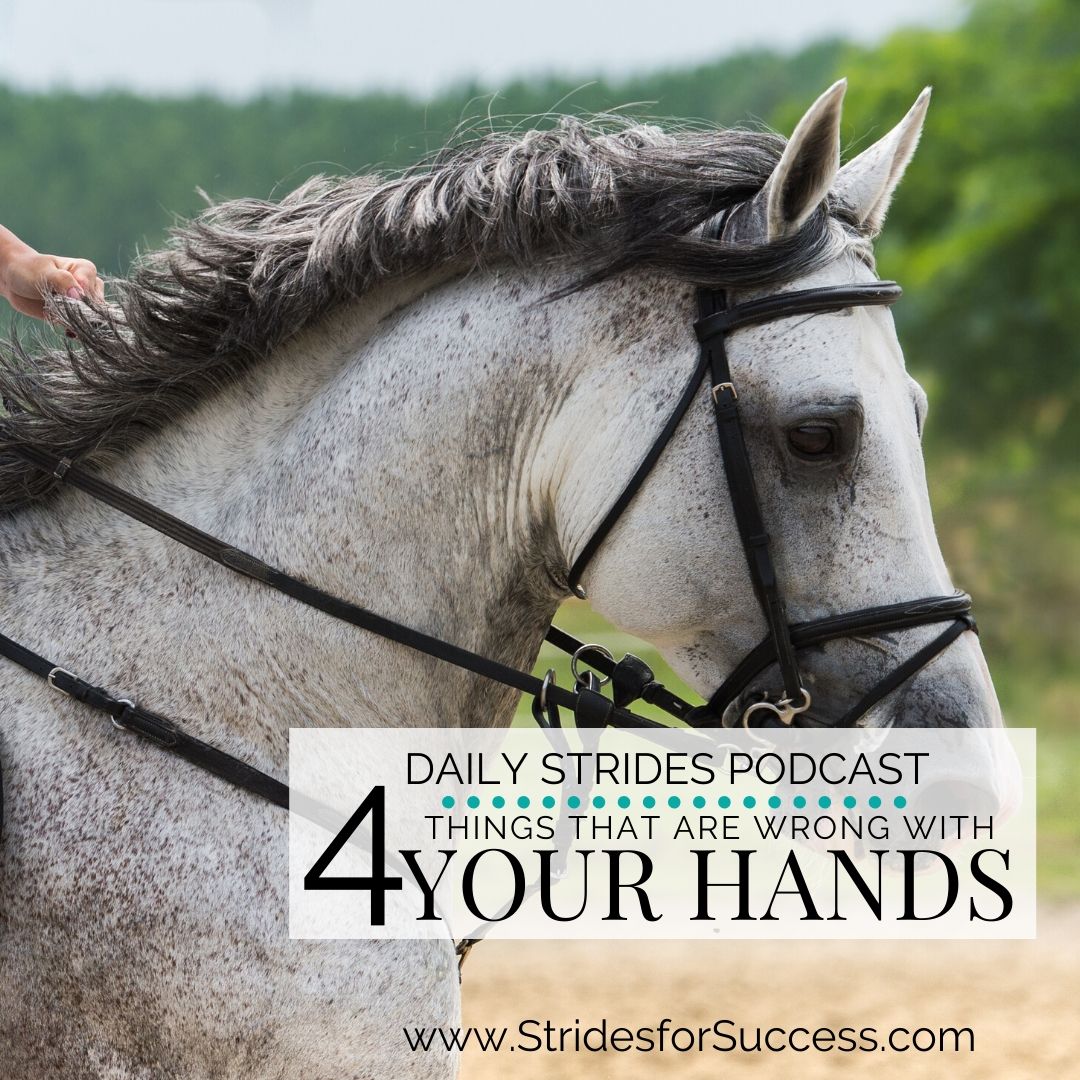
    But seriously, the reason I recorded this episode is due to so many riders struggling with their hands.  They are trying to improve contact and connection.  However, they are actually missing some of the basics of the hand aids.   And I think that making sure your hands are being useful, rather than confusing, is a really important basic that many riders are missing.
    [smart_track_player url=”http://traffic.libsyn.com/dailystridespodcast/1137-4-Things-You-Might-Be-Doing-Wrong-with-Your-Hands-While-Riding.mp3″ title=”4 Ways Your Hands May Be Wrong While Riding” social_linkedin=”true” social_pinterest=”true” social_email=”true” tweet_text=”Why having ‘Goldilocks hands’ will help you in your riding… ” hashtag=”equestrian #truestory #podcast” twitter_username=”strides_success” ]
    So, that all being said, let’s dive into the 4 things that you may be doing with your hands while riding that is negatively influencing your conversation with your horse.

    1 . Too Much Fidigiting on the Reins

    Piano Fingers.  In my experience, once a rider has caught on to this habit it can be a really tough one to break.  Piano Fingers is my name for hands that are continuously moving up and down the reins during each ride.  They move closer to the bit, causing a lot of tension on the rein and contact.  And then, without any word of warning, everything changes as they move closer to the buckle of the rein.
    Up and down the hands go throughout the ride.  This is usually accompanied by statements about ‘lack of contact’ being uttered by the rider from time to time…
    Piano fingers make it really difficult for both the horse and the rider to settle into any sort of rhythm regarding the overall communication.  There literally cannot be a contact, because the riders only consistency surrounding it is to continue to drop it!
    The good news is that, with a little mindfulness and attention, you can remedy this quite easily.  The first thing to make sure of is that you are holding the reins correctly.  As the rein comes into your hand, it passes between your little finger and ring finger.  Then it comes up the inside of your fingers, to pass over the top of your index finger.
    Your fingers don’t ‘hold’ the rein.  That is a job for your thumb.  As the rein passes over your index finger, you thumb presses down there, allowing you to hold and maintain the contact.  
    Holding the rein with your thumb also frees up your fingers to ask different questions using the reins and contact with your horse.

    2 . Carrying Your Hands Too High or Too Low

    One of your responsibilities as a rider is to carry your own hands.  So many riders fail to do this.  They allow their hands to rest on the horse or on the saddle as they ride.  Doing this makes the hand aids completely ineffective in the conversation between horse and rider.
    Carrying your hands’ too low or too high changes how the bit applies pressure to your horse’s mouth.  It also changes how supple your arms are when following the horse and connecting with the contact.
    Correcting this simply requires you to pay attention to your lines.  From a side view of you and your horse, there should be a straight line from your elbow to your horse’s bit.  
    If you see a V shape, your hands are probably too low.  If you see a ^ shape, your hands are probably too high.  Your hand will cause the ‘point’ in the V or the ^ with your arm making one side and the rein creating the other.
    Hands being held too high is often due to nerves or anxiety on the part of the rider.  Many riders look like they are directing air traffic, rather than simply allowing their hands to be the quiet aid that they should be in their riding.
    Hands that are too low can be due to either a failure to carry them, laziness!  Or it can be due to some misguided attempt to the horse ‘on the bit’ by holding the hands closer to the knees and sawing the bit in the horse’s mouth. Please DON’T do this!  Your horse tucking his head in to get away from your painful sawing is not traveling ‘on the bit’!

    3 . Carrying Your Hands Too Close or Too Wide 

    Are you beginning to see why I mentioned Goldilocks at the beginning?!  How close your hands are in relation to each other when you ride will depend on a lot of things.  Your skills as a rider play the biggest role in deciding this.  However, your horse’s experience and ability to understand aids also plays a part.  Finally, the question you are asking at any given time will also dictate where your hands are in relation to each other as you ride.
    For most riders, carrying your hands 6 to 8 inches (so 15cm to 18cm) apart is a good rule of thumb.  This seems to allow both horse and rider to understand the questions and respond accordingly. 
    As you and your horse develop the conversation you have together more, you can refine this.  Refining simply means that your hand aids become more subtle.  So, in this case, moving your hands closer together.
    However, if you start off with your hands’ side by side, you will probably end up confusing both yourself and your horse in the long run!  Your confusion will come down to correctly using ‘outside and inside’.  Your horses will come from the pressure seeming to come from the same place.
    Remember, all aids can be refined, and how close together with your hands are is one way you can refine your hand aids. 

    4 . Too Hard or Too Soft

    The final mistake I want to cover today that many riders make in the saddle is, intentionally or not, having hands that are too soft or too hard on their horse’s mouth.  Let’s deal with the more obvious one first; too hard.  Too hard is when the pressure is too much all the time on the contact between horse and rider.  It is the difference between ‘asking’ and ‘forcing’ the horse to do something.
    However, too soft is also an issue when it comes to your hands and hand aids while riding.  Too soft is often a reflection of your leadership skills, an essential part to becoming a better rider. 
    Soft hands are usually due to a rider who lacks confidence in their own abilities in the saddle.  They worry that they will hurt the horse by becoming unbalanced and leaning on the reins for support.  Now, obviously, this is a valid concern at the early stages of your riding.
    However, there comes a point when you have to begin working on your core stability and independent balance as a rider. The more confident you are in your own abilities, the more you will reflect this in how you communicate with your horse using your hands.

    Finding Your ‘Goldilocks’ Hands

    Your aids will always be a work in progress.  You will refine them more and more as you develop your conversation with your horse.  However, I feel that it is good, to be honest with yourself from the beginning of your riding.  Remember, all of your aids work together.  There is a ‘Balance of Aids’ in play, always.
    You hands must support your other aids while you are in the saddle.  
    Finding your initial ‘happy place’ or Goldilock’s hands will help you to show up more consistently for your horse every time you mount up.
    Happy Riding
    Lorna

    Other Resources for You in Your Riding:-

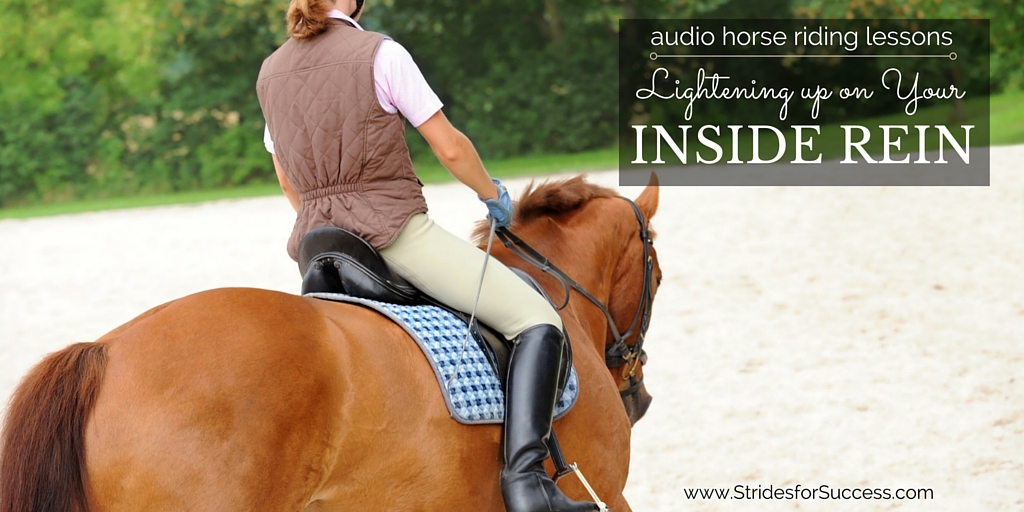
  • Lightening Up on Your Inside Rein

    Lightening Up on Your Inside Rein

    [fusebox_track_player url=”https://op3.dev/e/traffic.libsyn.com/dailystridespodcast/SFA461-Lightening-Up-on-Your-Inside-Rein.mp3″ title=”Lightening Up on Your Inside Rein” social_linkedin=”true” social_pinterest=”true” social_email=”true” ]

    When we first learn to ride, turning is often explained to us as merely a ‘tug’ or pull on one rein or the other to turn our horse’s head. There’s a general consensus being that where his head turns, his body will go…

    However, anyone who has ridden a determined pony or horse will know that this is very often not the case… You can point the head where you ‘want’ to go. But, very often, your horse will crab along sideways, almost following his hindquarters. This is usually in the opposite direction; which 90% of the time is the same direction as the stable!

    Later as we become more accomplished in the saddle, what started out as a simple instruction in our first lesson, has become an ingrained habit.

    Something that we often feel nervous or anxious about giving up control over!

    Early Riding Lessons

    So why are we thought to turn this way if it is indeed incorrect? And why, later when we get into the nitty-gritty details of riding, are we constantly hearing about softening or lightening our inside rein?

    Lightening Up on the Inside Rein

    I think the reason that we are thought this initially is threefold…

    Firstly, we get a quick win under our belts which then leaves us wanting more (translate into booking more riding lessons!).  Secondly, even the best-coordinated person struggles when they first get into the saddle to use their different limbs and body parts in different ways all at the same time to produce the desired result!  And lastly, it’s a control thing and one that we need to learn to let go of!

    The Importance of the Inside Rein

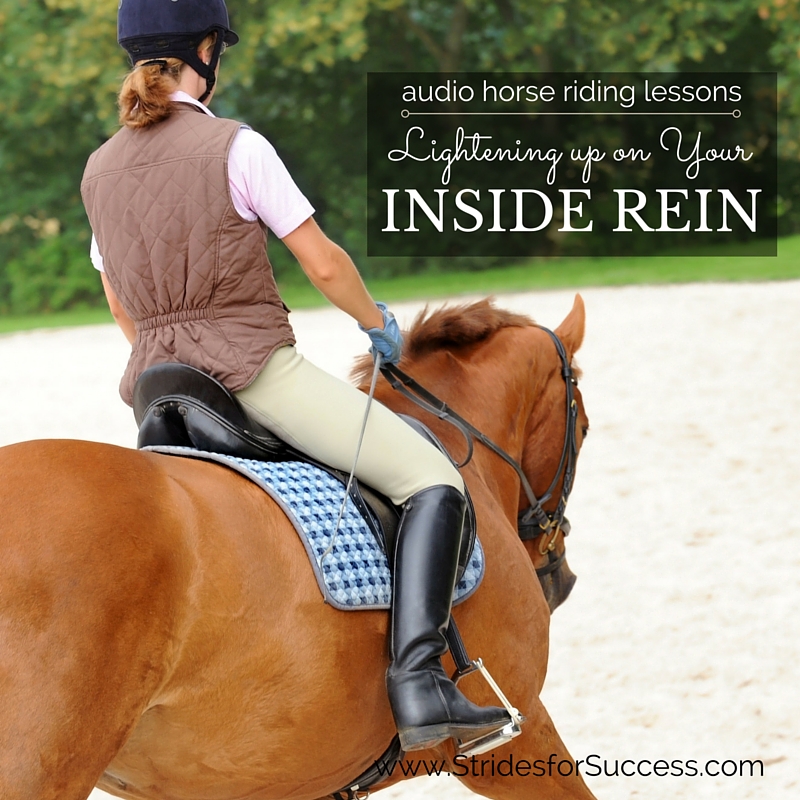
    However, the inside rein is a vitally important part of riding, for flexion, support and balance.   Today I want you to begin thinking of your inside rein as having more of a supporting role rather than being the lead character in your riding performance

    Often we have become so set in our ways of depending completely on our inside rein, that the only way to get out of this habit is to go cold turkey before we can then begin thinking about and practicing lightening up on it.

    So, let’s think about being on a 20m circle to the right in the walk.  If you were to drop your inside rein, what would happen?  You will notice I said ‘drop’ here…  Yes, cold turkey means that – nothing; letting go; surviving and riding on without it!  You would probably think, well my horse will just begin walking large around the arena again… Or, he may even begin to track left!

    And initially, you may be correct, he might just do that.

    The key to getting over your dependency on the inside rein is to start thinking of all the other aids you have at your disposal to help communicate with your horse that you want him to continue tracking right on the 20m circle.

    A Balance of Your Aids

    Firstly, there is your seat and weight aids.  Think of sliding your inside seat bone forward and, in doing so, the inside seat bone becoming a little more weighted.

    Then, shift your attention to what your inside leg is doing…  This is particularly important and often the key to keeping your horse going in the direction you are looking for.  If you are only now holding your outside rein (which in this case is your left rein) your inside leg or right leg is the aid that will balance that strong or leading outside rein.  We can often see this better in action if you were to drop your inside rein while traveling down the long side of the school.

    Without the inside leg, your horse would completely bend to the outside, however your inside leg regulates the ‘pull’ of the outside rein.

    Then we have your outside leg.  This is probably the most forgotten aid of all in your toolbox.  Use your outside leg to indicate to your horse to move around your inside leg.  Again, using our 20m circle to the right, your outside leg being your left leg, it will literally pick up the slack from your inside rein and keep ‘indicating’ to your horse to continue on around the circle, or more to the point, around your inside leg.

    You may initially find that your horse is just wandering around the school or arena, but I really encourage you to keep continuing to try ride the circle without any use of your inside rein.  

    Your Mind is an Aid Too…

    I also advise having a quick ‘check-up’ with what is going on in your head and translating it to your body…  Are you feeling nervous about the ‘lack of control’?  It could be that you’re feeling a little stiff, wondering what will happen?  Or maybe you are trying to influence your horse with your upper body by leaning or shoving – please don’t!

    Or has your outside rein gone on vacation, across the withers, to the ‘other side’ in an unconscious attempt to neck rein your horse to the right?!

    Keep focusing on just asking correctly with your aids; seat, inside leg, outside leg and outside rein, and slowly you will begin to see that your horse begins to pay attention to what you are asking…  He may even begin to walk on a ‘circle’ (of sorts!).

    Remember to keep verbally rewarding your horse when he makes a move in the correct direction.

     Keep in mind that you have trained him to follow your inside rein and retraining him to rather look for other indicators and signals will take time, consistency and patience from your part as a rider.

    Work in Both Directions

    Once you have begun making progress on the right rein, begin working on the left rein.  Swap your inside for your outside and vice versa and then, letting go of your new inside rein (left rein), ask your horse to now pick up a 20m circle to the left.

    Continue to practice this on both reins until you have begun to believe that you can indeed influence your horse to turn without pulling on your inside rein.  I think believing you can do it, is a big part of overcoming your dependency on it!

    You can also, once you have mastered your circles in walk and if it is safe to do so depending on your level of experience and your particular situation, pick up trot and even canter on the circle.  You may notice that initially things may go a little haywire. They can when you factor more speed and movement into the equation!  But, again, stick with it until you can communicate to both yourself and your horse that the inside rein is not what is turning your horse!!

    Re-Introducing Your Inside Rein

    So, we mentioned at the beginning that your inside rein is a vitally important part of your riding.  Now it is time to invite your inside rein back on stage.  But keep in mind all the time that it merely has a supporting role in your whole performance.

    In riding, just like acting, timing is everything and knowing when and how to use your inside rein to influence and support your horse is vitally important.  A badly timed squeeze or softening of the rein can be the difference between your horse staying balanced and your horse falling onto his forehand. 

    This is due to the fact that the inside rein, when used, will affect the inside hind leg and your horse’s inside hind leg is where most of his forward propulsion and balance stems from.

    I would first suggest beginning to practice ‘timing’ this with a very loose inside rein where you really don’t have any contact.  Practice ‘allowing’ with your arm, more notably your elbow, and then taking it back or resisting.

    However with your inside hand, rather than thinking of resisting, think of ‘indicating’.  It is merely a suggestion rather than a hard and fast order.

    Influencing the Inside Hind Foot

    Your aim is to communicate what needs to be said when your horse’s inside hind foot is on the ground.  When he is lifting his inside back foot off the ground and bringing it forward, any pulling or resisting on your inside rein will result in the hind leg not coming as far forward as you would like. This will result in a loss of balance or impulsion for your horse.

    Said differently, your aim is to be soft or light with your inside rein as your horse’s inside hind leg is in the air and moving forward

    Your horse must be schooled, obedient and responsive to then follow through with that suggestion himself in order for your inside hand to truly be effective.  Again, this comes back to consistency on your part. And, also, saying goodbye to the dependency you may have built up on your inside rein.

    Creating Contact with Your Inside Rein

    Once you feel comfortable with giving and taking the loose inside rein, begin to develop a contact by shortening your inside rein.  Make sure you do this slowly, in gradual little increments, so as to not grab it and undo all the work you have just put in.

    Test your effectiveness while riding up the center line.  Can you flex your horse’s poll one way or the other using your inside rein, without losing any forward momentum or your horse stepping to the inside, which will happen if he feels unbalanced?

    You can also go back to your circle and using your other aids to maintain the circle, just use your inside rein to ask for flexion through the poll to the inside.  You should find that your horse will have a more active gait on the circle, have more balance and just be a happier horse overall!

    Remember your inside rein is only the supporting character and without your other aids, the whole performance is pretty much guaranteed to be a flop!

    If, over time, you feel that you are beginning to pull or depend a little too much on your inside rein again, take it back to riding without it for a few minutes in the arena to reassert your other aids again.

    Happy Riding
    Lorna

    Additional Resources for Equestrians

    Lightening Up on Your inside Rein

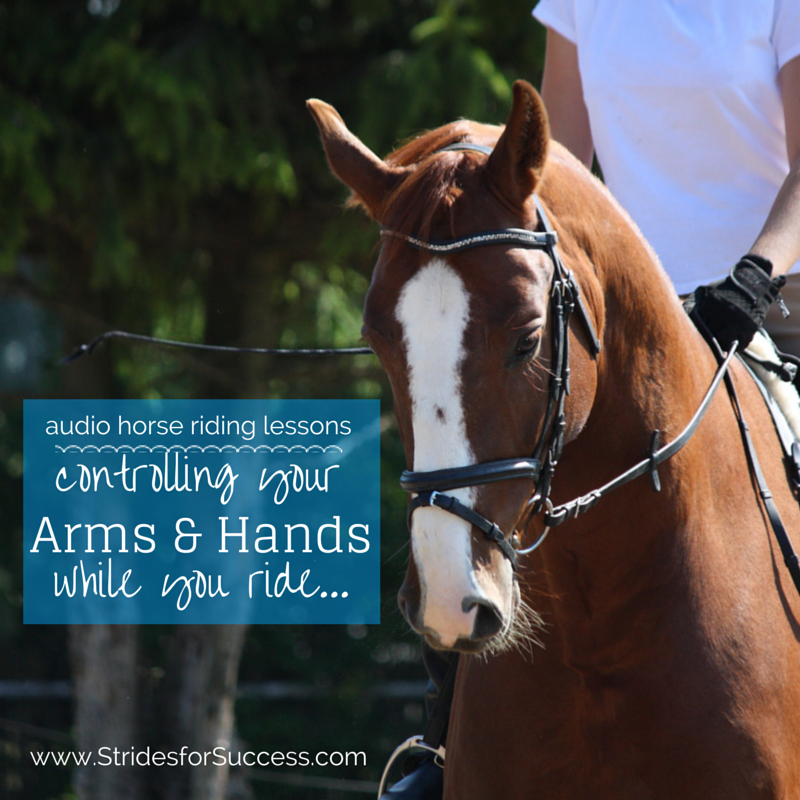
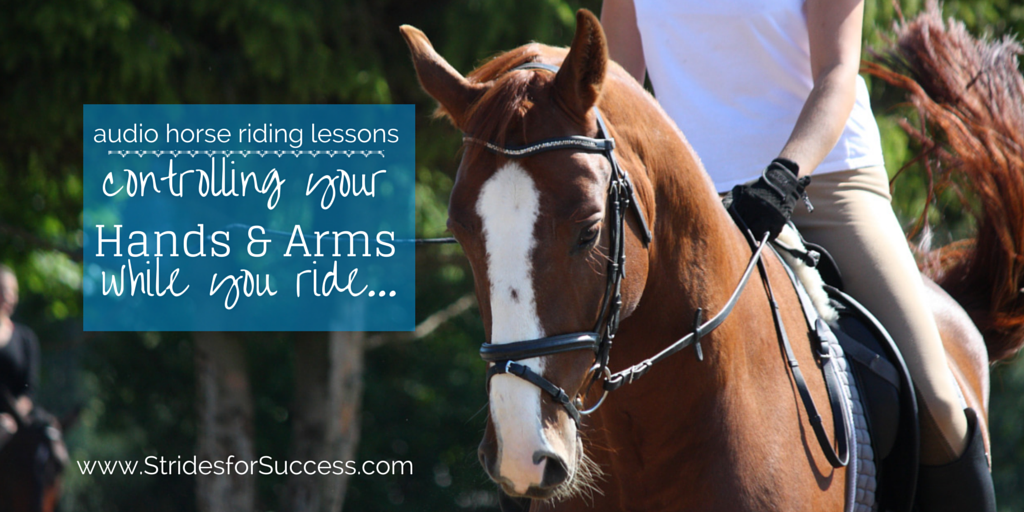
  • Controlling Your Hands While Riding

    Controlling Your Hands While Riding

    Do you find that often when you ride, your hands begin to do their own thing?  Waving about, flagging some imaginary air traffic, conducting a symphony, or just bouncing up and down like a jack hammer?!  To make this even more frustrating; it seems like the more you try to ‘quiet’ or ‘still’ your hands the worse the problem becomes…

    [smart_track_player url=”https://op3.dev/e/traffic.libsyn.com/dailystridespodcast/SFA371-Controlling-Your-Arms-and-Hands-While-You-Ride.mp3″ title=”Controlling Your Hands and Arms While You Ride” social_linkedin=”true” social_pinterest=”true” social_email=”true” tweet_text=”Having trouble with controlling your hands in the saddle? This will help…” hashtag=”horseriding” twitter_username=”strides_success” ]

    The uncomfortable truth is that while you might be feeling frustrated about your lack of control, it is often your horse that is taking the brunt of this particular riding challenge. He may begin to fight you for the reins, lean on you or pull you along.

    Or maybe you spend time while riding continuously changing or fiddling with the length of your reins, dropping your hands and straightening your elbows, twisting your wrists so your knuckles are on top.  Or perhaps you are flapping your shoulders and arms in an attempt to ‘relax’ and all the while, that soft, following contact with your horse’s mouth continuously evades you…

    Controlling Your Hands and Arms as you ride

    Steady hands come from a relaxed body that is carrying itself. Relaxed does not mean floppy or loose, but rather supporting yourself without any signs of tension. Relaxation will also allow your body to follow your horses movement, which is the first key to controlling your arms and hands. I realize that it seems almost counter intuitive to focus on your body first when trying to ‘fix’ your hands, however one will not happen without first controlling the other.

    When your body is relaxed, your ‘shock absorbers’ can work optimally, working with the energy from the horse and not against it. Often hands that bounce around are the result of a rigid or tense rider, who is only rigid and tense because they are trying so desperately to control their body! It is a vicious cycle.

    The first thing to do is begin paying attention to your seat and pelvis and how, in walk, they follow your horse. Notice your breathing, and lift your upper body to allow your lungs to fill with air with each breath, to remove any tension from your body. Open your chest, remembering all the while to carry your body, not slouch, and then allow your arms to simply fall from your shoulders.

    Then remember to carry your hands. Don’t just allow gravity and your horses mouth to dicate where your hands are at any given time. In order to become soft through your contact, you must carry your own hands, which means bending your elbows. A good guide line is to try keep your hands around the height of your belly button.

    Once you have your hands where they should be, pay attention to how your shoulders, upper arms, elbows, fore arms, wrists and fingers all work together to follow your horses mouth. If you move your hand forward, move it from the elbow. Supple elbows will allow you to absorb movement and continue to keep a soft contact.

    Pay attention that your fingers are closed on the reins. Also, that you are ‘holding’ the rein with your thumb by pinching the rein between your thumb and index finger, not by squeezing your fingers. This will then free up your fingers to have more subtle ‘conversations’ down the reins to your horses mouth. Holding the reins this way will also prevent your reins becoming long and causing you to drop the contact with your horse.

    Controlling Your Hands adn Arms while you ride

    Begin establishing a following contact by lengthening your reins out, so you initially will have very little connection with your horses mouth. Move your elbows and hands with your pelvis and seat. Think of them being somehow invisibly connected to each other and relaxed enough that the movement of your horse underneath you is enough to quietly influence your body. Don’t force the movement, you must follow your horse, not drive your horse along by pushing with your seat or hands. When you feel that you are now following your horses mouth, you can begin to slowly gather up your reins again and begin establishing a contact with your horses mouth. If you feel any tension coming back, gently lengthen your reins and begin again.

    Another good visualization you can use is to think about carrying cups of hot tea… If your arms are tense, the tea will splash and spill from the cup.  If your arms are floppy, the same thing will happen. Only when your arms are ‘working’ with your moving body, will the tea stay in the cup!

    Remember that you do need to have a contact when riding. However that contact must come from soft, following hands that provide steady, consistent support connection and direction when needed. Sometimes it seems that more emphasis is placed on the leg and getting our horses back end working underneath him while being ridden. And this is true…

    However, there must also be a contact to direct and contain that energy and ask your horse to work in a frame. Be careful not to hang on your horses mouth, but also not to lose the contact either. It is a fine balance, which needs to be continuously re-evaluated and adjusted depending on the work or the results of other aids.

    30 Day Rider Fitness Challenge

    A strong core must be maintained throughout, so you are carrying yourself and are agile enough to follow your horse. When you can begin to confidently carry both your body and your arms, you will find that the tension which was causing the jarring or bouncing will soon dissipate, leaving you with quiet, soft hands from which you can begin direct that wonderful energy.

    Happy Riding
    Lorna


  • Are You Straight When You Ride?

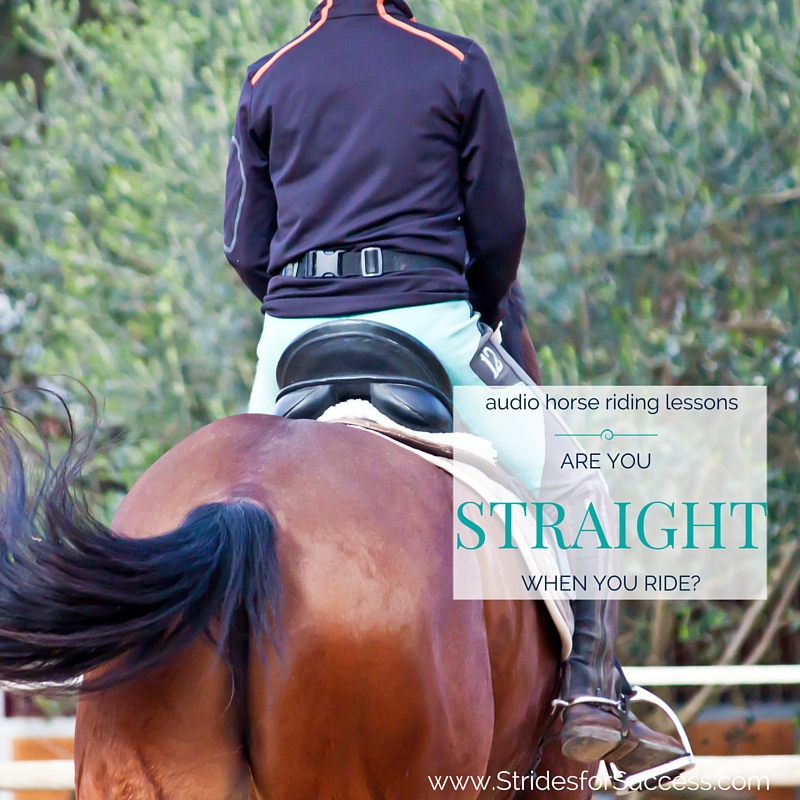
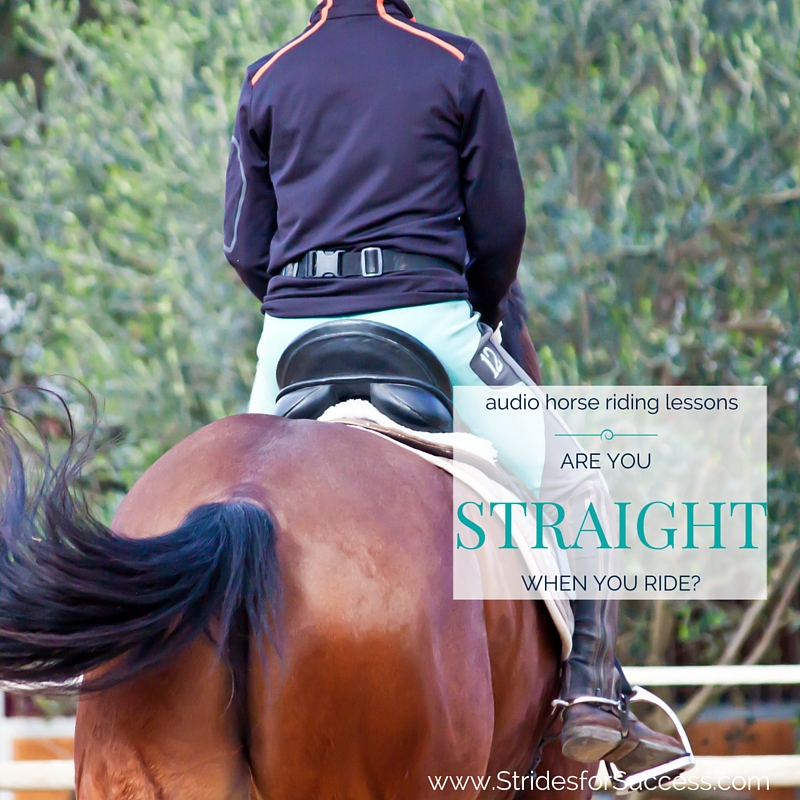
    Are You Straight When You Ride?

    Being straight is a focus for many riders.  Often when I am in the arena I end up reminding my riders that they are not riding motorcycles; they are riding horses.  From the outset, it seems like a pretty random statement to make.  However, let me explain the sequence of events that leads up to me mentioning motorcycles…

    Straightness is for Horse & Rider

    While we always hear of how important it is for our horses to be straight and symmetrical when working, many riders will automatically just assume that they are straight or even at all times in the saddle.  They are shocked when they see photographs or videos of them that show how lopsided they can often be.

    Are you Straight when you ride?

    Today I want to chat about a simple strategy you can begin implementing the next time in the saddle that will help you become more mindful of how even you are actually sitting when working and schooling your horse.

    When you are riding, do you ever take the time to glance down to catch a quick glimpse of your hands? If so, have you noticed that one is sometimes definitely higher or lower than the other?  

    In my experience, this ‘little’ problem is the cause of a lot of other bigger issues that many riders deal with on a daily basis. It is also a ‘little’ problem, which if not corrected early, can cause big problems later, as it generally leads to an unstable foundation all around.

    Straight Through Your Shoulders

    As you ride today, I want you to be aware of how equal the level of your hands is. Remember your hands are connected to your arms, which in turn connect to your shoulders. When your hand drops it is usually followed by that same shoulder. When your shoulder drops, it leads to a whole hornet’s nest of issues, making your awareness of this potential riding habit crucial to your straightness when riding.

    I want you to pay particular attention to the level of your hands when on circles, bends, or turning. It is during these times, your hands are almost being invited to behave badly! Watch that while you open your inside hand, you don’t drop the inside hand.

    The result of dropping your inside hand is often the ‘motorcycle rider’; leaning to the inside with your shoulders as you travel around the bend.

    If you are inclined to do this, you will find the direct consequence of dropping your inside shoulder is your seat-bones and hips move towards the outside of the saddle, which is the exact opposite of where you want your weight to be around the corner.

    Becoming aware of this happening is the first step towards correcting or preventing it.

    Happy Riding
    Lorna

    Additional Resources for Equestrians:-