Tag: Lower Leg

  • Securing Your Swinging Lower Leg in Trot and Canter

    [fusebox_track_player url=”https://dts.podtrac.com/redirect.mp3/pdcn.co/e/traffic.libsyn.com/dailystridespodcast/1364-Securing-Your-Swinging-Lower-Leg-the-Right-Way-Not-a-Quick-Fix.mp3″ title=”Securing Your Swinging Lower Leg in Trot and Canter” social_linkedin=”true” social_pinterest=”true” social_email=”true” ]

    Have you ever glanced down mid-trot or canter and seen your lower leg doing a full-on windscreen wiper impression? You’re not alone. I see this all the time. Novice riders trying to figure out how to stop that swinging lower leg from distracting their horse (and them!).

    The issue is that so often, trying to ‘fix’ your lower leg won’t work. This is because your lower leg is not the issue… It’s just the most visible side effect of something else that’s going on in your riding… 

    Whether you ride with a sensitive horse who thinks you’re asking for more speed. Or a fairly laid-back horse who simply tunes you out, this issue can quickly throw a spanner in the works. So today, let’s get right to the root of it, and more importantly, figure out how to fix it in a way that works long term.

    What Is a Swinging Lower Leg

    First off, let’s be clear on what we’re talking about here. A swinging lower leg is when your leg below the knee moves excessively while you ride. It often swings or flaps forward and back like a pendulum. Or a windscreen wiper! It usually shows up during trot (especially rising/posting) or canter.

    It might look like:

        • Your leg shooting forward when you rise, then swinging back as you sit.

        • Your lower leg losing all contact during canter and flapping uselessly.

        • Your aids becoming inconsistent—or even unintentionally sending the wrong signals.

    And while it’s easy to focus only on that swinging lower leg, the truth is this: the lower leg is rarely the actual problem. It’s a symptom of something else going on in your riding.

    The Real Reason Your Leg is Swinging

    Here’s the hard truth that most riders miss; your lower leg is swinging because something else is out of sync. It’s not about gripping harder or squeezing your leg tighter. In fact, doing that will very often make things worse.

    Instead, think of your body like a kinetic chain. When one link (your seat, your core, your shoulders) is unstable or misaligned, the result often shows up in your lower leg. So rather than treating the symptom, we’re going to dig deeper and fix the actual cause.

    To do this, first you have to figure out when your leg is swinging…

    Step 1: When Does It Happen?

    Get curious about when this is happening for you in your riding. Become a bit of a detective! If you ride alone, the only way to really know for sure is to capture your riding on video.

    First, check what happens in the trot. Particularly the rising trot. For many riders, the swinging lower leg pops up when they are posting. You’ll see that your lower leg (below the knee) shoots forward every time you rise. Instead of being underneath you (as in the Click Your Fingers Rule), it will be somewhere up at your horse’s shoulder or elbow. Then, as you sit back in the saddle, it will swing back under you again.

    I then suggest testing yourself in the canter. You might find that things are fine for you in the trot, but as soon as you transition into canter, that swinging lower leg makes itself known!  It’s like your leg develops a life and mind of its own! Doing its own thing! And, unfortunately, usually either causing your horse to increase speed or tension, or completely ignore you altogether!

    So grab your phone, whip out your Pivo, or get a friend to record you riding. Look closely. When exactly does the swing begin? Is it the trot? Or maybe it’s the canter for you…

    Fixing the Swing in Rising Trot

    Let’s start with trot. If you’ve got a swinging lower leg here, chances are your rising or posting technique needs to be revisited and updated. Most riders learn to post by being told “up-down, up-down.” Combine that with “heels down,” and what you get is standing up on your stirrups. That forward push causes your leg to swing because you’re using the wrong parts of your body to post.

    Instead, here’s a better way to think about it:

        • Imagine squeezing your glutes (your bum cheeks!)

        • Let your belly button travel forward and slightly upward towards your horse’s ears

        • Focus on moving diagonally with the horse, not up and down like a piston

    This subtle shift changes everything. Now, you’re not standing up on your stirrups, you’re moving with your horse’s motion. Your seat stays connected, and your lower leg stops swinging like it’s trying to escape. This also allows your lower leg to become an effective aid when you need it.

    Fixing the Swing in Canter

    Now, if you’ve got a swinging lower leg in the catner, there are a couple of different reasons this is happening.

    1. Are You Gripping with Your Knees?

    Gripping with your thighs or knees turns you into a human clothes peg! And not only does this cause your lower leg to swing, it can also cause your horse to feel uncomfortable.

    Instead, allow your thigh and knee to stay soft and open. Think of your legs ‘draping’ over the saddle. Let your seat move with your horse. And keep your lower leg gently against your horse’s side. No clamping, just resting against your horse’s side, ready for when you want to use your aid.

    2. What Are Your Shoulders Doing?

    This one surprises a lot of riders. But I’ll say it; your shoulders and your lower leg are very often just doing their own thing in the canter! And this is an issue, because it actually STOPS your seat from moving with your horse.

    If you’re doing any of the following in the canter:

        • Circling your shoulders

        • Rocking back and forth like you’re on a swing

        • Collapsing through your upper body

    …then guess what? That movement is disrupting your balance, and your lower leg is paying the price.

    Instead, keep your shoulders steady and aligned. Think tall, soft, and grounded. Let your seat follow your horse, and trust that you don’t need to ‘ride the canter’ with your shoulders. Let your seat do the talking.

    In the canter, your shoulders and lower leg remain ‘consistent’ while your seat and hands move with or follow your horse… 

    Why Holding Your Leg Still Won’t Work

    A quick reminder here: you can’t force your leg to be still by gripping harder or focusing solely on it.  That approach kills suppleness, flow, and the energy that needs to move through you and your horse.

    Instead, your goal is to create consistency through your upper and lower body, while allowing your seat to follow your horse’s movement.

    How to Train a Secure Lower Leg – Without Burning Out

    Like any new habit, improving your leg position takes time and consistency. But it doesn’t have to be overwhelming.

    Here’s how to start smart:

        1. Break it into short, focused blocks. Choose two 8–10 minute sessions within your ride to specifically focus on your lower leg.

        2. Start in the walk. Then move to trot or canter – not both. If both gaits are an issue, focus on trot first until that improves.

        3. Use video. Every few rides, film yourself again. You’ll be amazed at the progress once you train your awareness and refine your feel.

    This is not about “riding better for the whole ride.” That will come. Riding now, if you have a swinging lower leg, you need deliberate, short bursts of effort. This will help you to rewire the habit. To upgrade this ‘basic’ in your riding so that it serves you as the rider you are now.

    It’s a simple (but not always easy) swap. Change the old basic that got you this far, and replace it with a more refined basic that takes you to the next level.

    If you’re dealing with a swinging lower leg, don’t just accept it as something you have to deal with forever. Your swinging lower leg is simply a signal that it’s time to upgrade some of the foundational skills that got you started – but aren’t serving you anymore.  The good news? This is fixable. And it starts with consistent, intentional focus during your rides.

    3 Action Steps for a Swinging Lower Leg

        1. Record yourself riding this week – identify exactly when and where the swinging leg appears

        2. Tweak your rising/posting in trot – aim diagonally forward with your seat, not straight up

        3. Check your shoulders in canter – be consistent with your shoulders and lower leg, and let your seat follow and move with your horse

    If you’re ready to take the next step and refine all those basics that are holding you back, pop over to www.returningtoriding.com and join the waitlist for my free training. I’ll help you make sense of it all so you can go from frustrated passenger to confident rider.

    Happy Riding
    Lorna

    More on This Topic:-

    Online Training to Help Your Riding

    Connect with Lorna online:-

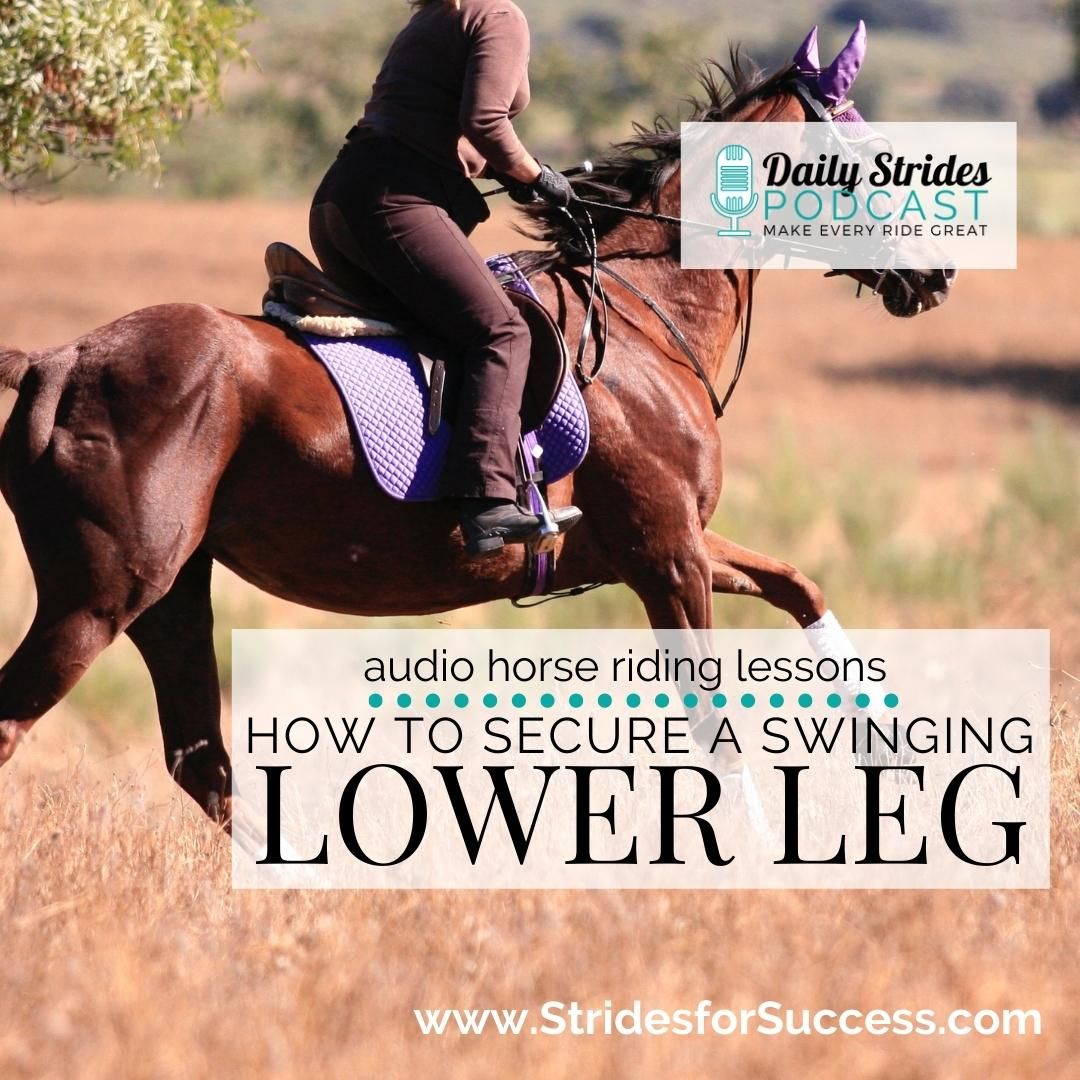
  • How to Secure a Swinging Lower Leg

    How to Secure a Swinging Lower Leg

    [fusebox_track_player url=”https://op3.dev/e/traffic.libsyn.com/dailystridespodcast/1272_Securing_a_Swinging_Lower_Leg.mp3″ title=”How to Secure a Swinging Lower Leg” social_linkedin=”true” social_pinterest=”true” social_email=”true” tweet_text=”Stop the swinging lower leg when in the saddle…” hashtag=”horseriding #equestrianproblems” twitter_username=”strides_success” ]
    What is it about a swinging lower leg that makes it so annoying for riders, horses, and trainers the world over?! I mean, everyone has their specific ‘riding issues’ and deals with them accordingly. And yet, a swinging lower leg has the potential to have riders stuck on a plateau forever!
    I don’t need to tell you how important it is to have a secure lower leg when riding. It is vital for the safety, communication, and, maybe, mental health of all involved!
    If you have been struggling with a lower leg that prefers to play ‘hokey pokey’ swinging back and forth, rather than help you gain clarity with your horse, don’t lose faith. Here are a few ways to begin securing those legs, once and for all.

    1 . Check Your Stirrup Length

    I think sometimes riders can be a little too optimistic when it comes to deciding on the length of their stirrups. This is especially true if there is a more advanced rider that they are trying to emulate in the saddle. Those riders have been practicing for years and are also most likely more ‘riding fit’ than the average ‘happy hacker’.
    There is nothing wrong with having shorter stirrups initially when riding. This will help you to feel more secure and develop your independent aids initially when getting started
    What is also key to remembering here is that your energy at the start of the ride, and then in the middle of the ride will differ. When you begin to feel tired, it can become more difficult to ‘control’ your aids. This is especially true of your legs. So, keep in mind that sometimes, putting your stirrups up a hole mid-ride can help with this issue as well.
    Adjust your stirrup length for the rider that you are right now… Not who you ‘want’ to be further down the line.

     2 . Is Your Horse Moving Forwards?

    Just like an untamed swinging lower leg, if your horse has to be kicked, shoved, or pushed forward every single stride, it is equally as exhausting! And this will really begin to negatively impact your position and posture over time. Not to mention the coordination and timing of your aids.
    Your horse must work forward on his own. Not have to be coaxed forward every single stride by you kicking your legs.
    Creating a secure lower leg is close to impossible if you are having to keep ‘rallying’ your horse to go forward. My suggestion for this is to work on responsiveness. Do so while riding, while lunging, and also with your groundwork. Once he/she is moving forward, you can begin thinking about your lower leg ‘asking’ questions, rather than shoving your horse along!

     3 . How’s Your Overall Position?

    The first big question is “are you sitting on your bum?”! If you have pitched forwards, even slightly, onto your crotch area, your lower leg will swing. This is due to you ‘closing’ your pelvis and, subsequently, squeezing your knees together. Sitting on the small of your lower back (tucking it in under you and sitting on your tailbone) is equally as problematic. This will result in your lower legs shooting forwards.
    Remember, your lower leg wants to be below you at all times – not in front of you or behind you. And it wants to channel your weight to your heel…
    Which leads me to ‘heels down’. Keeping the weight in your heel will help with so many of the issues riders struggle with when riding. You don’t have to ‘force’ your heels down. But simply allow the weight to drop there. This will go a long way to securing your lower leg.

     4 . Drape, Don’t Grip, with Your Legs

    Now, I get it. If your leg is swinging back and forth, it almost makes sense that if you can ‘hold’ it still, this will help. Unfortunately, it usually won’t. First of all, usually, riders try to secure their lower leg by squeezing their knees. This will 100% make the swinging lower leg even worse. That I can guarantee you! Don’t squeeze your knees!
    Focus on your legs being a channel and directing the energy. This way, you will begin to feel the contact with your horse down the full length of your leg – rather than just focusing on your knees.
    When you can allow your legs to drape, your focus will naturally shift to the contact between the inside of your thighs and the inside of your calves with the saddle and your horse. Your knee and ankle should be loose and supple.

     5 . Rider Fitness and Practice

    I think it is a little unrealistic to end this advice without mentioning your overall fitness as a rider. So many riders who struggle with a swinging leg are actually riders who are coming back after a break. Whether this break is 2 months, 2 years, or 22 years, it is vital to acknowledge that your body has changed. Give yourself time to improve.
    And remember, as you become more physically tired in the saddle, your lower leg will begin to swing more. So rather focus on shorter, more intentional rides where you can get more from the work.
    I would also suggest starting some form of complementary fitness activity. I personally love hiking and cycling. But I think any sort of movement will help you to gain more control over your body. And to increase your stamina too.
    Finally, good practice makes perfect; the quality of your rides will determine how quickly you progress. Riding for the sake of riding will not help this…
    So plan rides where you get to make the most of your energy and see if you can do more of those shorter rides.

     6 . Your Light Seat

    This leads me to specific exercises you can use while warming up and cooling down that will help you remedy a swinging lower leg… The trusty light or 2-point seat.  Practicing this while riding will help you to put many of the above principles into action.
    When you ride a true light seat, your lower leg is positioned where it should be, under you.  It allows your weight to drop into the heel and requires you to ‘drape’, not grip with your legs. And will help improve your fitness and your riding in general. It also prevents you from blocking any forward energy with a potentially heavy seat.
    However, just like everything else, your light seat must be correct in order for this exercise to be effective. It also really requires you not to balance on your hands, your horse’s mane or a neck strap to have maximum effect. 
    I have an episode on “Improving Your Riding with Your Light Seat” HERE that will help you.  Alternatively, sign up for the Equestrian Fitness Challenge HERE.
    You can learn to secure a swinging lower leg, but it will take consistency, dedication, and time. Good luck!
    Happy Riding
    Lorna

    More on This Topic

    More Training & Support

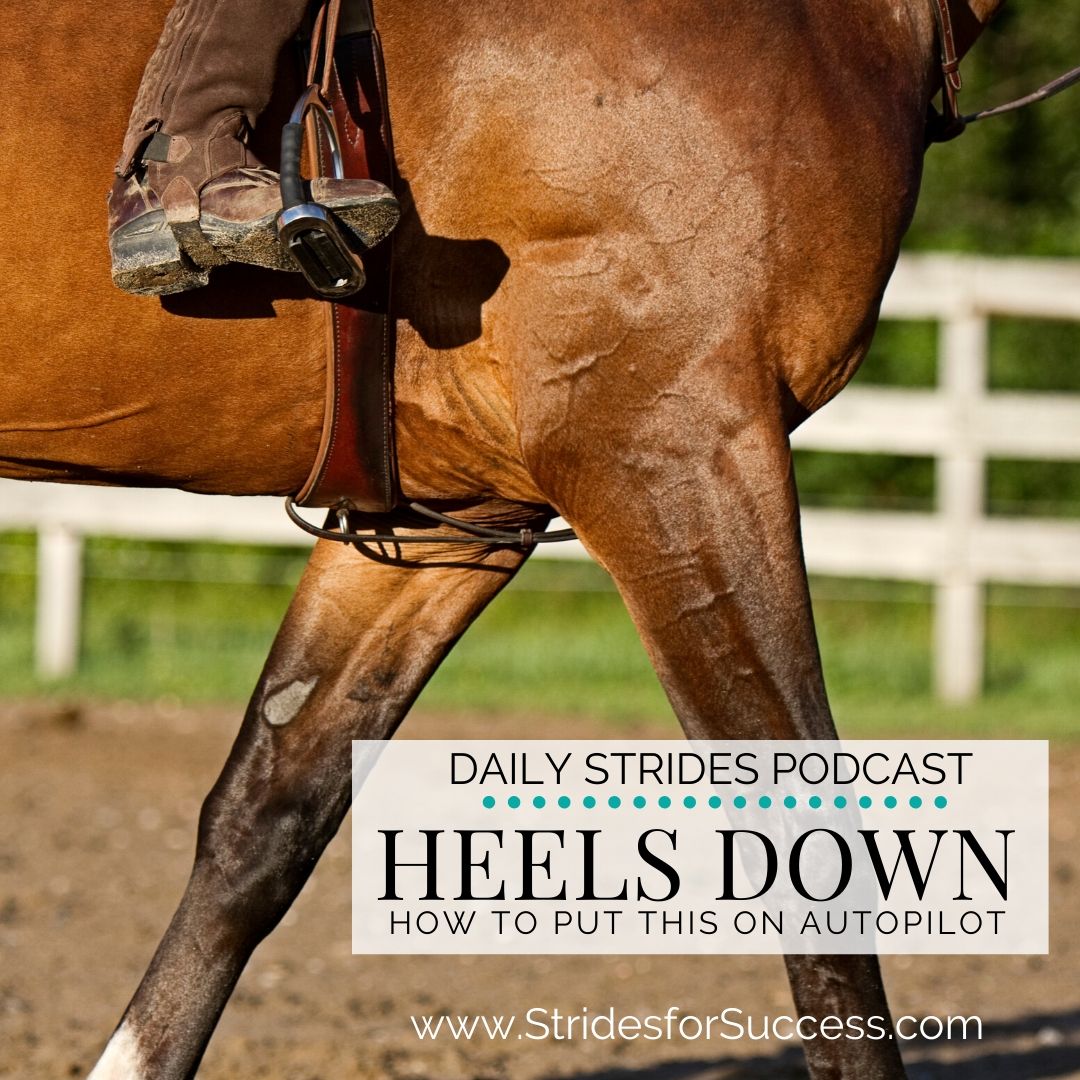
  • Heels Down

    Heels Down

    Heels Down

    It’s probably one of the first things you were told on your first ride. It is also, for many riders, a misunderstood concept. The truth of ‘heels down’ is that once you can correctly master it, it is an absolute game-changer for everything else in your riding. It is that important.

    [smart_track_player url=”https://op3.dev/e/traffic.libsyn.com/dailystridespodcast/1149-Heels-Down.mp3″ title=”Heels Down” social_linkedin=”true” social_pinterest=”true” social_email=”true” tweet_text=”Here is how to put your heels down onto autopilot in your riding; Daily Strides Podcast for Equestrians” hashtag=”equestrianpodcast” twitter_username=”strides_success” ]

    How much your heel is down will depend on what you are doing at any given time. What doesn’t change is that the weight is dropped into the heel. Always.

    It is a pretty easy thing to do. Heels down. And it is also one of the first things you should work on putting onto autopilot in your riding. Meaning that you don’t have to think about it. It just happens by itself.

    Having heels down on autopilot will allow you to focus on your actual communication with your horse.

    The Weight Drops into Your Heel

    Heels down are easily visualized. If someone tells you to put your heels down, you know what they are talking about and what they want you to do. Compare this with ‘allow the weight to drop into your heels’. Come again?! And this is why riding instructors use the term ‘heels down’ when working with novice riders.

    However, I want you to begin to understand that it is the weight dropping into your heel that is important. Your heels down is a result of you allowing weight to drop into your heels.

    But again, when you are initially starting out on the riding journey, ‘sitting’ in your saddle. Foot firmly in your stirrup due to the level of mental comfort it provides; the question is often “what weight?!  I’m sitting down in the saddle!”. As you dive more into your position and posture as a rider, you begin to understand that there is carrying and a draping that happens through your body. A balance between elongating and simply allowing.

    The degree of heels down can certainly change. In fact, I can bet that it will depend on the set of circumstances you find yourself in at any given time.

    What shouldn’t change is the fact that the weight is dropped into your heels.

    The Angle Between Your Foot and Leg

    There are lots of different variations of heels down. A dressage rider and an eventer out cross country would (and really should) look a whole lot different where heels down are concerned. The difference comes to down to your ankle joint.

    How much weight you allow to drop into your heels will change depending on what you are doing. What does not change is that the heel is weighted.

    The easiest way to notice the difference is to look at how parallel the sole of the riders shoe or boot is to the ground. Often you will notice that dressage riders feet are almost parallel. Showjumpers and eventers are not. In fact the angle of the sole of their boot and the ground can vary a lot depending on what they are doing at any given point in the ride. It is ever-changing.

    And this is why your ankle joint is so important. It is one of your ‘shock absorbers’ when you ride. And how much flexion is happening in the joint depends a lot on how your foot is placed in the stirrup.

    Placement of Foot in the Stirrup

    Next time you ride, have a look at the angle and relationship between the stirrup iron and your foot. So many novice riders ‘fix’ their irons, so that it is at an exact right angle to their foot. It goes directly across the foot, if viewed from above (or in the saddle). This limits the flexion of your ankle joint.

    The stirrup iron should rather be angled at about 45 degrees across your foot. From the ball of your foot to the toenail of your little toe is a good visual indicator.

    Put another way, the ‘outside’ of the iron is more forward than the inside. Test it out in halt. Play with the angle between your iron and your foot. Then, in the halt, stand up and down or transition in and out of light seat a few times. Notice how your ankle joint is more supple when the iron is angled, versus the iron being ‘straight’ across your foot.

    Your Lower Leg

    If you do take me up on this and practice it, you can also begin to notice your lower leg and what it wants to do when you do ‘put weight into your heel’. Ideally, you want your lower leg underneath you. I know, it begs the question “where else would it be?”, but you would be surprised! Many riders ride with their lower leg either too far forward or too far back.

    A forward lower leg is great when you need to ride a little defensively. However, if it is your ‘normal’, your lower leg cannot be an effective aid in your communication with your horse.

    And yet, for many riders, as soon as they ‘push their heels down’ the lower leg shoots forward. So forward that they ride from the elbow or shoulder of the horse! This is something that must be worked on. Again, I suggest beginning in the halt and moving between sitting and rising. Like you were posting in the trot.

    The goal is to allow the weight to drop into your heel (stand on your heel) without your lower leg budging. No movement. Staying exactly where it should be; underneath you.

    Working on this is where you begin developing a ‘secure lower leg’. A vitally important part of becoming an effective communicator when in the saddle and riding.

    Practice, Practice, Practice…

    In order for you to successfully get this part of your riding onto autopilot, you need to practice. Consistent attention to your foot, your ankle, and your lower leg. Begin working between walk and halt. Then build to trot. As you drop the weight into your heel, work on controlling your lower leg.

    Notice how it feels to weight your heel and then engage your lower leg in order to keep it still. No squeezing or gripping. Simply an ‘engagement’. A mindful intention.

    An easy way of seeing if your lower leg is ‘shooting forward’ or not is to glance down. You should just be able to see your tippy-toes peeping out from below your knee as you ride. Any more of your foot or your stirrup iron and your lower leg is probably too far forward. No toes? Your lower leg is probably too far back.

    This is something that, if you’re struggling with balance, confidence, or just plain old falling off, will change EVERYTHING in your riding. It is that powerful.

    Happy riding
    Lorna

    Additional Resources on this Topic:-

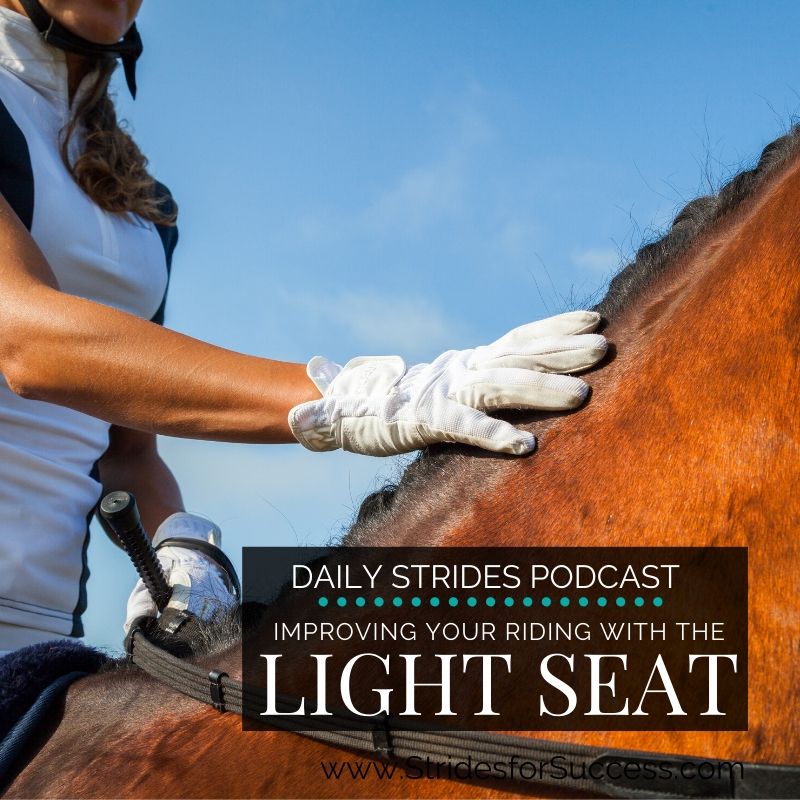
  • Improving Your Riding with Your Light Seat

    Improving Your Riding with Your Light Seat

    Have you ever considered how much you are either helping or hindering your horse when you’re riding?  Do you wonder what you could do, today, to begin improving your influence in the saddle?  Well, I am going to give you something fun to do in the saddle that will improve your riding – and put a smile on your face as well.
    I want you to begin figuring out how independent you are in the saddle when riding. You are going to do this by riding the light seat or two-point seat.  Your bum out of the saddle as you ride.  Some lovely daylight between the arse of your trousers and the seat of your saddle.
    [smart_track_player url=”http://traffic.libsyn.com/dailystridespodcast/1125-Improving-Your-Riding-with-Your-Light-Seat.mp3″ title=”Improving Your Riding with Your Light Seat” social_linkedin=”true” social_pinterest=”true” social_email=”true” tweet_text=”Something fun and different that will help you to improve your balance in the saddle…” hashtag=”equestrian #podcast” twitter_username=”Strides_Success” ]
    I already know that many riders will have clicked away by now, but if you are still here; good on you!  This exercise is for ALL riders.  Improving your balance will always improve the overall conversation with your horse, regardless of the discipline that conversation occurs in.

    What Is the Light Seat?

    The light seat happens when you are riding.  It involves you actually ‘standing’ on your own two feet while working your horse.  It requires you to balance yourself.  This means no leaning, holding on or crouching down on your horse’s neck, a neck strap or breastplate, or the pommel of the saddle.  Also, no holding onto the mane.
    Your stirrups will have to be short enough so that you can support your weight into your heels while having that all-important clearance between your bum and the saddle. 
    From here, you simply ride like you would normally do, but with your bum no longer putting weight on your horses back.  There are varying degrees of how much ‘daylight’ you have between your bum and the saddle.  However, I usually recommend a good amount of daylight when riders are starting off working in the light seat and this is due to it being a little more difficult to ‘cheat’ that way!

    Why the Light Seat?

    There are lots of reasons to use the light seat in your riding.  Probably the most commonly used one is when cantering or galloping in open spaces.  Sitting in your normal upright seat can get a little tiring and, well, bumpy!  The light seat allows the horse to move underneath you – and allows you to enjoy the experience.
    The light seat is also really useful when working over ground poles or small raised poles with your horse.  It allows your horses back to engage, without the rider being heavy and working against it. 
    The light seat is also useful when you find yourself partnering with a horse who is feeling enthusiastic and excited about working!  It lets the horse ‘work off’ some of the energy without fighting against him.  It also allows the energy to flow out if necessary to dissipate any excess energy that the horse may be carrying.
    Finally, the light seat is an excellent way to improve rider balance, fitness and overall coordination.  It allows riders to ‘test’ themselves and their abilities in the saddle, and have fun while doing so. 

    Your Base of Support

    So the first thing you want to do before you transition into the light seat is to make sure the weight is in your heels.  You will be ‘standing’ on your heels in the light seat. In order for this to happen your lower leg must be underneath you.  Not in front of you, or behind you.
    Simply put, if I was with you in the arena and I clicked my fingers and made your horse vanish – you would land on your feet. 
    Your foot must also be correctly positioned in your stirrup.  So many riders ‘square’ the iron with their foot.  However, the iron must rather be diagonally under your foot.  From the ball of your foot, diagonally across to the nail on your little toe is a good basic way of thinking about this. When your foot is correctly positioned in the stirrup, it allows your ankles, knees, and hips to become effective ‘shock absorbers’.
    Put differently, correct stirrup placement allows you to move with the energy of your horse, rather than bouncing against it. 
    As you move in and out of the light seat, remember to continuously check and improve your base of support.  Weight into your heels.  Lower leg underneath you and foot correctly placed in the stirrup iron.  If anyone of these three elements is missing or ‘off’, you will have problems with the light seat.

    Lifting Your Bum Out of the Saddle. 

    The big moment.  Liftoff!  And for so many riders this is one of those ‘easier said than done’ moments! However, there are a few things you can do which will help make it easier for you.  Firstly, think about engaging your core.  Your abdominal muscles.  Also, your back, both upper and lower.
    For many riders, engaging their upper back becomes easier when they focus on opening their chest.  Imagine if we held a measuring tape on your one shoulder and we wanted to measure the distance, across your chest, to your other shoulder. Make that distance as wide as you can by opening your chest.  This will help you engage your upper back.
    It will also help you to ‘open’ your arms, thereby becoming a whole lot clearer with your aids when communicating with your horse. Big deep breaths in and out.  Feel the expansion in your chest area.

    Straightening Your Back

    When you engage your back, it will become more straight.  This is important as it allows the energy to flow through your body.  Many riders, when they initially transition into the light seat, ride with an almost C shape through their back.  They curl their shoulders.  Which effectively collapses their upper body.
    When you focus on remaining engaged and straight through your back, you are committing to carrying yourself.  Your own weight, your own arms and hands.  It also allows you to carry your head – and focus on where you’re going. 
    If you are finding it difficult to straighten your back in the light seat, think about ‘sticking your bum out’ behind you. I know, it sounds so odd and, well, irrelevant.  But trust me, if your back keeps going into full ‘hamster mode’ and curling or collapsing, sticking your bum out behind you will help engage your lower back.
    When in the light seat, your lower back provides important support to your upper back.  Your core is fully engaged and working in order to help you remain balanced and moving with your horse.

    Independent Hands and Reins

    The negative effect of ‘leaning on’ or using your horse’s neck for balance cannot be overstated here.  in order to ride a true light seat, your hands and arms must be independent.  This is so you can continue to engage in the contact with your horse.
    There seems to be a misconception surrounding the light seat which many riders believe there is no contact when in it.  This couldn’t be further from the truth…
    Contact is just as important in the light seat as it is throughout the whole ride. 
    If your hands are touching anything except the leather of your two reins, you are leaning or depending on your horse for support.  Also, be careful that you are not leaning on the reins themselves for support.  You should be supporting you because you have a solid base.  You should not be relying on your horse for your balance.
    If you are struggling to balance, go back and reassess your base of support. Your heels, your lower leg and your foot in the stirrup.  Then asses your back and shoulders.  If they are all correct, you have a fitness issue – not a support issue!

    What Should Your Hands Be Doing?

    Your hands should be engaging in the conversation with your horse.  They should be ready to establish the contact from the energy that is now flowing more freely through your horses back.  This is where so many riders become confused with the light seat.
    They believe that their horse will ‘take off’.  Or that there is no real benefit because their horse is not working. However, I am going to challenge you to think a little differently about this.
    You can do almost everything you can do in your normal ‘upright, from a good quality light seat. 
    But you MUST balance yourself first if your light seat is to become an effective tool in your riding.  If you keep dropping your contact, every time you transition into the light seat, your horse won’t ‘work’ when you are in it.  Couple this with the fact that the reason most riders are dropping the contact is that they are leaning on the horse’s neck.
    One of the great things about the light seat is you allow your horse to truly engage his back, without hindrance from the rider. If you are leaning on his neck, this becomes impossible for the horse.
    Leaning puts a whole human worth of extra weight on the area of your horses body you are actually asking him to lighten…

    Transitioning In and Out of the Light Seat

    You go in and then you go out… In and out… Out and in…  This requires suppleness from the rider.  Strenght to support themselves through the transition and then suppleness to allow the flow of energy while they ‘hold’ the position.
    Practice moving in and out of your light seat while maintaining the contact and gently redistributing your weight.  
    You can also play with the amount of fold you are allowing through your hips.  More ‘fold’ will result in your chest moving closer to your horse’s withers. Remember, your back will remain straight.  Curling your back is very different from folding your hips!
    Also, when working your horse, realize that you probably don’t need as much fold as you think in order to be effective.  The light seat is so versatile, you can really experiment and see what suits you and your horse best.
    Happy Riding
    Lorna

    Other Resources to Help You With This Topic:-

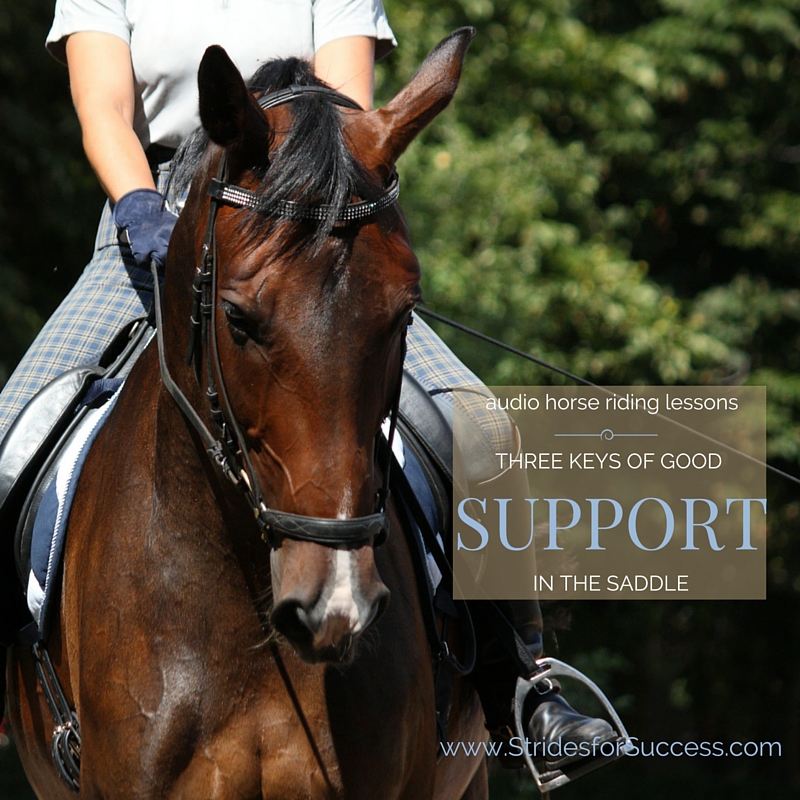
  • The 3 Keys to Creating a Good Support

    The 3 Keys to Creating a Good Support

    A lot of riders have a similar problem. While I am in the arena teaching and when coaching riders online, I can see it.  One of the single biggest problems I notice beginner to novice riders having is not focusing enough on correcting their leg position.

    We all know that our legs are a vitally important part of our aids.  However, we often don’t think about how correcting our leg in the saddle can then influence the rest of our body while riding.

    Why You Need Support

    Having a strong support system in effect underneath you means that you no longer rely on your horse for balance. And the occasional support.  It means that you are independent. Not only of your horse but also of yourself.

    Your legs and arms can move independently of each other, your seat can be where it is supposed to be in any given situation.

    In fact, you can even begin to positively influence your horse’s way of going, creating balance, confidence and togetherness that is otherwise missing when you are not supporting yourself.

    I think there are 3 simple ways you can begin offering yourself more support today…

    3 Keys to Good Support in the SAddle

    Support 1. Your Leg is Underneath You

    If we could, at any given time when you are on your horse, magically ‘click’ our fingers and make your horse vanish…  Would you land squarely on your feet?  It seems like a silly and, perhaps even, childish question.  However, it is key when figuring out if you can support yourself or not when riding.

    So, ‘CLICK’.  How have you landed? All square?

    Not on your face, as it would happen with a fork seat.  And not on your backside, as would happen if you ride with your lower leg close to or on your horse’s shoulder.  Keep your leg under you, not behind you, not in front of you. Ask someone to take photographs of you while you ride and study them. Then begin making those changes.

    Keep in mind that changing your lower leg position will feel uncomfortable at first! A lot of change does.  However, it is worth persevering with…

    Support 2. The Angle of Your Foot in the Stirrup

    Pay close attention to how your foot is positioned in the stirrup. This one simple, and often overlooked, area of your position plays a huge role in your suppleness.

    Turn the front-facing side of your stirrup out. Place the stirrup close to the ball of your foot on the inside.  Then angle it to the nail of your little toe on the outside.

    This ‘line’ is a good indicator of where you want that stirrup to be underneath your foot. You need the stirrup diagonally across your foot. Not straight across.  This is to allow your ankle joint the flexibility it needs to be the shock absorber and movement absorber you need it to be to have a great base of support.

    Support 3. Your weight Dropped into Your Heels

    Lastly, make sure that as you ride, your weight is always dropped into your heel. Not your toe. Or the thread of your stirrup. Just straight down into the heel. When you post, when you are in the light seat, even when you are just walking around the arena cooling off, be certain that your weight is dropped deep into your heel.

    This does not mean forcing your heels down into an uncomfortable and rigid position. Rather that your heel is more weighted than the other parts of your foot.

    If you have been riding for any length of time like a ballerina (on your tippy-toes) this will feel strange at first.  But persevere. Oh please push on through…  Because, trust me, once you master this… Oh, the riding you will do!

    Support is a Huge Topic…

    Obviously, there is more to support and riding than just making sure your legs are in the correct place. However, this is always a good place to start. And it will help you begin building both your confidence and effectiveness in the saddle.

    There are details below for you to join the free Equestrian Fitness Challenge to help you have more control and mindfulness over your aids in the saddle.

    Happy riding
    Lorna

    Additional Info on This Topic:-

    Extra Resources for Riders:-

    Three Keys to Develop Good Support in the SAddle