Tag: Trail Riding

  • Have Fun Hacking – Getting Started with Stride Adjustment in Walk and Trot

    Have Fun Hacking – Getting Started with Stride Adjustment in Walk and Trot

    [fusebox_track_player url=”https://op3.dev/e/traffic.libsyn.com/dailystridespodcast/1339_Developing_Strides_Adjustment_in_Walk_Trot_While_on_The_Trail.mp3″ title=”Have Fun Hacking – Stride Adjustment on the Trail” social_linkedin=”true” social_pinterest=”true” social_email=”true” ]

    Let’s take a hack together today while you work with your horse on stride adjustment. So often, the energy that is available to us while out on a hack can be harnessed into new or ‘challenging’ work. This can help you and your horse when you get back into the arena.

    As with all things in horse riding, the level of training you and your horse find yourself at when listening to this episode will dictate what you can reasonably expect to achieve.   Take things slow and steady when it comes to introducing new things to your training program.

    In this episode of the Daily Strides Podcast, I am encouraging you to listen while riding and immediately put the training into practice.  We will be taking an imaginary ride ‘together’…

    So mount up and enjoy the lesson! And, as mentioned at the end, the following 4 audio horse riding lessons that accompany this one are available for you, right now, inside of Daily Strides Premium.

    Happy Riding
    Lorna

    More on This Topic

    Online Training to Help Your Riding

    Connect with Lorna online:-

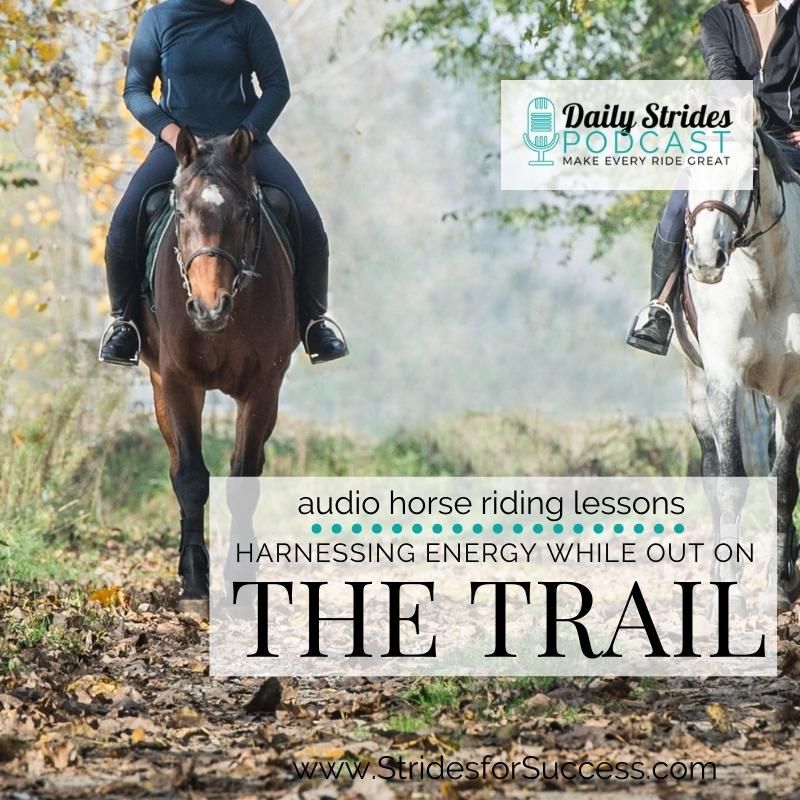
  • Out on the Trail; Harnessing the Different Energy

    Out on the Trail; Harnessing the Different Energy

    [fusebox_track_player url=”https://op3.dev/e/traffic.libsyn.com/dailystridespodcast/1241_Harnessing_the_Energy_When_Out_of_The_Arena.mp3″ title=”Out on the Trail; Harnessing the Different Energy” social_linkedin=”true” social_pinterest=”true” social_email=”true” tweet_text=”Do more than just ‘saunter’ on your next hack…” hashtag=”horseriding #trailriding” ]

    Anyone who has ridden in an arena for a prolonged period knows how different the energy feels when they finally get out on the trail.  What may have been feeling a little flat and, even, deflated, suddenly comes back to life.  Both horse and rider seem to become more keenly self-aware.  And more responsive to external elements.

    Rather than being afraid of this energy or worried about it, you can rather begin to intentionally channel that energy to improving your training & riding. 

    By strategically channeling this energy, you can actually use your hacking or time out on the trail to actually improve things. Both you and your horse can positively influence your training and development.  And, then return to the arena with a greater understanding of the different questions.

    Start with ‘Forward’

    I’ve noticed that many riders when they feel something different happening, ‘shut down’.  Shutting down looks like the rider collapsing, but also stopping the horse from thinking or working forward.  Maybe hanging onto the contact.  Or sitting too deep and resisting with their seat.  A little like ‘hunkering down’ and waiting for the storm they are convinced will come!

    Keeping your attention on the individual footfalls that your horse is making each stride and the rhythm they create, will help you to keep actively working forward. 

    Once you have identified the rhythm, work on syncing your body to your horse’s movements.  Are you able to allow your movements to be led?  Rather than pushing your horse along with your body?

    Thinking and working forward means that your horse is taking you somewhere with a sense of purpose, and you are very much along for the ride. 

    Independent Aids

    From here, begin experimenting with your independent aids…  What happens to your outside shoulder when you apply or use your inside leg?  And what about your outside hand when you apply your outside leg?

    Very often we miss the fact that our aids are not as independent as we first thought; use your work out on the trail to identify and tweak. 

    Having truly independent aids will allow you to better channel and harness the energy.  It also allows for clearer communication, more responsiveness, and just more overall clarity between you and your horse.

    Creating More Space

    From here, I am going to suggest working on the space within each stride.  Many riders only focus on the space between the strides (the tempo).  However, by working on the actual space within each individual stride, you can begin to really define and improve the overall rhythm.

    Riding a well-timed, well-balanced, clear half-halt is one of the best ways to begin defining each stride a little more and truly harnessing that different energy. 

    What’s really unique about the half-halt is that no two are ever really the same.  There is a level of intuition that, as riders, we need to tap into and explore in order to truly ride it.  Each individual situation, each individual stride, will call for something slightly different.

    Learning how to balance your individual and independent aids together in order to effectively half halt, will open so many doors for you and your horse. 

    Half Halt Out on the Trail

    Once you can effectively begin to use your half-halt, a whole other world will open up for you and your horse.  You will find that the ‘fresh’ energy you experience while out of the trail becomes beneficial, rather than something that causes concern.

    It also allows you to approach everyday schooling movements and exercises from a new place – with newfound energy and enthusiasm. I am a big fan of using both lateral work and flexion/bending while out on the trail to help better engage this energy.

    And, when the energy is correctly harnessed, it leads to improved contact.  Sometimes even better than what riders experience in the arena. 

    So, this week, plan a hack or an outing that will take you out of the arena and see what you can begin to harness and improve with your horse.

    Happy Riding
    Lorna

    More on This Topic

    More Training & Support

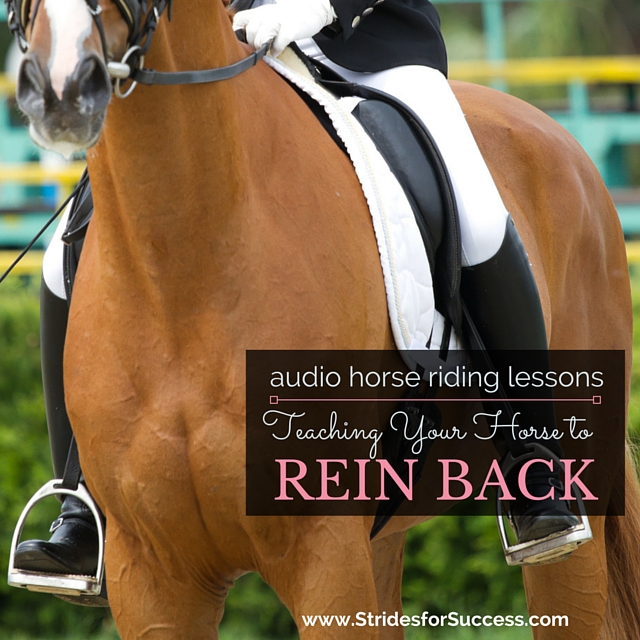
  • Teaching Your Horse to Rein Back

    Teaching Your Horse to Rein Back

    . Teaching Your Horse to REin Back Correctly
    Have you ever found yourself out on the trail needing to reverse?  Or even in the arena, knowing that your horse reversing in a calm, quiet fashion would be a really useful achievement in that particular moment?

    You ask him to go back.  However, rather than the smooth, no-fuss reverse you were imagining, it rather feels like you left the handbrake on and he begrudgingly edges ‘back’.  Head raised in protest.  Hooves seemingly glued to the ground beneath them.

    By the end of the exercise, your horse, rather than having gone straight backward as requested, is far closer to a 90° angle from where you began…

    Rein back is a really useful movement for your horse to know.  It’s also one that can really begin at any time in his education. From being first handled in the stable, to later in the dressage arena. It is a nifty little tool to have when there are gates to be opened along the trail.

    However, having that smooth movement, which you can truly direct your horse where you require him to go, like a lot of things, takes practice.

    [smart_track_player url=”https://op3.dev/e/traffic.libsyn.com/dailystridespodcast/626-Teaching-Your-Horse-to-Rein-Back-Correctly.mp3″ title=”Teaching Your Horse to Rein Back Correctly” social_linkedin=”true” social_pinterest=”true” social_email=”true” tweet_text=”Struggling to go backwards with your horse? Here’s how to get started today – the right way…” hashtag=”equestrian #horseriding” twitter_username=”strides_success” ]

    What Is Correct Rein Back?

    This practice begins with becoming really clear on what happens when your horse performs a rein back that is correct and balanced. We know that he must reverse, or go backward, however how he gets there is vitally important to the overall success of the movement.

    When a horse moves in rein back, his legs move in diagonal pairs. His right front leg and his left back leg move backwards together. This is one step. Then his left front leg and right back leg move backwards together, step two. As he moves back, he should remain straight and his hind quarters will begin to move a little more underneath him with each passing step.

    His back should remain relaxed, as will his head and neck. When he has moved back as far as you desire, he should then promptly move forward again when you ask him to.  Without hesitation

    What Should The Rider Do During Rein Back?

    While your horse is moving back you, the rider, should remain upright.  You will use your core to lighten your seat bones a little. Your lower legs will move back slightly.

    Your legs are really important due to how they ask your horse to move.  Timing is everything.  You will use your leg to ask the horse to lift his leg.  They ask the question. The rider can use their legs either together or one by one, depending on the situation. Forward movement is then ‘resisted’ by the riders hands.  then resisting any forward movement with the hands.

    This all sounds easy enough, however, unless the groundwork has been correctly laid, just following the above directions will not achieve a seamless, relaxed rein back.

    In fact, many bad or faulty rein back performed by riders are the direct result of a lack of groundwork and patience when it comes to explaining to the horse what they expect from them.

    Explaining Rein Back to Your Horse

    As I mentioned at the beginning, horses can be introduced to rein back early in their lives. This is generally in the stable or stall when asking them to move backwards is something that will occur often daily. Rather than just pushing or shoving horses around the stables, think about using this basic movement as a start for when they are later under saddle.

    From this, and regardless of your horse’s age, I suggest first taking him out to the arena.  Have him fully tacked up if necessary.  You are going to begin to explain rein back to him with you on the ground.

    Ask him to halt correctly, which is square.  Once he is standing still, not fidgeting, place your hand on his chest (where it joins his neck) and using a little pressure, push him back while asking him verbally to do so as well. Use a single word all the time, I suggest ‘Back’.

    This is so that later, when you are in the saddle, you can use the same word to convey rein back intially to your horse. 

    When you begin, just ask for one or two steps. Don’t worry too much if they are crooked or if they are a little hesitant to begin with. What is important is that you reward any step in the ‘right’ direction and then ask him to move forward immediately after going backwards.

    Thinking Forwards, While Going Backwards…

    The going forwards as soon as the rein back is finished, is vitally important. Allowing him to stop and wait after he has performed a few steps of rein back will begin to set him in a ‘sticky’ mindset. Horses must always think ‘forward’, so make sure you keep instilling this throughout his groundwork exercises and his ridden exercises.

    Try Not to Pull or Haul Your Horse Backwards

    You may notice that I did not mention ‘pulling’ or ‘resisting’ with the reins or the lead rope when I spoke about asking for the rein back. Rather only using your voice aids and the pressure from your hand on his chest.

    This is really important to note; the rein should never be used to ‘pull’ the horse backwards.

    The horse must first understand the concept of moving back and then later, when you are in the saddle, the rein is merely to tell the horse “Okay, not forward here, rather backwards with that leg you have lifted in the air.”

    When a rider uses the rein to actually move the horse backwards, it generally results in the horse lifting his head and neck, which causes the horses back to stiffen and tense up. 

    This, in turn, causes the actual steps of the rein back to become choppy and short and, if persisted with, fall out of sequence. So rather than the legs moving in diagonal pairs, the horse will move each leg individually. When this happens, it is not a true rein back.

    Finding a Helper When You’re in the Saddle

    Take the time to truly make sure your horse understands what is being asked of him on the ground.  This will help when he then has to work things out under the saddle.  Where he has the added distraction of a rider’s weight on board!  Once you are in the saddle, I suggest finding a sympathetic helper on the ground who will take your space in front of the horse to apply those same groundwork pressure at the front of the horse.

    From the saddle, you will set up the square halt, and then, lightening your seat bones a little in the saddle and sliding your lower legs back slightly, ask your horse to lift his leg.

    At this moment, your helper will apply pressure while you say the ‘Back’ and resist any steps forward with the rein. As before, look for one or two steps initially.  Then move your horse forward into immediately when you are finished with the rein back.

    Be sure that you remain upright in the saddle. Many riders will lean forward a little to try lighten their seat bones.  This can be quite off-putting for the horse and unbalance them further. Also, make sure you are not pulling on the reins. They are only there to ‘direct’ your horse as to which way he must move his legs. Think of them as a detour sign, rather than as a gear stick!

    Rein Back in Your Day to Day Schooling

    Finally, once your horse clearly understands what is required of him in the rein back, you can begin working this into your everyday schooling sessions. As he becomes stronger and more balanced, he will be able to perform a straighter and longer rein back.  4 to 6 steps are generally ample.

    Just make sure that you ask him to move forward each time immediately into either walk, trot or canter.  He must continue to think ‘forward’ rather than ‘backwards’.

    Rein back will help to not only supple your horse.  It will also begin strengthening this hind quarters for later work that will require more collection. And, it’s a pretty handy movement to have when out on the trails with your horse!

    Happy Riding
    Lorna

    Other Resources to Help with This Topic

  • Schooling on the Trail

    Schooling on the Trail

    Trail riding or hacking is a fantastic way for both you and your horse to experience the world outside the gates of the arena.

    However many riders look at riding on the trail as merely a way to relax and unwind.  And while they are not wrong, riding along a bridle path is a fantastic way at boosting the connection between you and your horse, it is often an overlooked opportunity for schooling and working through different exercises and movement, with the advantage of doing so in a different environment and from a different perspective.

    [smart_track_player url=”https://op3.dev/e/traffic.libsyn.com/dailystridespodcast/SFA401-Schooling-Your-Horse-on-the-Trail.mp3″ title=”Schooling Your Horse on the Trail” social_linkedin=”true” social_pinterest=”true” social_email=”true” tweet_text=”Schooling is not just for the arena; here are some ideas of the trail as well ” hashtag=”equestrian #horseriding #trailriding” twitter_username=”strides_success” ]

    The benefits of trail riding are numerous, from relaxation to preventing sourness in the arena.  From building confidence to helping your horse become more sure-footed and of course, strengthening tendons and ligaments with your road work.  Trail riding also helps increase and reinforces the bond between you and your horse, not to mention allowing you the opportunity to just enjoy your horse while surrounded by nature!

    The trail is very often an overlooked opportunity to work with your horse and engage their mind in a different and beneficial way than just endless circles and school movements in the arena.

    Schooling Your Horse on the Trail

    Many riders will agree that while out of the arena and on the trail, their horses have more energy and forward movement.  Focus your attention on how you deal with this new energy supply that you can harness while on the trail.

    Instead of fighting and arguing with your horse, which often only results in an uncomfortable jig-jog for the duration of the ride, rather direct that energy into some exercises and movements that, when performed in the arena, perhaps lack the same enthusiasm, flexion, suppleness and lightness.  

    In order to perform any of these movements, it is important to have first developed your eye to see a ‘line’.  Without the aid of the arena wall or fence, you may find that straightness while working becomes compromised, resulting in you riding ‘lines’ that have the ability to induce sea sickness in a sailor.

    Begin practicing this by softly focusing on something in the distance on the trail and then, paying careful attention to both you and your horses shoulders and hips, ride straight to that object.  This is the sort of exercise that really benefits from ground where you leave a track of hoof prints behind you.

    Once you can ride a fairly straight line and hold that line as you work, you can then begin adding some transitions onto the line, again, paying attention to how straight both you and your horse is through the transition and how established the rhythm and tempo are when riding each gait.

    As I mentioned, often while on the trail, you horse will be more exuberant in his movement, which you can use to your advantage.  Rather than trying to ‘rein the energy in’, work with it and shift your mindset to this new ‘normal’ when working outside of the arena.

    After working through your transitions, you should have a more defined ‘line’ in your head, which will be important for the next movement I suggest you ride; shallow 5m loops.  Most tracks and trails are at the very least 3 meters wide,  and if your track does not allow the full 5m, vary your movement to 3 meters.  What is important here is that you are focusing on straightness, then the bend, and then changing the bend and back to the straight line.

    Having the ‘line’ clearly defined in your head will be paramount to performing the movement correctly.  You may also have to practice this a few times on the trail, firstly in walk and then trot due to the extra energy your horse has on the trail meaning that it will look and feel different to how he would normally ride it in the arena.

    Later, as both you and horse get better and better at this, you can begin performing the exercise in canter, which is a great introduction to counter canter.  Just remember that when riding a 5 meter shallow loop in canter, the horses bend must stay over the lead leg.  Often the temptation to ‘steer’ the horse back to the line using your hand and reins is very strong, however this will change the bend.  You must use your legs to ask the horse where to go with his body in this exercise.

    You can also change the ‘length’ of your loop, and begin asking for more loops from your horse in the same distance.  This will test both you and your horses balance and ability to wait.  It will also require a degree of suppleness if it is to be ridden correctly.

    Schooling Your Horse on the Trail

    Another exercise which is often easier when outdoors on the trail is leg yielding.  You can ask your horse to yield from one side of the road to the other, over and back and over again.  This too can first be asked for in walk and then later in trot.  Break the yielding by mixing it with straight-lines and transitions as well, so your horse can also rest.

    Shoulder in can also be incorporated into your ride.  Again, you need to have a well-defined ‘line’ and your horse will also have to have a certain level of prior training.

    It is worth mentioning that introducing these exercises slowly and for small periods of time is important to keeping your trail riding productive.  If in the past, your horses experience of riding on the trail or anywhere outside of the arena has been to relax, it will do both him and you good to, as always, warm up correctly and then ask for 2 to 5 minutes of work.  Follow this with a break or relax period and then ask for another short period of work.

    Introduce the exercises slowly, allowing your horse to build his physical strength and abilities, while also conditioning him mentally, for schooling while on the trail; both of which are vital for success.

    Happy Riding
    Lorna