Tag: rider aids

  • Improving Your Riding Coordination And Aids While Lunging

    Improving Your Riding Coordination And Aids While Lunging

    Improving Your Riding Coordination And Aids While Lunging
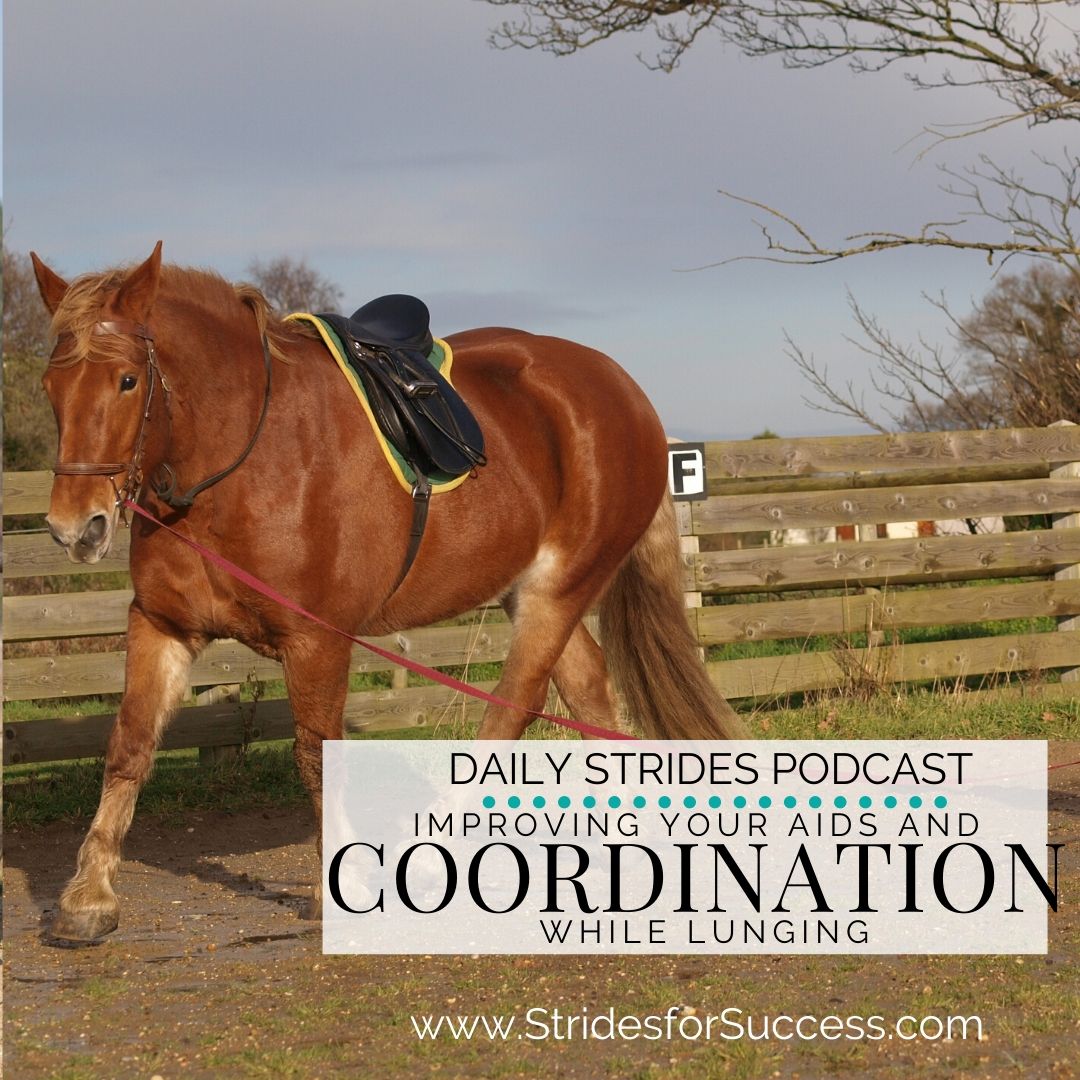
    As a rider, it can be easy to think that the only way you can improve your skills is to ride.  And yes, riding is important; obviously! However, you can also use lunging as a way to develop your coordination and aids. And not just on the ground, but also to benefit you and your horse when you’re in the saddle as well.
    [fusebox_track_player url=”https://op3.dev/e/traffic.libsyn.com/dailystridespodcast/1153-Improving-Your-Riding-Coordination-And-Aids-While-Lunging.mp3″ title=”Improve Your Riding Aids and Coordination while Lunging” social_linkedin=”true” social_pinterest=”true” social_email=”true” tweet_text=”Try this week with your horse…” hashtag=”equestrian” twitter_username=”strides_success” ]
    Lunging gives you a different perspective when you ride.  And often, this one simple change can be enough to burst through limitations in your riding.  You see, when you are riding, it is easy to believe that things are happening a certain way.  That things ‘look’ a certain way.  However, if you have ever watched a video of yourself riding, you will know that this is often not true.
    Lunging gives you second by second feedback on how your horse is actually responding to your aids; not how you ‘think’ your horse is responding to your aids. 
    And it is so easy to get started with, even if you have never lunged before. I have a step by step system HERE you can use.

    Natural Aids & Artificial Aids

    Just like in riding, you have different aids at your disposal when lunging your horse.  All aids are merely simply ways of communicating what you want, your ask, to your horse.  No one aid will stand alone or be used singularly.  There is always a balance happening in your riding.
    Natural aids are the ones that are part of your body. You’re attached to them! 
    Your thoughts, voice, position, and body language are the most used and effective natural aids when lunging.  All are used in different combinations and timing in order to communicate different messages to your horse.
    Artificial aids are used to ‘back up’ or clarify your natural aids. They are external to you and usually in the form of equipment. 
    When lunging, the most commonly used artificial aids are the lunging line, the lunging whip, the arena fence or railing, and also ground poles.  No artificial aid should cause pain or physical discomfort to your horse.  They are merely ways to clarity or support your natural aids, especially when your horse does not understand.  Again, they are used in all manner of combinations and sequences.

    The ‘Ask’ and the ‘Reward’

    All aids are used the same, whether they are natural or artificial.  There is initial pressure applied.  This is the ask.  Then, when the horse responds, the pressure is released.  This is the reward.  It is the continuous cycle of ask and reward that makes up the conversation between riders and their horses.
    This is also the place where you get to begin refining your coordination and aids in order to produce different results. 
    Pressure can be as simple as a change in the tone of your voice.  Or it can be as obvious as moving your position in relation to the horse.  It can be a subtle shift in your shoulders or a disengaging of eye contact.  As you begin to work on developing your coordination and aids on the lunge, you will find that your aids will become more refined.
    Refined simply means that you get a more accurate response with less movement or effort on your part. 

    Mindful Application of Your Aids

    However, in order for your horse to become more responsive, it first begins with you and your initial dedication to your aids.  Again this is much easier to work on from the ground.  You can actually see the results of your actions.  You can notice the smaller shifts in your horse’s way of going.
    And you can then repeat this with slight tweaks and notice the differences. 
    Over time, your aids will become more refined.  Just as in riding when you move from your more obvious aids being the biggest part of the conversation to your more subtle ones, your aids on the lunge will also improve.  From a greater reliance on artificial aids to clearer communication using your natural aids.
    It begins with your commitment to learning.  And your ability to respond rather than react.
    Happy Riding
    Lorna

    Additional Resources on This Topic:-

  • 4 Ways Your Hands May Be Wrong While Riding

    4 Ways Your Hands May Be Wrong While Riding

    4 Ways Your Hands May Be Wrong While Riding
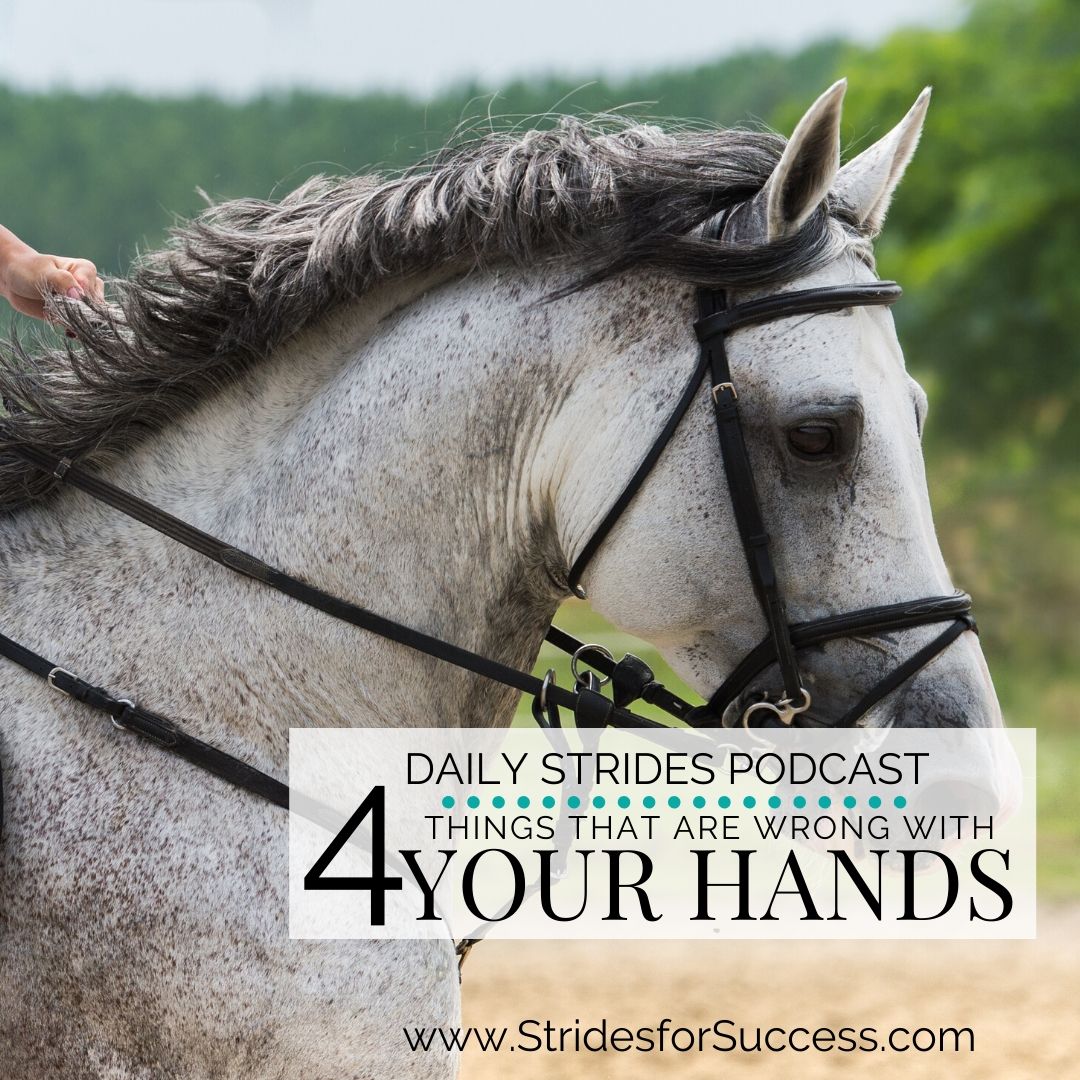
    As I was creating my notes for this episode, it struck me that there is a strong probability that this sounds a lot like Goldilocks!  Too much, too little and ‘just right’ will come up repeatedly as I begin talking about your hands when you are riding.  Obviously, we are aiming to achieve ‘Goldilocks’ hands; just right!
    But seriously, the reason I recorded this episode is due to so many riders struggling with their hands.  They are trying to improve contact and connection.  However, they are actually missing some of the basics of the hand aids.   And I think that making sure your hands are being useful, rather than confusing, is a really important basic that many riders are missing.
    [smart_track_player url=”http://traffic.libsyn.com/dailystridespodcast/1137-4-Things-You-Might-Be-Doing-Wrong-with-Your-Hands-While-Riding.mp3″ title=”4 Ways Your Hands May Be Wrong While Riding” social_linkedin=”true” social_pinterest=”true” social_email=”true” tweet_text=”Why having ‘Goldilocks hands’ will help you in your riding… ” hashtag=”equestrian #truestory #podcast” twitter_username=”strides_success” ]
    So, that all being said, let’s dive into the 4 things that you may be doing with your hands while riding that is negatively influencing your conversation with your horse.

    1 . Too Much Fidigiting on the Reins

    Piano Fingers.  In my experience, once a rider has caught on to this habit it can be a really tough one to break.  Piano Fingers is my name for hands that are continuously moving up and down the reins during each ride.  They move closer to the bit, causing a lot of tension on the rein and contact.  And then, without any word of warning, everything changes as they move closer to the buckle of the rein.
    Up and down the hands go throughout the ride.  This is usually accompanied by statements about ‘lack of contact’ being uttered by the rider from time to time…
    Piano fingers make it really difficult for both the horse and the rider to settle into any sort of rhythm regarding the overall communication.  There literally cannot be a contact, because the riders only consistency surrounding it is to continue to drop it!
    The good news is that, with a little mindfulness and attention, you can remedy this quite easily.  The first thing to make sure of is that you are holding the reins correctly.  As the rein comes into your hand, it passes between your little finger and ring finger.  Then it comes up the inside of your fingers, to pass over the top of your index finger.
    Your fingers don’t ‘hold’ the rein.  That is a job for your thumb.  As the rein passes over your index finger, you thumb presses down there, allowing you to hold and maintain the contact.  
    Holding the rein with your thumb also frees up your fingers to ask different questions using the reins and contact with your horse.

    2 . Carrying Your Hands Too High or Too Low

    One of your responsibilities as a rider is to carry your own hands.  So many riders fail to do this.  They allow their hands to rest on the horse or on the saddle as they ride.  Doing this makes the hand aids completely ineffective in the conversation between horse and rider.
    Carrying your hands’ too low or too high changes how the bit applies pressure to your horse’s mouth.  It also changes how supple your arms are when following the horse and connecting with the contact.
    Correcting this simply requires you to pay attention to your lines.  From a side view of you and your horse, there should be a straight line from your elbow to your horse’s bit.  
    If you see a V shape, your hands are probably too low.  If you see a ^ shape, your hands are probably too high.  Your hand will cause the ‘point’ in the V or the ^ with your arm making one side and the rein creating the other.
    Hands being held too high is often due to nerves or anxiety on the part of the rider.  Many riders look like they are directing air traffic, rather than simply allowing their hands to be the quiet aid that they should be in their riding.
    Hands that are too low can be due to either a failure to carry them, laziness!  Or it can be due to some misguided attempt to the horse ‘on the bit’ by holding the hands closer to the knees and sawing the bit in the horse’s mouth. Please DON’T do this!  Your horse tucking his head in to get away from your painful sawing is not traveling ‘on the bit’!

    3 . Carrying Your Hands Too Close or Too Wide 

    Are you beginning to see why I mentioned Goldilocks at the beginning?!  How close your hands are in relation to each other when you ride will depend on a lot of things.  Your skills as a rider play the biggest role in deciding this.  However, your horse’s experience and ability to understand aids also plays a part.  Finally, the question you are asking at any given time will also dictate where your hands are in relation to each other as you ride.
    For most riders, carrying your hands 6 to 8 inches (so 15cm to 18cm) apart is a good rule of thumb.  This seems to allow both horse and rider to understand the questions and respond accordingly. 
    As you and your horse develop the conversation you have together more, you can refine this.  Refining simply means that your hand aids become more subtle.  So, in this case, moving your hands closer together.
    However, if you start off with your hands’ side by side, you will probably end up confusing both yourself and your horse in the long run!  Your confusion will come down to correctly using ‘outside and inside’.  Your horses will come from the pressure seeming to come from the same place.
    Remember, all aids can be refined, and how close together with your hands are is one way you can refine your hand aids. 

    4 . Too Hard or Too Soft

    The final mistake I want to cover today that many riders make in the saddle is, intentionally or not, having hands that are too soft or too hard on their horse’s mouth.  Let’s deal with the more obvious one first; too hard.  Too hard is when the pressure is too much all the time on the contact between horse and rider.  It is the difference between ‘asking’ and ‘forcing’ the horse to do something.
    However, too soft is also an issue when it comes to your hands and hand aids while riding.  Too soft is often a reflection of your leadership skills, an essential part to becoming a better rider. 
    Soft hands are usually due to a rider who lacks confidence in their own abilities in the saddle.  They worry that they will hurt the horse by becoming unbalanced and leaning on the reins for support.  Now, obviously, this is a valid concern at the early stages of your riding.
    However, there comes a point when you have to begin working on your core stability and independent balance as a rider. The more confident you are in your own abilities, the more you will reflect this in how you communicate with your horse using your hands.

    Finding Your ‘Goldilocks’ Hands

    Your aids will always be a work in progress.  You will refine them more and more as you develop your conversation with your horse.  However, I feel that it is good, to be honest with yourself from the beginning of your riding.  Remember, all of your aids work together.  There is a ‘Balance of Aids’ in play, always.
    You hands must support your other aids while you are in the saddle.  
    Finding your initial ‘happy place’ or Goldilock’s hands will help you to show up more consistently for your horse every time you mount up.
    Happy Riding
    Lorna

    Other Resources for You in Your Riding:-

  • What are ‘The Basics’ When It Comes to Riding?

    What are ‘The Basics’ When It Comes to Riding?

    What are the Basics when it Comes to Riding

    What this episode is all about & how it can help you:-

    • Understanding the conversation is always happening
    • Your position
    • Your Aids
    • Understanding how your horse ‘goes’

    [smart_track_player url=”https://op3.dev/e/traffic.libsyn.com/dailystridespodcast/1067-What-Are-‘the-Basics’-When-it-Comes-to-Riding.mp3″ title=”What Are The Basics When it Comes to Riding” social_linkedin=”true” social_pinterest=”true” social_email=”true” tweet_text=”Feeling overwhelmed trying to figure out the basics in riding? This episode of the Daily Strides Podcast will help…” hashtag=”podcast #equestrian” twitter_username=”strides_success” ]

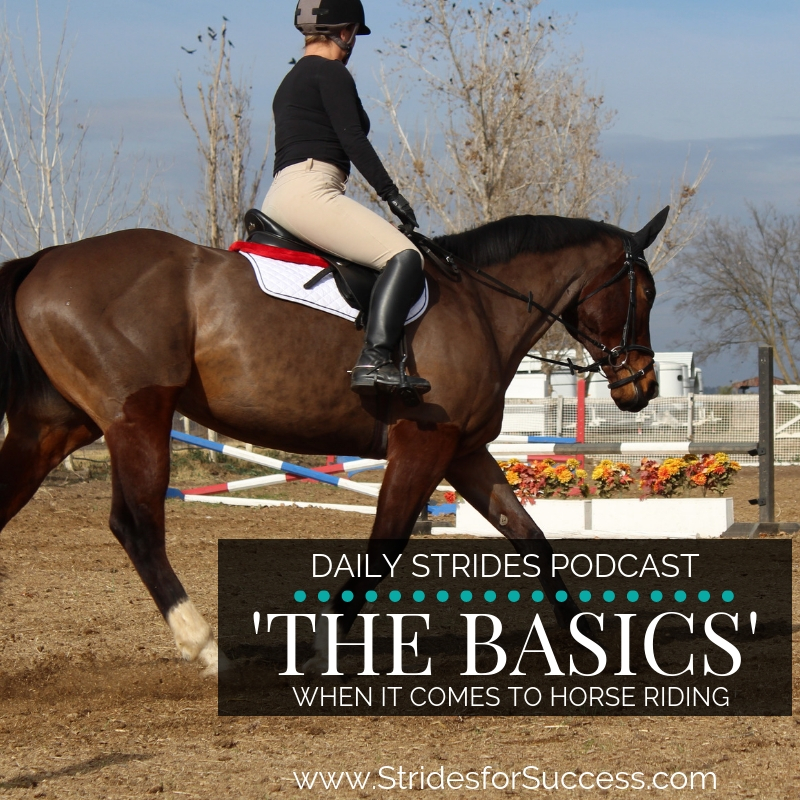
    The ‘basics in riding’… It sounds like a bit of a list for riders to master before they move on.  And I suppose in a way, they are.  Like most things, there are a few foundational pieces that, once you understand how they work, can be used to create a foundation for you & your horse going forward.

    CLICK HERE to register for the free online live training on

    In this episode of the Daily Strides Podcast we will chat about 4 of those ‘basics’ and also, where you will transition to after the basics have truly been mastered.

    Understand that the Conversation is Always Happening

    The first thing to remember is that the conversation is always happening. Always.  It is on-going and not only when you are in the saddle. As the ‘Team Leader’, you need to set the tone of the conversation.

    The conversation starts when you and your horse first begin interacting.  When you are aware of the others presence. 

    You build on the conversation all the time. Each day you build on the conversation you had the previous day.

    Many riders make the mistake of thinking that the only time they are communicating with their horse is when they mindfully ride an active aid.   However, for most novice riders, they are talking all the time to their horse.

    The constant shifts and movements in the saddle unintentionally adding to (and confusing) the overall conversation between horse & rider.

    Ask yourself, ‘How am I leading this conversation?’, and ‘How am I contributing to this conversation?’.  The answers to these questions are something you can continually try to improve.

    Your Position

    If you have ever had a formal horse riding lesson, this is something your trainer or instructor probably devoted quite a bit of time to.  And for good reason.  Your position is a vitally important part of the basics.

    A correct, supple and strong position puts you in the best possible place to have the most impact when you do activate your aids.  You are in the right place at the right time. 

    You are not having to readjust all the time and you are not giving muffled instructions to your horse. It means that things are clearer from you, and your horse has a better chance of understanding.

    Of course, another big advantage of having the correct position is that there is a better chance of you staying in the saddle!

    A correct position results in a balanced rider.  A balanced rider relies on their own body to balance themselves, rather than relying on the horse, the stirrups or the reins.

    One of the easiest ways to check your position is to make sure ‘the lines’ are present.  Head, shoulder, hip and heel is the first line. Elbow, hand, through the rein to your horses mouth is the second line.

    Get those two lines right all the time, and you will have a much better chance of sitting pretty in the saddle.  You will also be far more successful in your overall communication with your horse. 

    Your Aids

    An obvious but oh so important part of the overall conversation you are having with your horse.  The problem occurs when you are ‘going through the motions’ with your aids, but failing to truly understand your aids.

    One of the issues I see come up a lot is active versus passive.  There is a lot of confusion surrounding an engaged and active aid versus a disengaged aid.  A good example of this is the leg aids and ‘taking the leg off’.

    It is really important that you understand your aids and how those aids work when asking your horse a question.   A good example is the transition to canter.  You probably have been told to put your outside leg back – but do you really know why you are doing that?

    Begin trying to understand why you are doing what you are doing.  This way, you can begin to ‘weave’ aids together depending on the different situations you find yourself in.

    The Basics also Include the Balance of Aids

    Aids are not static.  They are consistently evolving and changing.  This is the balance of aids. How they change is in the proportion that you are using them with each other in different circumstances.  The pressure will also vary as well as the sequence.

    In order to truly begin improving the overall conversation between you & your horse, you need to understand why a particular aid is being used in a particular way. It is knowing how that aid influences the horse that allows you to become more effective & of greater influence in the saddle.

    As I mentioned, the aids are constantly evolving and part of that is then taking the next step.  Focusing on the timing of a particular aid.  Asking a question at the right time, allows your horse to respond in a timely manner.  It allows the smooth grace of the ride to continue.

    You can use your aids in different sequences.  They can be grouped together differently to mean different things. Once you have mastered the basics aids, you can then begin refining things further.  Making adjustments within the gait itself or even within the stride itself.

    Understanding How Your Horse ‘Goes’

    “Goes”…  It is a fairly basic word in and of itself, isn’t it?!  However so many riders I meet just fail to really and truly understand how their horse is moving underneath them.  I feel that it is important to understand how your horse goes, and not just in the basic walk, trot, canter and, if you’re brave, gallop.

    It means understanding how he moves his body. What it looks and feels like when he is moving correctly and how he is moving it when things are less than what we want them to be.

    It is begin able to see and feel the differences between the version we don’t want and the version that we do.

    For example would you notice if he began lifting his legs higher during each stride.  Would you feel the extra flexion, energy and suppleness through his joints and, consequently, throughout his whole body?

    Knowing how he is ‘going’ means that you understand how he is achieving a certain way of moving – so you can influence him in repeating it. 

    Building a Correct Foundation of Knowledge

    One of the bane of many trainers and horses lives is the ‘quick fix’!   So many riders try to find a quick fix to issues that they don’t really understand to begin with.  Going on the bit by sawing his mouth. Or putting him in a frame using a gadget to hold him there.

    It is so much better to begin figuring out what is causing the horse to do whatever he is doing that you are having an issue with.  The ‘undesirable’ action.

    It is also worth noting there that, a lot of the times if you don’t fully understand ‘why’ he is or is not doing something, you are probably a large contributing factor to that something!

    As a rider, you need to understand the mechanics of each situation.  If your horse needs to move a certain way, you will then begin to see how you can either assist him or hinder him with how you try to influence him.

    Identifying Your ‘Basics’ that Need Attention

    It can feel a little overwhelming initially trying to figure it all out.  Go easy on yourself and start at the beginning with your seat, your position & your aids.

    To summarise, remember that the conversation is always ongoing, both on the ground and in the saddle. It is constant and does not stop.

    A good position is very important because it leads to more effective aids. Understanding your aids and noticing how your horse is responding to them. If he is not responding you need to know how to tweak your aids.

    Finally you need to understand the mechanics of how your horse works.  Moving from being a passenger to being a team leader for your horse means that you begin influencing.  Knowing what is going on underneath you will allow you to begin positively influence the horse by what you are doing in the saddle.

    Happy Riding

    Lorna

    If you are feeling a little overwhelmed and find that you are stuck in your progress, I would love you to join me on a free online live training called ‘The 6 Basics to Focus On when Riding”.

    CLICK HERE to register for the free online live training on

    Links mentioned in the episode:-

  • Serpentines; Making Them Work for You in Your Schooling

    Serpentines; Making Them Work for You in Your Schooling

    Serpentines, Making them work for you in your schooling

    What this episode is all about & how it can help you:-

    • Understand the difference between controlling versus influencing
    • How markers can help you become more mindful throughout the movement
    • Why I suggest slowing things down initially
    • How to begin working on improving your serpentines today

    [smart_track_player url=”https://op3.dev/e/traffic.libsyn.com/dailystridespodcast/1057-Serpentines-Making-them-Work-for-You-in-Your-Schooling.mp3″ title=”Serpentines; Making them Work for You In Your Schooling” social_linkedin=”true” social_pinterest=”true” social_email=”true” tweet_text=”Are you ‘flying’ through your serpentines – or are they a well thought out school movement for you and your horse?” hashtag=”Podcast #Equestrian” twitter_username=”strides_success” ]

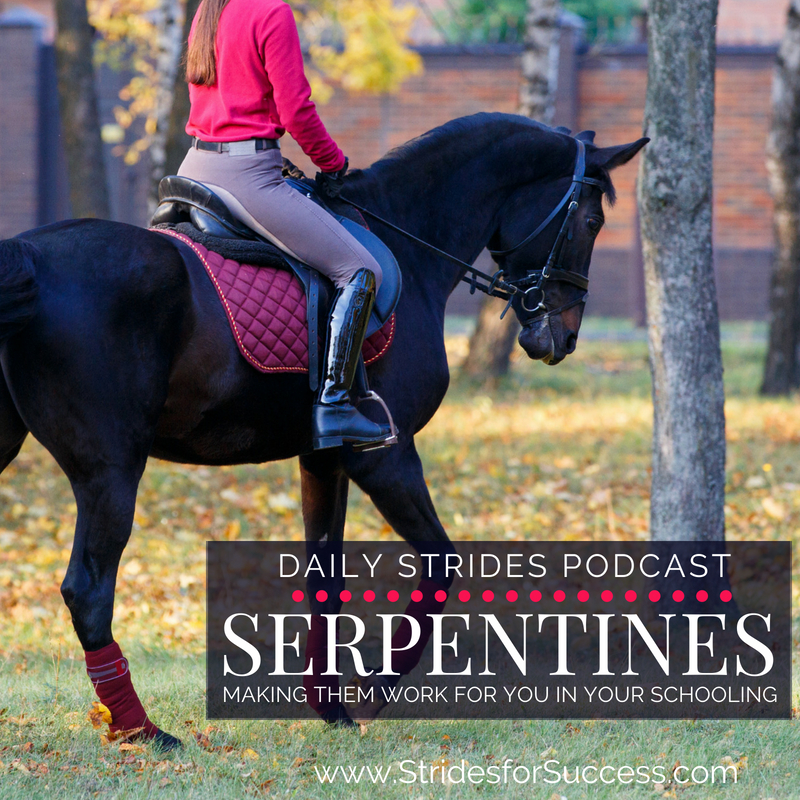
    Serpentines really are the exercise or movement that ‘have it all’ when it comes to working or schooling your horse in the arena.  Suppleness, straightness, rhythm, relaxation and a whole host of other principles in between.

    Yet, so many riders fail to make the most out of their serpentines and never really get further than ‘flying’ around the loops full speed ahead!  In this episode of the Daily Strides Podcast I am going to give you a few ideas on how you can get the most out of this basic schooling movement in your riding.

    Deciding on Which Serpentine Suits You

    First of all, let’s quickly chat about what a serpentine is and deciding how many loops is right for you and your horse.  The serpentine is, simply put, like riding the letter s in the arena, but with extra loops added in where necessary.

    The amount of loops in your serpentine will be determined by the size of your arena and how developed both you and your horse are in your training.

    The more loops in your serpentines, the more suppleness will be required to maintain the forwardness and the ‘shape’ of the movement over all.

    Most riders start out with a traditional 3 looped serpentine.  Any odd number of loops will see you finish the movement on the same rein you begun.  An even number or loops will have you change rein when you complete the movement.

    Controlling Versus Influencing in the Saddle

    Many riders have the mindset that they must ‘control’ their horse.  Control every movement, every step.  The rhythm, the forwardness… Even down to how their horse moves and uses his body.  If you are one of these ‘controlling’ riders, I’m afraid I’m going to have to burst your bubble…

    The only thing you can control while riding is yourself.  You cannot control your horse.  However, by controlling yourself, you can learn to have more influence over your horse…  

    One of the aims of correct training with your horse should be getting to the point where your horse takes responsibility for his own movements and actions.  You will ‘control’ yourself and he will control his self.

    Controlling everything is exhausting and results in your focus being place on the wrong things when riding.  Holding your horse up with your inside leg.  Or creating a fixed or rigid ‘frame’ for your horse to work in and therefore removing all suppleness.

    Correct Rather than Control

    As you ride your serpentines over the coming weeks, think of asking your horse to do something and then allowing him to do it.  Don’t be the rider who is always looking over your horses shoulder waiting for him to make a mistake!

    If he goes off track, or makes a ‘mistake’, yes, correct him – but then try to get out-of-the-way again and allow him to continue on.

    This way, you are allowing your horse to begin thinking for himself and taking responsibility for his own actions.  Shifting your mindset around this topic is the is the beginning of working towards self carriage with your horse.

    Using Markers to Help Your Accuracy

    Very often when riders set out to ride a serpentine, they get a little off track with the true shape of the movement they want to ride.  It can end up looking more like a zig-zag rather than a series of equal bends connected by straight lines.

    Before you ride your next serpentine, rather go out and mark the exact track that you want to ride.  The loops, the track as you cross the arena.  The shape, the sizes, the centre line. 

    You can use anything at all, once it is safe, to mark out the path you want to ride on.  Tyres, cones, stones, poles, uprights.  My only concern with using poles or uprights is that sometimes the horse can ‘cling’ to them a little.

    Slowing Down and Starting from Walk

    Once you have your path marked out, I then suggest getting into the arena on your horse and begin working on riding the movement.  Start in walk.  Ride the movement a few times in the walk and begin being mindful to what is going on underneath you.

    Serpentines have a lot of different moving parts as you ride through them and taking the time to notice each stride in walk will help you begin getting the most out of the exercise.

    Notice where you begin, the middle of the short side of your arena.  Pay attention to how you transition between straight and flexed.  How well is your horse ‘staying on track’ through the exercise itself.

    If there was a drone above you, taking a video, would your horses back, from tail to poll, be on the same track all the way through as the one you laid out?

    Most riders think about transitions as going up and down between gaits or gears.  However, a transition is simply a change.  I am going to recommend that, as you ride through the serpentine, becoming really mindful on how you are transitioning between the loops.

    Incorporating Serpentines into Your Schooling

    From here, begin thinking about the best way you can ask  your horse to actually ride the serpentines and then getting out of his way and allowing him to do just that.  No leaning or shoving or holding things up.

    It is common for riders to become a little too enthusiastic with your inside rein as you ride the basic serpentine…

    Notice the suppleness and the bend.  Notice how your horse is coping with the transitions between loops and if you are truly helping him or hindering the process.

    Once you have mastered the exercise in walk, I would then suggest taking things a step further by riding the exercise in trot.  Keep your focus on the ‘eye in the sky’ and how it would look if viewed from above.

    Also make sure you are not ‘controlling’ everything, but rather setting things up and then allowing them to happen. 

    There are so many other ways to add variations to your serpentines.  We have a whole collection of trainings inside of Daily Strides Premium themed around doing just this, which you can begin working on today when you join.

    Happy Riding

    Lorna

    Links mentioned in the episode:-


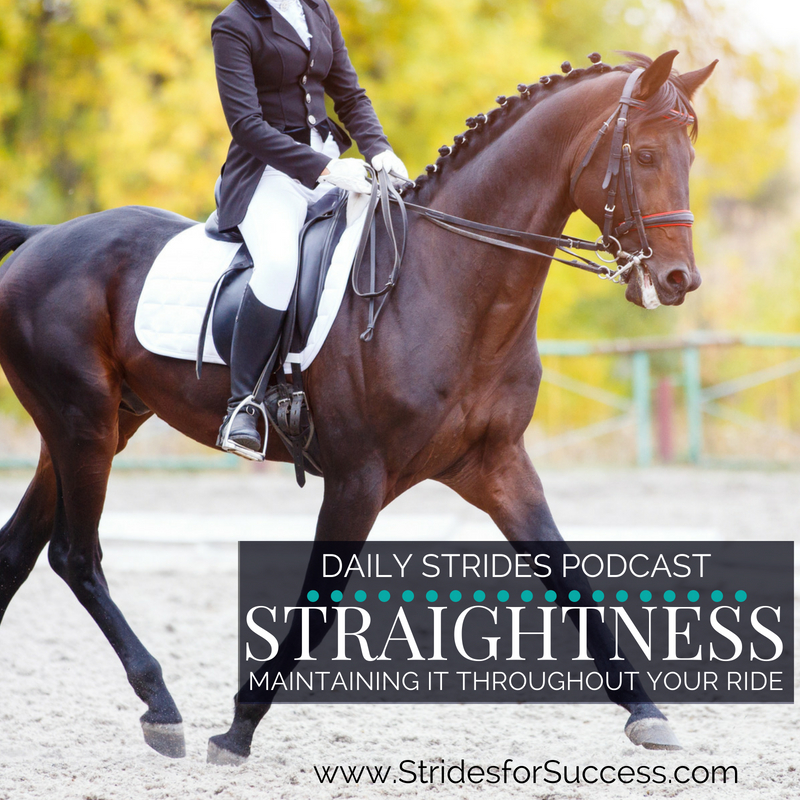
  • Maintaining Straightness Throughout the Ride

    Maintaining Straightness Throughout the Ride

    Straightness, Maintaining it Throughout Your Ride

    What this episode is all about & how it can help you:-

    • Be clear on what is straightness
    • Understanding how your aids are a mould
    • Knowing why you have to regulate where the energy is flowing
    • Notice when things are crooked

    If I were to stand in the arena, and you were to ride directly towards me – how straight would you and your horse be?  And how well could you maintain that straightness?  Be honest!

    [smart_track_player url=”https://op3.dev/e/traffic.libsyn.com/dailystridespodcast/1047-Maintaining-Straightness-Throughout-Your-Ride.mp3″ title=”Maintaining Straightness Throughout Your Ride” social_linkedin=”true” social_pinterest=”true” social_email=”true” tweet_text=”Struggling with keeping things on the ‘straight and narrow’ with your horse? ” hashtag=”equestrian #horselovers #makeeveryridegreat” twitter_username=”strides_success” ]

    Before we even get into the straightness it is important to stress the fact that, in order for your horse to be straight, there must be energy happening inside of his body.  Often riders try to work on straightness, but there is just no energy happening!

    If you look at the traditional Training Scale, impulsion comes before straightness.  Phew – that being said, let’s crack on with today’s topic…

    What is Straightness?

    If we were in an arena together and you were to ride towards me, I would assess straightness just like this.  I would look for your horse’s two legs on the left side of his body and the two legs on the right side of his body to be travelling on two separate tracks, that are running parallel with each other. Train tracks.  It’s that simple.

    Your horse must not deviate from those two parallel tracks.  Simply put; he must not ‘derail’. 

    How could he derail?  He could go crooked by winding and bending.  He could ‘wander’ a little.  However one of the biggest issues riders face is that the shoulders or hind quarters tend to shift off the track.  The horse really and truly derails ‘just a little bit’!

    Bringing it back to us in the arena together, let’s pretend I am standing in front of you (being all brave!).  You are riding towards me.  I should not be able to see your horses hind legs, because technically they should be behind the front legs (this is an example and of course confirmation etc will not make it literal!).

    So, if your horse were to deviate off the tracks, I would then be able to see the hind legs (from the front), or the front legs (from the back).  If I can see this, your horse is no longer working on parallel tracks, but rather three or four different tracks – which dissipates energy.

    Todays episode is all about working on the two parallel train tracks with your horse in basic riding and schooling.

    Your Aids are a Mould

    I said earlier that for straightness to be true, there needs to be energy coming into the channel that you and your horse are creating.

    Rather than ‘channelling’ energy, think about your aids being a mould – and any and all energy that is created in the hind quarters has to fill this mould. 

    When that mould is filled, the physical representation of it is that your horse is riding straight.  If your horse is crooked, it is usually because your mould is, somehow, crooked.

    Sometimes horses can develop where they are a little bit stronger on one side than on the other.  This can be due to a lot of different factors – perhaps an injury.  But it could also be the rider being an influence.

    But usually, if given the opportunity, the correctly schooled horse will go straight – until the rider steps in the way and gets the mould a little wrong. 

    Think about how maybe you are sitting more one side more than the other.  In doing so, your mould is not symmetrical.  Maybe your one hand has dipped down; maybe your one hand has opened more; maybe you have more tension in one seat bone more than the other; maybe your shoulders are tipped slightly; or maybe your one shoulder is travelling ahead of the other.

    By thinking about this mould in the context of any crookedness showing up in your horse, it sometimes becomes easier to identify how you are possibly negatively influencing your horses straightness.

    Sometimes It is Not the Rider

    That all being said, sometimes it can be that the horse has developed physically in a way that he is stronger one side that the other.  This causes him to become uneven as he pushes forward.  He is basically covering more ground one side than the other, which is causing him to be crooked.

    In this case you, the rider, may be straight and your mould is indeed true and perfect.  The the simple fact that there is more energy coming into your mould on one side than the other, is causing the mould to bulge.

    So, there are two ways we must consider this.  First, that we are setting up the mould correctly.   Secondly, that if we are sure that our mould is symmetrical and even, we need to consider that there is more energy coming in one side than on the other, that could be causing the crookedness.

    You Have to Regulate Where the Energy is Flowing

    As a rider, you need to begin thinking about regulating energy, and where this energy flows.  Very often when we talk about regulating the energy and energy flow, we can take it back to contact and connection.  This is how you are communicating with your horse at any given point.

    When you couple your connection or communication with straightness; this is where you get the horse to go where you want him to go

    Let’s assume that you have straightened yourself out.  Sometimes, a horse is perhaps a little bit stronger on one side than the other.  You may see this with a horse that tends to travel one way, the wrong way, over the other, the right way!   For them, it feels uncomfortable to do anything else.

    This is a good indicator of where you need to start regulating things.  Start simple.  Sprinkle little adjustments and exercises in to the regular work.

    Make it easy by doing things that your horse can easily do and perhaps enjoys doing – and then sprinkling the more difficult exercises or movements in between

    One way you could do this is working on a slight incline.  It is very difficult for a horse to have unequal thrust going up a hill.  By your regulating where that energy is flowing, and all the time making sure that your mould is perfect, your horse is going to begin working straight.

    Also, bear in mind that because he has travelled a certain way for a while, it is going to be uncomfortable for him to travel a different way.  Even if this ‘new’ way is the correct way.

    Don’t push it.  Slow and steady is going to win the race when it comes to true straightness

    Noticing When Things are Crooked

    For many riders, issues with straightness will show up in the canter.  If this is the case, I would suggest rather going back to basics; transitions between walk and trot and halt.  You will notice a lot there.

    Notice where there deviations away from the straightness with your horse.  Think about why this could be happening, and then begin to formulate a plan

    But remember, you must be the mould.  The energy must come through to fill your mould, and if your mould is not symmetrical and equal, well your horse is not going to be either.

    Happy Riding

    Lorna

    Links mentioned in the episode:-

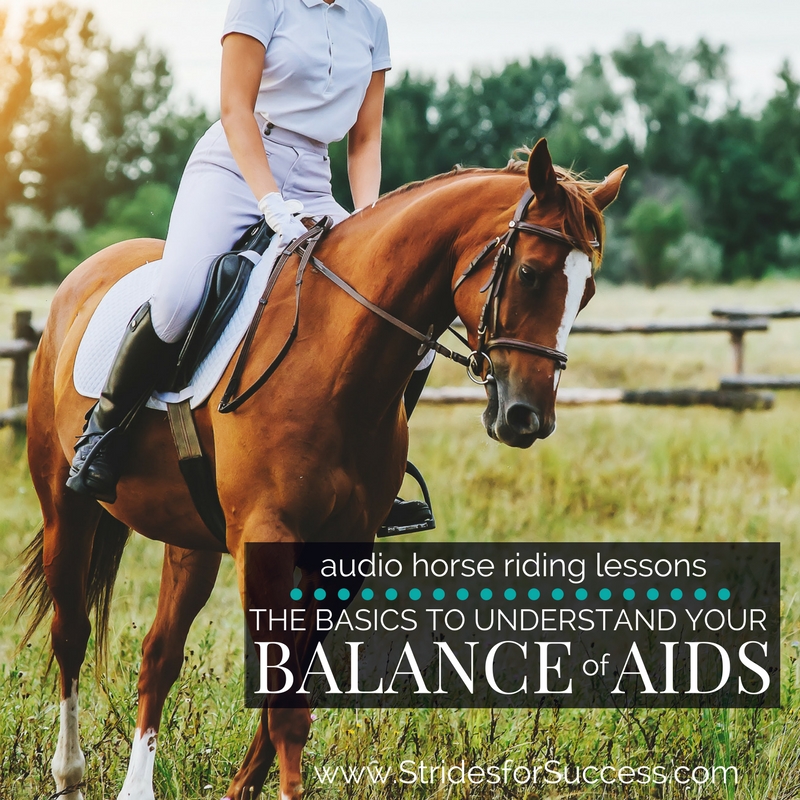
  • Understanding the Balance of Your Aids

    Understanding the Balance of Your Aids

    Understanding the Balance of Aids

    What this episode is all about & how it can help you:-

    • Why focusing initially on your seat usually won’t work
    • Understanding pressure and how it varies
    • Solving the inside leg to outside rein puzzle
    • How improving your balance can improve your responsiveness

    [smart_track_player url=”https://op3.dev/e/traffic.libsyn.com/dailystridespodcast/1027-Understanding-the-Balance-of-Your-Aids.mp3″ title=”The Basics to Understanding the Balance of Aids” social_linkedin=”true” social_pinterest=”true” social_email=”true” tweet_text=”Balance – a huge part of horse riding, especially the balance of aids in the saddle…” hashtag=”Equestrian #Podcast” twitter_username=”strides_success” ]

    Balance.  It is a concept that always shows up when discuss the important things in life. Balance blends the important parts together.  Balance, if adhered to, makes things work more seamlessly together.  Many riders think of balance as staying on…

    However, today I want us to focus on that important blending; the balance of aids.

    Every good relationship is built on communication, so it stands to reason that you should work on building your communication channels with your horse.  When in the saddle, this is achieved via your aids.

    Why Focusing Initially on Your Seat Usually Won’t Work

    When we initially learn to ride, things are often explained to us in a very simplistic manner, and of course it must be otherwise we would give up on the first day.  But then as we begin going deeper into the aspects of horse riding, we begin to understand that our seat is the most important aid we have when communicating with our horse.

    However, knowing that your seat is important and then riding in a way that conveys that to your horse, are two very different things!  Your seat is important “IF” you can control everything else!

    Which brings us to this balance of aids.  When you are learning to ride, through the different stages of your progress as a rider, that balance changes.

    Initially, your seat is not going to be so important as a clear aid.  Now, I realise that some people will argue with me here and insist that “Of course it is important”.  But no, really it is not because most riders cannot control their seat at that point.

    If you were to try to communicate with your horse using your seat when you first start riding, you are just going to be talking absolute gibberish to your horse.  Complete nonsense, which he can’t understand.  The result is the horse ignoring the rider, or becoming anxious by a ‘busy’ rider, which will inevitably result in both of you becoming extremely frustrated with the process.

    To counter this, when we learn to ride initially, the balance or aids gives a greater emphasis to our legs, hands and voice. 

    Then, as we refine our riding skills then the balance changes and the seat becomes more important.  Now, it is worth bearing in mind that your seat is not completely null and void at the beginning, but if you could imagine a pie chart of your aids, the seat ‘slice’ would be significantly smaller than the other pieces when we start our journey as riders.

    This is where I see the frustrations of a lot of riders.  They are not yet at the point where their seat can work effectively for them as a communication tool with the horse, and yet they are trying to do that, and it ends up negatively impacting so much in the saddle.

    So, keep in mind that if you are in the early stages of your riding journey, or coming back to riding after a break, your seat probably should not have such a big piece of the balance pie, when it comes to all your aids together.

    Understanding pressure and how it varies

    As you become more adept and more refined as a rider,  your aids are going to change.  The balance of aids is always changing, that is the nature of balance.

    However, it is also the balance inside of the aids themselves that is part of this change as well.  Simply put, this is the pressure at which you apply your aids.

    How much pressure you apply with a particular aid is going to depend on a few different factors.

    • What you are doing
    • Your abilities as a rider
    • The horse itself on that day
    • The responsiveness of the horse
    • The situation or circumstances you are riding in

    Every day this will change depending on the specific set of circumstances surrounding each ride.  An example of this is the difference between riding a horse in the arena and, the same horse, in an open field.   Even though it is the same horse (and maybe even the same day), the aids need to be applied differently in order to be effective.

    The pressure of each individual aid changes.  But so too does the sequence or how the aids are being applied together.  Everything can vary and it is this balance which must be considered every time we sit on a horse.

    Most riders have a goal of improving their ‘feel’ in the saddle.  ‘Feel’ is that point where you are no longer thinking or planning your adjustments.  You have the ability to keep your aids in balance regardless of the situation, the circumstances, the horse, whatever the case may be.

    Solving the Inside Leg to Outside Rein Puzzle

    One of the most misleading concepts regarding balance of aids is the inside leg to the outside rein.  Due to the focus being so much on the inside leg and the outside rein, many riders completely forget about the outside leg and the inside rein.

    All the aids play a big part in this concept working correctly, including the seat.  It’s just that the balance of aids has shifted slightly. 

    Let’s think of the pie chart again.  If we divide up our pie-chart based on how much relevance is going to be given to each individual aid, the inside leg to outside rein pie chart would not only contain two pieces, or halves.  All the other aids are still in there, playing a role; balancing.  However, the pressure exerted by them must vary depending on how the horse responds.

    If you were to just ride from the inside leg to the outside rein for example, and not use anything else, the concept will not work.  All the other aids must be there, the balance, in order to maintain the straightness and the connection with the horse.  Missing aids lead to lack of balance, which leads to being lopsided!

    How Improving Your Balance can Improve Your Responsiveness

    This brings me to the final piece of the balance puzzle.  When you begin to improve the balance of your aids, you are also going to find that overall responsiveness, both you and your horse, will improve.

    Realising that a balance is always there and always in play will ensure that you are working on refining it every day in the saddle.  This begins with self-awareness in the saddle.

    Begin noticing the ’cause and effect’ of your thoughts, movements and aids. “When I do this, in this way, I get this result”.

    By doing this, you will begin to see patters in how your horse associates specific aids with certain actions he must respond with.  The connections he has formed in his mind between two things.

    As you become more aware of those connections, you can then begin refining your aids more and more.  Playing with the balance and discovering what works best in particular situations.

    The final piece of this is devoting less time on thinking about your aids and more time on tweaking or refining the outcome to get the results you desire.  This is that ‘feel’ I spoke about earlier.

    It is a little like fine-tuning an old radio using the dial.  It can be a little frustrating at the beginning. Snippets of muffled communication, coupled with a lot of static.  It is only by making micro, minute changes to the dial that the communication and overall experience improves.  Then when it is correct, the result is instant.  Clear sound flows from the radio.

    Your balance of aids is similar.  it is fine tuning, tweaking, paying attention.  When you get it right your horse can hear you perfectly.  You can also ‘hear’ your horse

    It is also worth remembering that the perfect balance might be fleeting at the beginning.  That is the nature of balance; the stable spot when everything is moving. However, as you become better able to read and adjust your aids, you will find that staying in balance for longer becomes easier.

    Happy Riding

    Lorna

    Links mentioned in the episode:-