Tag: training scale

  • The Training Scale for You & Your Horse

    The Training Scale for You & Your Horse

    The Training Scale for You and Your Horse

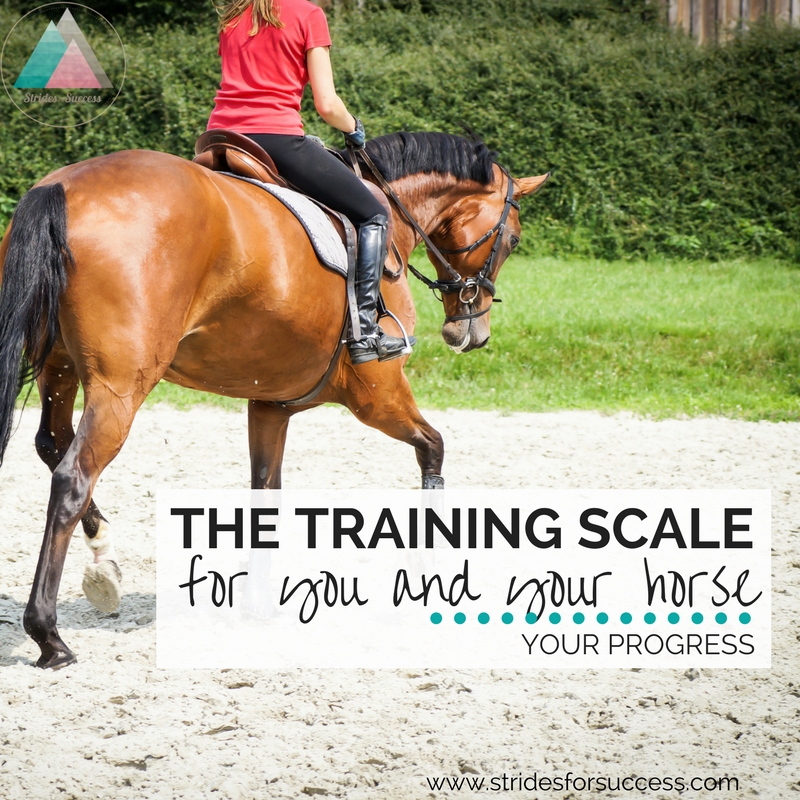
    It is always nice to have a plan or a map to follow when learning something new.  The training scale is that map for many riders when they begin schooling their horse.  However, the training scale can be equally as valuable for you, the rider.  It is a road map to help keep you on track with your riding.

    So before we begin, let’s be clear about what the training scale actually is.  The training scale is sequence of different aspects of training which, when worked through, has been found to develop horses correctly for being ridden.

    While each step is an individual aspect of training, none of them will be worked on individually.  There is a relationship between all of the steps – and that association must be maintained throughout the horses training.

    For the sake this blog post, we are going to call each of these aspects ‘steps’.  Another way to look at them is as blocks.  One must be laid down in order for the next to be placed on top. 

    They take a horse from the very foundational ‘basics’ of rhythm and relaxation and, when used correctly and thoughtfully, build up to the ‘pinnacle’, which is collection.

    The Training Scale - Strides for Success

    Many riders think of the training scale as being a ‘check list’ of sorts.  They feel that once they have reached step 1, they should only focus on mastering step 2 and so on.  When you consider the training scale, it is worth noting that no one step can be correctly achieved when another step has been ignored or cast aside in order to do so.

    The training scale should rather be approached with a more holistic mindset.  Yes, the bottom steps need to be in place in order to successfully build on the next step – but while mastering the bottom steps, a keen eye should be kept on all the steps.  This same principle applies when working on the top steps, the bottom steps need to be the basis of that work.

    No one step of the training scale can be taken and worked on independently and in a vacuum

    So taking this all into account, let’s have a quick overview of those steps and how they look for both horse and rider moving forward.

    The Foundation – Relaxation

    Relaxation is often included with or instead of the first two steps of the training scale.  However, I believe that relaxation starts before a saddle is ever even place on the horse.   The term relaxation is a confusing one for many riders; mostly due to our pre-programmed ideas of relaxation including a swimming pool, a lounger and a beverage!

    True relaxation is when horses and their riders lack excess tension, physically and mentally

    Some tension is needed in order for the horse to carry himself.  This is also true of the rider, a certain amount of tension is necessary.  It is the excess tension, caused by anxiety, stiffness, fear, nervousness, excitement and a whole list of other basic feelings, that causes the lack of true relaxation in the horse.

    The amount of relaxation required will depend on both horse and riders level of training.  Relaxation is relative, however it is also essential to correct riding – in both horse and rider.

    Step 1 – Rhythm

    Rhythm can be defined as a “strong, regular, repeated pattern of movement or sound”.  The key words in that description are regular, repeated pattern.   Each horse has their own natural rhythm.  This is equally true of riders.

    Rhythm, like relaxation, starts on the ground.  The rhythm of the routine you have created for your horse.  What works, what doesn’t.  Learning to know your horses natural rhythm begins here

    In the saddle, the repeated pattern is the footfalls or hoofbeats. The rhythm should not change.  It can be repeated more or less in a given time – and this the tempo that is being changed – but the rhythm itself should remain the same.

    As a rider, you must learn to first follow the rhythm.  Many riders try to force a rhythm on their horse, however forcing the rhythm will actually break your horses natural rhythm.

    Rhythm must initially be worked with, not worked on 

    A loss of rhythm will immediately direct your attention to a loss of balance.  It is learning to pin point that very first beat out of your horses natural rhythm that will determine your success as a rider.  Once the break in rhythm is identified, you can work at re-establishing it again.

    Rhythm & relaxation must be present in all other steps of the trainings scale in order for them to be correct and true

    Step 2 – Suppleness

    Suppleness, rhythm and relaxation are often shuffled around on the first two steps, depending on what training scale you are working from.  However, rather than allowing this to confuse you, think of all three as being equally as essential in order to begin building things further.  Visually, it would look like a triangle, all parts being necessary to maintain each other.

    Suppleness is the elasticity or ‘loosey gooseyness’ that your horse needs in order to use himself to the best of his abilities. It is the ease at which he can perform the work required of him

    Many riders think suppleness is address solely in the warm up phase of riding and schooling, however your horse must have suppleness throughout all his movements when being ridden.

    Stiffness will stop the energy flowing through your horse; and in order to truly connect your horses back-end and front ends together, that energy must be allowed to flow as easily as possible

    From the riders perspective, a lack of suppleness will negatively impact the horses way of going.  Riders often make the mistake of focusing only on their horses suppleness.  They then become frustrated as their progress seems to stall.  The rider must try to consistently improve their own suppleness if they wish to be effective in the saddle.  Remember, the training scale is equally as important for the rider as it is for the horse.

    Due to its direct impact on the flow of the energy through your horse, suppleness, along with relaxation and rhythm, must be present before your horse can begin working on step 3 of the training scale.

    The Training Scale for You and Your Horse

    Step 3 – Contact & Connection

    Once both you and your horse can perform work to a certain level while effectively maintaining relaxation, rhythm and suppleness, you can begin working on improving your contact and connection.

    I like to think of the contact as being a conversation with your horse.  A good conversation has a certain give and take, and ebb and flow, to it – and it is important to consider this when it comes to your contact

    Many riders think of contact as being the thing that creates the ‘head carriage’ in their horses ‘frame’.  Unfortunately if you approach contact or connection in this way, you will actually set your training – and your riding – backwards.

    Contact must first of all be established and then maintained as the horse is being ridden.  It requires soft hands, soft elbows and also good posture and position in the saddle.  A fixed contact will lead to the disappearance of the relaxation and suppleness in both you and your horse.

    Contact and connection are like the ‘banks’ of the river that is your horses flow of energy.  They are how you can begin to direct, influence and channel that energy as your horse is working

    For this reason, it is important to consider your overall position, seat and leg aids as being a part of the contact.  If you seat is heavy or if you are pushing, or shoving with your seat, that energy cannot flow, which will then prevent you from having that elastic contact you need in order to correctly work your horse.

    Steps 4, 5 and 6 – Impulsion, Straightness & Collection

    As your horse works through the first three steps of the training scale, rhythm, suppleness and contact, it is important to keep the next steps in mind.

    For example, there is a certain amount of energy needed to come from behind, impulsion, in order to truly maintain a working contact.  There is also a certain amount of straightness needed when working on truly suppling your horse.

    I will go into more detail on the other three steps of the training scale next week.  However, I strong suggest working on your relaxation and rhythm with the end in mind.

    It is also worth noting that, as I mentioned at the beginning, the training scale is not a checklist.  You cannot forget about rhythm as soon as you begin working on suppleness, or even collection.  Each of the steps need the previous steps to be in place and operating correctly in order for that step to be mastered.  Collection cannot happen without rhythm being present.

    And all of the steps have the potential to test the abilities of both you and your horse, even at the most basic levels of your training.  Investing the time and effort in learning to master the basics will see both you and your horse progress correctly later.

    Click here to subscribe

    If you download the free poster of the training scale, I will send you some information on each of the ‘steps’ in more detail.  It is 100% free and you can sign up HERE to access it.

    Happy riding
    Lorna

    Click here to subscribe

  • Improving Your Dressage Scores – Part 2

    Improving Your Dressage Scores – Part 2

    You leave the arena on a long rein at A and to say you feel a little disheartened is putting things mildly… Dressage can be difficult, there’s no doubt about it, however what tends to stack the odds even more so against a good dressage score is the fact that many riders see it as ‘boring’; a means to an end of sorts.

    Are you the sort of rider that thinks the most challenging part of dressage is memorising your test? For many riders, this is the be all and end all of dressage. Is it any wonder that it is often those same riders that feel hard done by and disappointed when they receive their score sheet?

    [fusebox_track_player url=”https://op3.dev/e/traffic.libsyn.com/dailystridespodcast/681-Improving-Your-Dressage-Scores-Part-2.mp3″ title=”Improving Your Dressage Scores Part 2″ social_linkedin=”true” social_pinterest=”true” social_email=”true” ]The dressage test is merely a means to see how the horses, and riders, training is progressing and a way to ‘course correct’ where necessary. If the test is looked at in this way, the boredom vanishes and the scores begin to mean something…

    We already discussed a few points on improving your dressage scores previously here on the blog. You can read Part 1 HERE >>

    In this blog post I want to focus on using the training aspects that the test is trying to encourage, the reason behind the ‘symmetry’ on both reins and the disastrous effect riding the test just to ‘check’ all the movements off can have on your overall score.

    Training Aspects of the Test

    Each level of dressage is looking to progress and build on the level that came before. The ascension through the levels corresponds with the basic training scale, the foundation of which is rhythm, relaxation and, suppleness. Both the movements themselves and the sequence they are asked in that are laid out in the test are there to see just how well you and your horse have grasped the concepts.

    Depending on the level you are riding at, the dressage judge will be looking for slightly different things while you ride your horse. Keep this in mind and work towards what is required for your level. Don’t try to achieve something that is far more advanced than where you are right now. Similarly, if you are riding at a higher level, but have not truly mastered the basics, your scores and comments will reflect this.

    Allow the level you are currently at to set the tone for all your rides. Focus on achieving that particular aspect of riding within both yourself and your horse, regardless of the exercise or work you are busy with. This is how you will then become better; and move up the scale.

    Focusing on Symmetry while Riding

    You have probably noticed that when riding a dressage test, whatever you do on one rein is generally repeated on the opposite rein soon after. This is not due to the creator or designer of the test taking a shortcut when designing the test; rather it has to do with the symmetry that you should be aiming for in your riding.

    Dressage tests are there so the experts, judges, can guide you and give you pointers as to how both you and your horse can improve your overall ride. By seeing how well you both can ride a movement to the right and to the left, any stiffness, crookedness or lopsidedness is more easily identified and noted.

    Going back to that initial thought that the dressage test is to see how well your training is progressing, you have to agree that being loose and supple on ‘both’ sides is vitally important to your horses way of going… And to both of you successfully grasping and then applying the concepts behind each step of the training scale.

    Change Your Perception of the Scores

    A lot of riders seem to think that their dressage judge is just there to nit pick their overall riding performance. Reshaping this single belief can sometimes be the catalyst to becoming a more effective and efficient rider – regardless of where and when.

    I suggest rather thinking of your next dressage judge as being a trainer of sorts. It’s like having a lesson or training session and then being given a hardcopy of your homework afterwards

    Just like when in the arena with a trainer, the judges comments on your dressage score sheet will usually include some positive aspects of your ride. They will also spotlight a few places that can be improved, a couple of ideas on what to focus on improving and, very often, an overall synopsis that you can use as a benchmark for your riding at that particular time in your equestrian journey.

    If knowledge is power, your dressage score is a mighty benchmark of your riding progress indeed. Seeing it as this, rather than something negative can very often encourage you to really begin working on your weaknesses; and take more pride in your strengths

    Improving Your Dressage Scores - Part 2

    Don’t Ride a Checklist!

    Before you begin getting into the more technical aspects of your particular test, you have to first memorise the test. Every dressage test is like a map, you reach a particular place on your way to somewhere else. However just looking at the test as this is the downfall of so many riders.

    Most riders seem to have an attitude of getting in and out of the arena as quickly as possible. Savour your time in the arena – it’s your time, use all of it to the fullest to really show what you and your horse can do.

    When we are initially introduced to dressage, the mere fact that we have to ‘learn’ the test seems to be the overriding factor of the whole process. It is easy to begin believing that taking a wrong turn somewhere, going off course so to speak, is the worse thing that can happen to you. It’s not! If you do find yourself on a slight detour, how you react and deal with it will very often dictate the outcome of the test – not the fact that you took a wrong turn.

    Rather think about each individual movement you ride in the test as setting up the next movement. That way, you can work on riding the current movement to the best of your ability, while still keeping your ‘plan’ or ‘map’ in mind

    If you do find yourself ‘lost’ out on the course, take a moment to gather yourself and your horse, pick up where you went wrong and continue on; it’s done! Worrying and stressing about it won’t undo it. Rather make a conscious decision to ride every movement from that point on to the absolute best of you and your horses ability.

    If you can begin seeing your dressage scores as another tool in your belt that you can use to better your riding, you will soon begin to see a definite improvement in your overall scores. Ride each test to the best of your abilities and value each score sheet as much as you would a lesson with a top trainer; that is essentially what it is after all.

    Happy Riding
    Lorna

    This is part 2 in a series on how you can begin improving your dressage scores. There are 5 audio programs in each part, which along with other ‘schooling’ topics, are available for you to download and listen to inside of Daily Strides Premium. To find out more click HERE >>

    [wp-tiles post_type=”post” orderby=”date” order=”DESC” grids=”Plain”]

  • Retraining a Horse that Evades Your Contact

    Retraining a Horse that Evades Your Contact

    [fusebox_track_player url=”https://op3.dev/e/traffic.libsyn.com/dailystridespodcast/526-Retraining-a-Horse-that-Evades-Your-Contact.mp3″ title=”Retraining a Horse that Evades Your Contact” social_linkedin=”true” social_pinterest=”true” social_email=”true” ]

    Are there days where your horse’s camel impression is worryingly accurate?  He lounges along, his back all strung out resembling a cable that’s sole purpose is to work against you.  His neck stretched out in what must be an extremely uncomfortable way, his nose pointing skyward…  And it seems that all your efforts to establish a correct contact are falling on deaf ears?!

    Or perhaps your horse is the other end of the spectrum? As soon as you pick up a contact he curls his head so his lips are close to touching his chest… Leaving you with loopy reins that have no contact at all with said horse’s mouth?!

    The unfortunate fact is that horses evade contact in many different ways and for many different reasons which all have the potential to ruin a good performance or ride.  However before we go any further, let’s get clear on what is correct, ‘true contact when riding a horse…

    What is True Contact?

    Contact is your connection with your horse through your rein aid.  You must offer a stable, consistent contact through your hand and rein, which in turn, your horse will then accept with his mouth.  However, the contact that we can ‘see’ in the above description is merely the end result of a lot of other communications and aids.

    Things that are ongoing and happening between horse and rider. Their culmination is what produces a consistent, soft, and accepting contact.

    In order to create correct contact, the horse must be moving forward from behind.  So the rider must first work on activating the hindquarters, then allowing that energy to connect through to the front, before they can then harness and direct it using their contact.

    Responsibility and Responsiveness

    In order to achieve correct contact you need to be responsible and your horse must be responsive.

    This means that you are conscientious in how you ask for and respond to your horse’s contact that will cause no discomfort or pain to your horse.  He must be perceptive and reactive to your aids when he receives them.

    Very often riders forget or just don’t know about the first, vitally important, responsibility on their part in order to achieve a correct contact. Because of this, they become focused on ‘head carriage’.  Or if their horse is ‘on the bit’.

    Instead, I want you to think of contact as being the result of a carefully set up and orchestrated use of your different aids when in the saddle. And this culminates in your horse accepting your conscientious, soft, and elastic contact.

    How Does a Horse Evade the Contact?

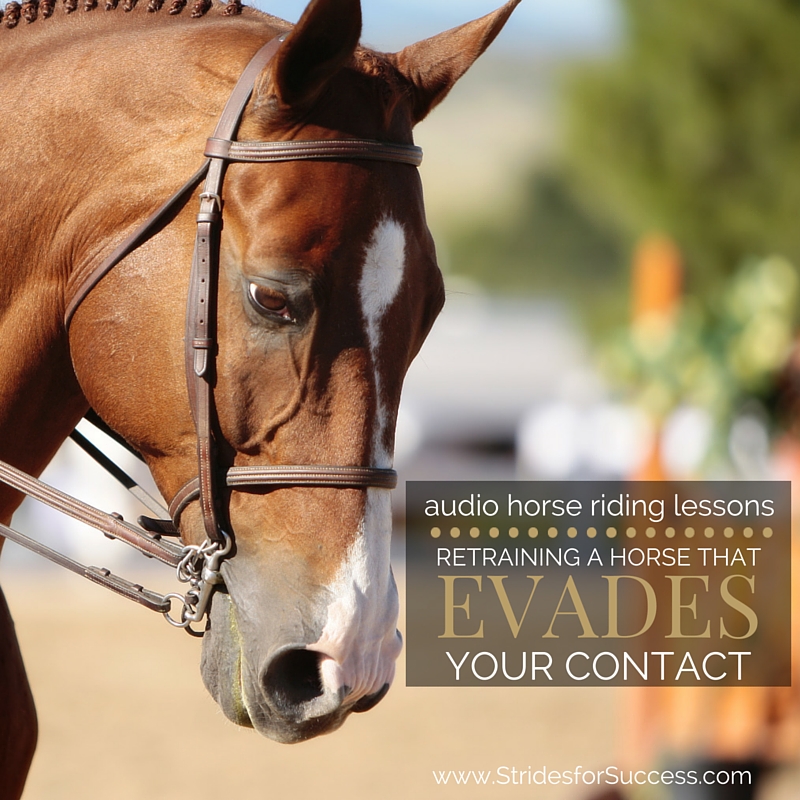
    So, how does a horse evade the bit or contact?  Horses generally do this in a few different ways.  They either become ‘above the bit’. This is where their noses are ‘skyward’ and the whole back, from tail to ears, is hollow.

    Or they can also become ‘behind the bit’. This is when they begin to curl their head and neck back towards their body, nose to chest, which leaves the rider very little options when it comes to contact at all.

    Lastly, there are some horses that when you have ‘closed’ all open doors, will still try to evade by wriggling around, never truly connecting with the rider through the reins at all.  It feels like someone has replaced your horse with an eel!

    Retraining a Horse that Evades Your Contact

    Why Does a Horse Evade the Contact?

    All of the above descriptions lead to a less than pleasant picture to look at. And all also look extremely uncomfortable for the horse!  So what is it exactly that brings them to act like this?

        • The rider is asking incorrectly – This can be due to ignorance or incorrect training on the riders part.  Very often riders will only focus on their horse’s head and where it is, rather than what is happening underneath them that is leading their horse to travel like that.
        • Unsteady contact from the rider – Many riders continue to do this, even though they understand and know about the importance of a steady and ‘safe’ contact for their horse.

    Some riders continue to use the reins as a safety harness rather than work on developing an independent seat.

        • The horse is unbalanced – Young and underdeveloped horses will find it difficult to accept a contact for any great length of time.  This needs to be worked on and developed slowly, over time, using correct aids and techniques, in a way the horse can understand and trust.
        • Over or incorrect use of a gadget or training aid – This is particularly evident with the usage of draw reins, where horses begin to evade the contact by coming behind the vertical or bit.
        • The horse’s conformation makes him more inclined to travel like this initially
        • Physical discomfort – Such as pain in the back due to tack or another disease or injury.  Also problems with teeth and correct fitting of the bit.  All physical discomfort should be ruled out before continuing on with and retraining your horse.

    Contact as a Development Step

    So often we think of contact as being just holding the reins, however the contact that you create is so much more than that.  This is both in terms of communication between horse and rider and also as a vital piece to moving on up the training scale with your horse later.

    It is your job as the rider to create or provide a contact that is consistent, kind, soft, following yet effective.  

    Once you have done this, your horse can then accept this contact and trust you that you won’t catch him in the mouth or drop him by releasing and letting go of the contact.

    Your level of contact will depend on how much energy you are asking your horse to create with his hind quarters.  Contact is merely gathering up and then giving that energy some focused direction of where to go

    Therefore it is impossible to have contact if you horse is not using his hind quarters to push himself forward  and having forward energy.  It is the lack of this forward momentum that causes a horse to begin to lean or become heavy on your hand and essentially evade the bit.

    Reschooling a More Correct Contact

    So assuming that you have an independent seat and your hands are thoughtful and balanced, once a horse has begun to evade how can you then begin to re-school or retrain him to a better way of going? Nne where he is happy to accept your contact?

        • Forwardness & Responsiveness
        • Rhythm
        • Suppleness
        • Straightness

    Begin working on assessing how responsive your horse is to your aids.  If you ask for more, does he respond and begin creating a little more energy into his movement?  Is this response immediate or does he think about it for a few steps?  If his response time is a little ‘wanting’ I suggest carrying a schooling whip and backing up your leg aids with it each time he shows begins to procrastinate or ignore your aids.

    Once he is responsive then make sure he is indeed moving forward, pushing from behind.  It is impossible to direct what is not there, so make sure your horse is using his hindquarters with each stride.

    Then work on creating a rhythm in the gait you have chosen.  I suggest working on a 20m circle, and using half halts and transitions on the circle to further engage the hindquarters as your horse is working.

    Straightness to Enhance Contact

    Straightness is important.  Firstly to correctly channel the energy where you want it to go. But also so you can quickly lock any doors that your horse will try to open once you have blocked his initial ‘evade of choice’!

    Many horses will look for another way of evading when you shut down the initial window of opportunity!

    Finally, don’t be afraid of creating contact with your horse while riding.  Many riders are worried about hurting their horse’s mouth, or pulling on the reins and never truly get to experience and feel how wonderful it is to communicate with their horse in a consistent, safe, following contact.

    Happy Riding

    Lorna

    Additional Resources for Equestrians:-

    Retraining a horse that Evades Your contact

  • Increasing Your Horses Suppleness

    Increasing Your Horses Suppleness

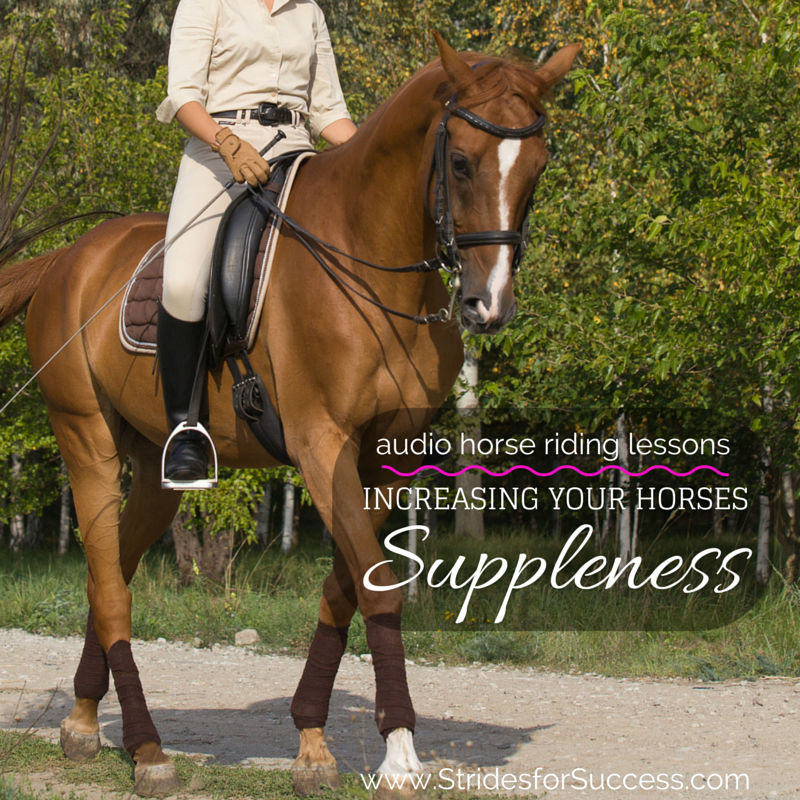
    Have you ever ridden a horse and they feel so wonderfully loose and pliable underneath you?  Perhaps you can remember how your horse was able to really and truly use his body and how the suppleness made it feel like he was performing movements in the best possible way that his body, fitness and confirmation allowed?

    [smart_track_player url=”https://op3.dev/e/traffic.libsyn.com/dailystridespodcast/SFA431-Increasing-Your-Horses-Suppleness.mp3″ title=”Increasing Your Horses Suppleness” social_linkedin=”true” social_pinterest=”true” social_email=”true” tweet_text=”Loosey Goosey… That feeling you get when your horse is warmed up, ‘bendy’ and ready to go… ” hashtag=”Supple #TrainingScale #Equestrian” twitter_username=”strides_success” ]

    True suppleness allows your horse to bend without stiffness and work freely without excess tension or stiffness throughout his back and muscles.   This enables him to perform smoother movements and transitions with greater balance which leads to building strength, development of muscles and growing confidence in both horse and rider.

    Increasing Your Horses Suppleness

    As riders, we are seeking true flexibility or suppleness in our horses, and should always work towards trying to establish, and then allow, elasticity throughout the horse, particularly the jaw, poll, back shoulders, knees, hips and hocks.

    However this is often difficult to understand due to the simple fact that we will not achieve suppleness by ‘fixing’, ‘forcing’ or ‘restricting’ our horses in any way.  Rather than forcing your horse into unnatural frames or positions trying to promote this relaxation and flexibility, think of asking your horse to stretch himself in a natural way, little by little in slight increments, to grow the natural pliability of his muscles and joints.

    Also, when he is flexing or bending, if you are ‘fixing’ him or holding him there, he is not truly supple himself.  When riding , ask your horse for a small about of flexion or bend and then allow him to carry on with the movement himself for a period of strides or seconds.

    As his strength grows, he will become more flexible and his ability to carry himself for longer periods will also increase.

    Suppleness can be thought of in both a forward movement capacity and a sideways or lateral capacity. It is important to ride exercises that boost the development of both. Your horse will not achieve true suppleness if only using his body a certain way. In fact over-development of one will  often result in stiffness in the other.

    Another advantage of working to increase relaxation and suppleness is that it can have a positive effect on your horse mentally and emotionally as well. Often we try to ‘relax’ our horses by speaking to them in a soothing manner, however, if we think about life, feelings follow actions (it is rarely the other way around), so by relaxing the body, we can often dissipate anxiety and stress in the mind and put that energy to better use elsewhere.

    In riding, we are thought to think from the back of the horse to the front of the horse.  Energy created in the hind quarters and then sending it to the front of the horse.  However, we should think of loosening or relaxing our horses the other way around, from front to back.

    There are many horses that are flexible, pliable and supple through their backs and limbs, however they are ‘stuck’ at the poll or jaw which causes that flow of energy to also become stuck or blocked and makes true connection  impossible.

    When working on increasing your horses suppleness, I suggest starting with the poll and jaw.  Place two poles parallel to each other across the center line about 1 meter apart.  In walk, bring your horse between the poles and ask for halt. Try to keep him straight, using the poles for guidance and reference. Then, remembering to keep his neck straight, as him to flex his poll, first one way and then the other.  Use your inside hand and turn your wrist slightly so as the underside is more on top and your thumb is about 45 past the vertical to the outside. Gently squeeze with your ring finger.

    When asking for the movement, keep in mind it is very slight flexion in the poll, not bending though the neck. Ask to the right and then back to center, and then back to the left. You can repeat this quite a few times, all the while noticing any resistance or stiffness. If this shows up, rather invest more time over the coming weeks and months, slowly asking for the flexion and then working it out.

    Don’t force it! Suppleness does not happen overnight, it takes time for your horse to soften, relax and become flexible

    Once you have mastered this in halt and your horse understands, you can begin to incorporate it into walk, trot and eventually, canter.  Use the center line, and if necessary, place some parallel ground poles to work between school to help keep you ‘straight’ and on target for where you want to go.  Remember, you are only flexing your horses poll, not bending the neck.  In walk, ride up the center line and begin asking you horse to flex left then back to straight and then left.

    Pay attention that his shoulders are not ‘swinging’ where you are flexing to which will give your horse the appearance of being slightly inebriated!  Also, focus on keeping him straight through his back, not allowing the hind quarters to fall in or out

    As mentioned, it is important to work all parts of your horses body, so I recommend beginning to incorporating some large circles into your work.  how well your horse can maintain the bend in their body on the circle, will depend on how supple your horse is.  the smaller the circle, the more difficult it will be for your horse, so stick to large circles initially in walk or trot.

    Increasing Your Horses Suppleness

    When riding the circle, Establish and maintain a consistent bend to the inside, all the way from neck to tail. The degree of the bend will depend on the size of the circle as you will follow the arc of the circle.

    Notice if your horse is falling in or out through this shoulders.  Often, when we ask for the horse to bend to the inside, he will begin to literally fall in towards the center of your circle, rather than maintaining the ‘line’ of the circle and his back replicating the arc of the circle.  If this is the case, use your inside leg to encourage him to stay ‘out’ on the circle, however once he is there, he must learn to balance himself so you are not all the time supporting him on the circle or bend.

    There is nothing more exhausting that riding a horse which you have to hold up with your legs

    Again, start your circles in walk and once he understands and has a nice equal bend through his body, go forward to trot and later canter.  Work on both directions and pay attention to any stiffness, tension or lack of balance on one side more than the other.

    If you do notice any problems, see working in it as a long-term project that will be successful if you consistently work little by little at stretching and loosening up your horse

    You can also begin to incorporate some serpentines into your schooling.  Obviously work on your bend while riding the loops, but also focus on your straightness as you cross the center line.  Transition in and out of the two by beginning to ask for some flexion through the poll for 2 to 3 strides before and after the center line.  As you round your ‘loop’ again, straighten the body with just the poll flexed and as you cross the center line, straighten your horse, so you can then change the flexion in order to ride the next loop.  Work the serpentines from both sides, again walk, trot and then canter if necessary.

    You can also incorporate some halts into the serpentine, as you cross the center line, and spend the time in halt flexing the poll again in order to flex the poll and reinforce the principle, in both your head and your horses!

    Finally, you can begin to add some counter bend to your circles.  Ride a large 20 meter circle in walk and once you have established bend to the inside, see if you can ‘change’ the flexion to the outside, paying close attention that the shoulders do not come off the track of the circle.

    The flexion to the outside will be very slight at first, and not held for long periods.   Work on a quarter circle to the outside, then change to a half circle to the inside and then returning to a quarter circle to the outside.  Slowly, your horse will begin to increase his suppleness and flexibility throughout his body and from there, you can begin to make the circle smaller or begin working in trot and, again, later canter

    Suppleness is something that must be continuously and consistently worked on in order to maintain and improve with your horse

    Just like us, if our horses become restricted and only use their body in a certain fixed movement, over time they will lose their ability to bend and be pliable..

    It will take time to build true suppleness, and it will have to become an integral part of your training program to maintain it

    Happy Riding
    Lorna

    [wp-tiles post_type=”post” orderby=”date” order=”DESC” grids=”Simple”]