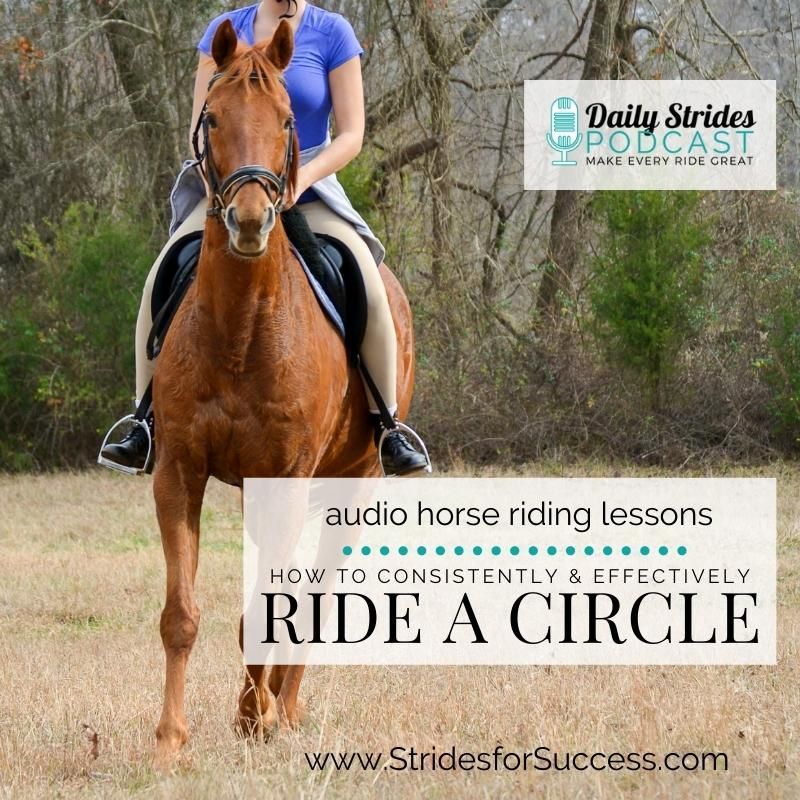
Circles; for something that we spend so much time ‘doing’ with our horses, many riders are more than a little confused when it comes to how to ride a circle. And while the basic ‘riding a circle’ is fairly simple and most all riders can manage, the issue of riding a well-balanced, good quality, well-maintained circle is what leaves many riders feeling more than a little stumped.
How to ride a circle may seem like one of the easier things to do while on a horse. However, riding a well-shaped circle while maintaining or improving the quality of the work you’re doing; is a whole other ball game!
For many riders falling in, or falling out are common occurrences. Losing rhythm or relaxation. Maintaining bend and flexion also can be a challenge. And this is all assuming that you are actually riding a real circle at all. As opposed to a funny, non-descript shape with random straight lines, corners, and pointy bits!
So, the shape of the circle is a given. A ring with equal diameter, regardless of where measured, all the way around. And yet, as simple as this seems, riding one well can be a whole other story! For many riders keeping their horse on the track, they planned in their head seems close to impossible.
Start with a Square to Map Your Circle…
So, lets start by taking the circle out of the equation… Let’s talk about a square. After all, a circle is merely a square with rounded edges, agreed? When you have a clear goal regarding the size of your circle, start by creating a square of similar size. For this example, we are going to use 20m in diameter.
By mapping out and actually marking the 4 points of your square, you have created 4 ‘checkpoints’ that will help to keep you on track while riding your circle.
To turn your square into a circle, simply replace each straight line with an equal arc that joins each of your two points together. With 4 equal arcs; voila, you have a circle. I personally find this a much easier way to ride a consistent circle, I hope it helps you too.
I suggest using cones or something similar to physically mark each of your check points. This will help you keep you on track throughout the circle itself.
No Straight Lines on Your Circle!
Once you have your circle marked out, you can begin riding it. For many riders, straight lines make up a big part of their circles! Obviously, this is not what you want when riding your horse on a circle. I suggest using your newly marked out ‘checkpoints’ to help you solve this challenge as well in your riding.
Commit to only allowing one to two strides on the track as you ‘touch’ each checkpoint. Aim for reaching the track 1 meter before your check point and leaving 1m after it.
This, coupled with the consistent arc between the checkpoints will keep on on a consistent circle and keep you moving forward with your horse. It is important to plan your arc or track as you are leaving each checkpoint you reach.
Simply look around your circle towards the next ‘checkpoint’, create the arc that will allow you to arrive there, and then ride that arc with your horse.
Evaluate Your Aids for Riding a Circle
If you want to improve your success regarding how to ride a circle, chances are you will have to change some things about how you are riding each circle… This is due to most riders developing an over-dependence on the rein aids where turning and steering are concerned.
A quick way to check if you are a little too ‘handy’ with your rein aids on the circle is to see what happens when you try to ride one using your other aids; specifically seat, legs, and weight aids.
When riding a circle, it can be helpful to think of your aids like a channel. They are guiding the energy forward, from the hindquarters to the front end of your horse. So rather than your reins and hands ‘pulling’ your horse onto the circle, your aids are simply guiding your horse as he moves himself around the circle.
I have a previous article and Daily Strides Podcast episode HERE which outlines the specific roles of each aid while on the circle. I also go into far more detail regarding your weight aids for riding circles HERE
Focus on Forwardness & Straightness
The final often confusing piece of the ‘how to ride a circle’ puzzle is straightness. Simply put, this is when both left hooves are on one track. This ‘left track’ remains parallel to the track created by both right hooves remaining aligned. This can often feel daunting for many riders!
Let your first goal be to establish and maintain forwardness. There must first be energy present in order for you to gather, harness, and work with.
If you can keep the energy flowing forward, maintain your own position and self-carriage while being supple and moving with your horse. And if your horse can maintain the bend throughout his body… Your chances of riding a good quality circle will begin to increase immediately.
Happy Riding
Lorna
Extra Resources to Help with Circles
-
-
- Planning Workshop
- Connection; The Focus for December 2021 is on circles
- 3 Exercises to Ride while on a Circle
- Riding Through a Bend; Understanding Your Role
- Weight Aids and Seat Bones for Turning & Bending
- FREE Download:- 1 Exercise Multiple Ways
- Lunging for Riding
- Online Community for Equestrian focusing on Planning and Mindset
-
-
Leave a Reply